So there was a bit of a background to this game as Jon’s Blood Angels had faced my necrons a few weeks earlier and tabled them by turn two. On consideration (and given the litany of victories Jon has in our little casual group) we both wondered whether or not his primaris force was broken due to the rules more than anything else. He rarely looses to anything not primaris and my necrons have a good record against most armies other than primaris. As a result we decided on a rematch where he would use the older tactical marines in order to see if that made a difference…
Blood Angels
+ HQ +
Captain [5 PL, 86pts]: 2. Artisan of War, Master-crafted boltgun, Relic blade, The Veritas Vitae, Warlord
Lieutenants [4 PL, 62pts]
. Lieutenant: Chainsword, Storm bolter
+ Troops +
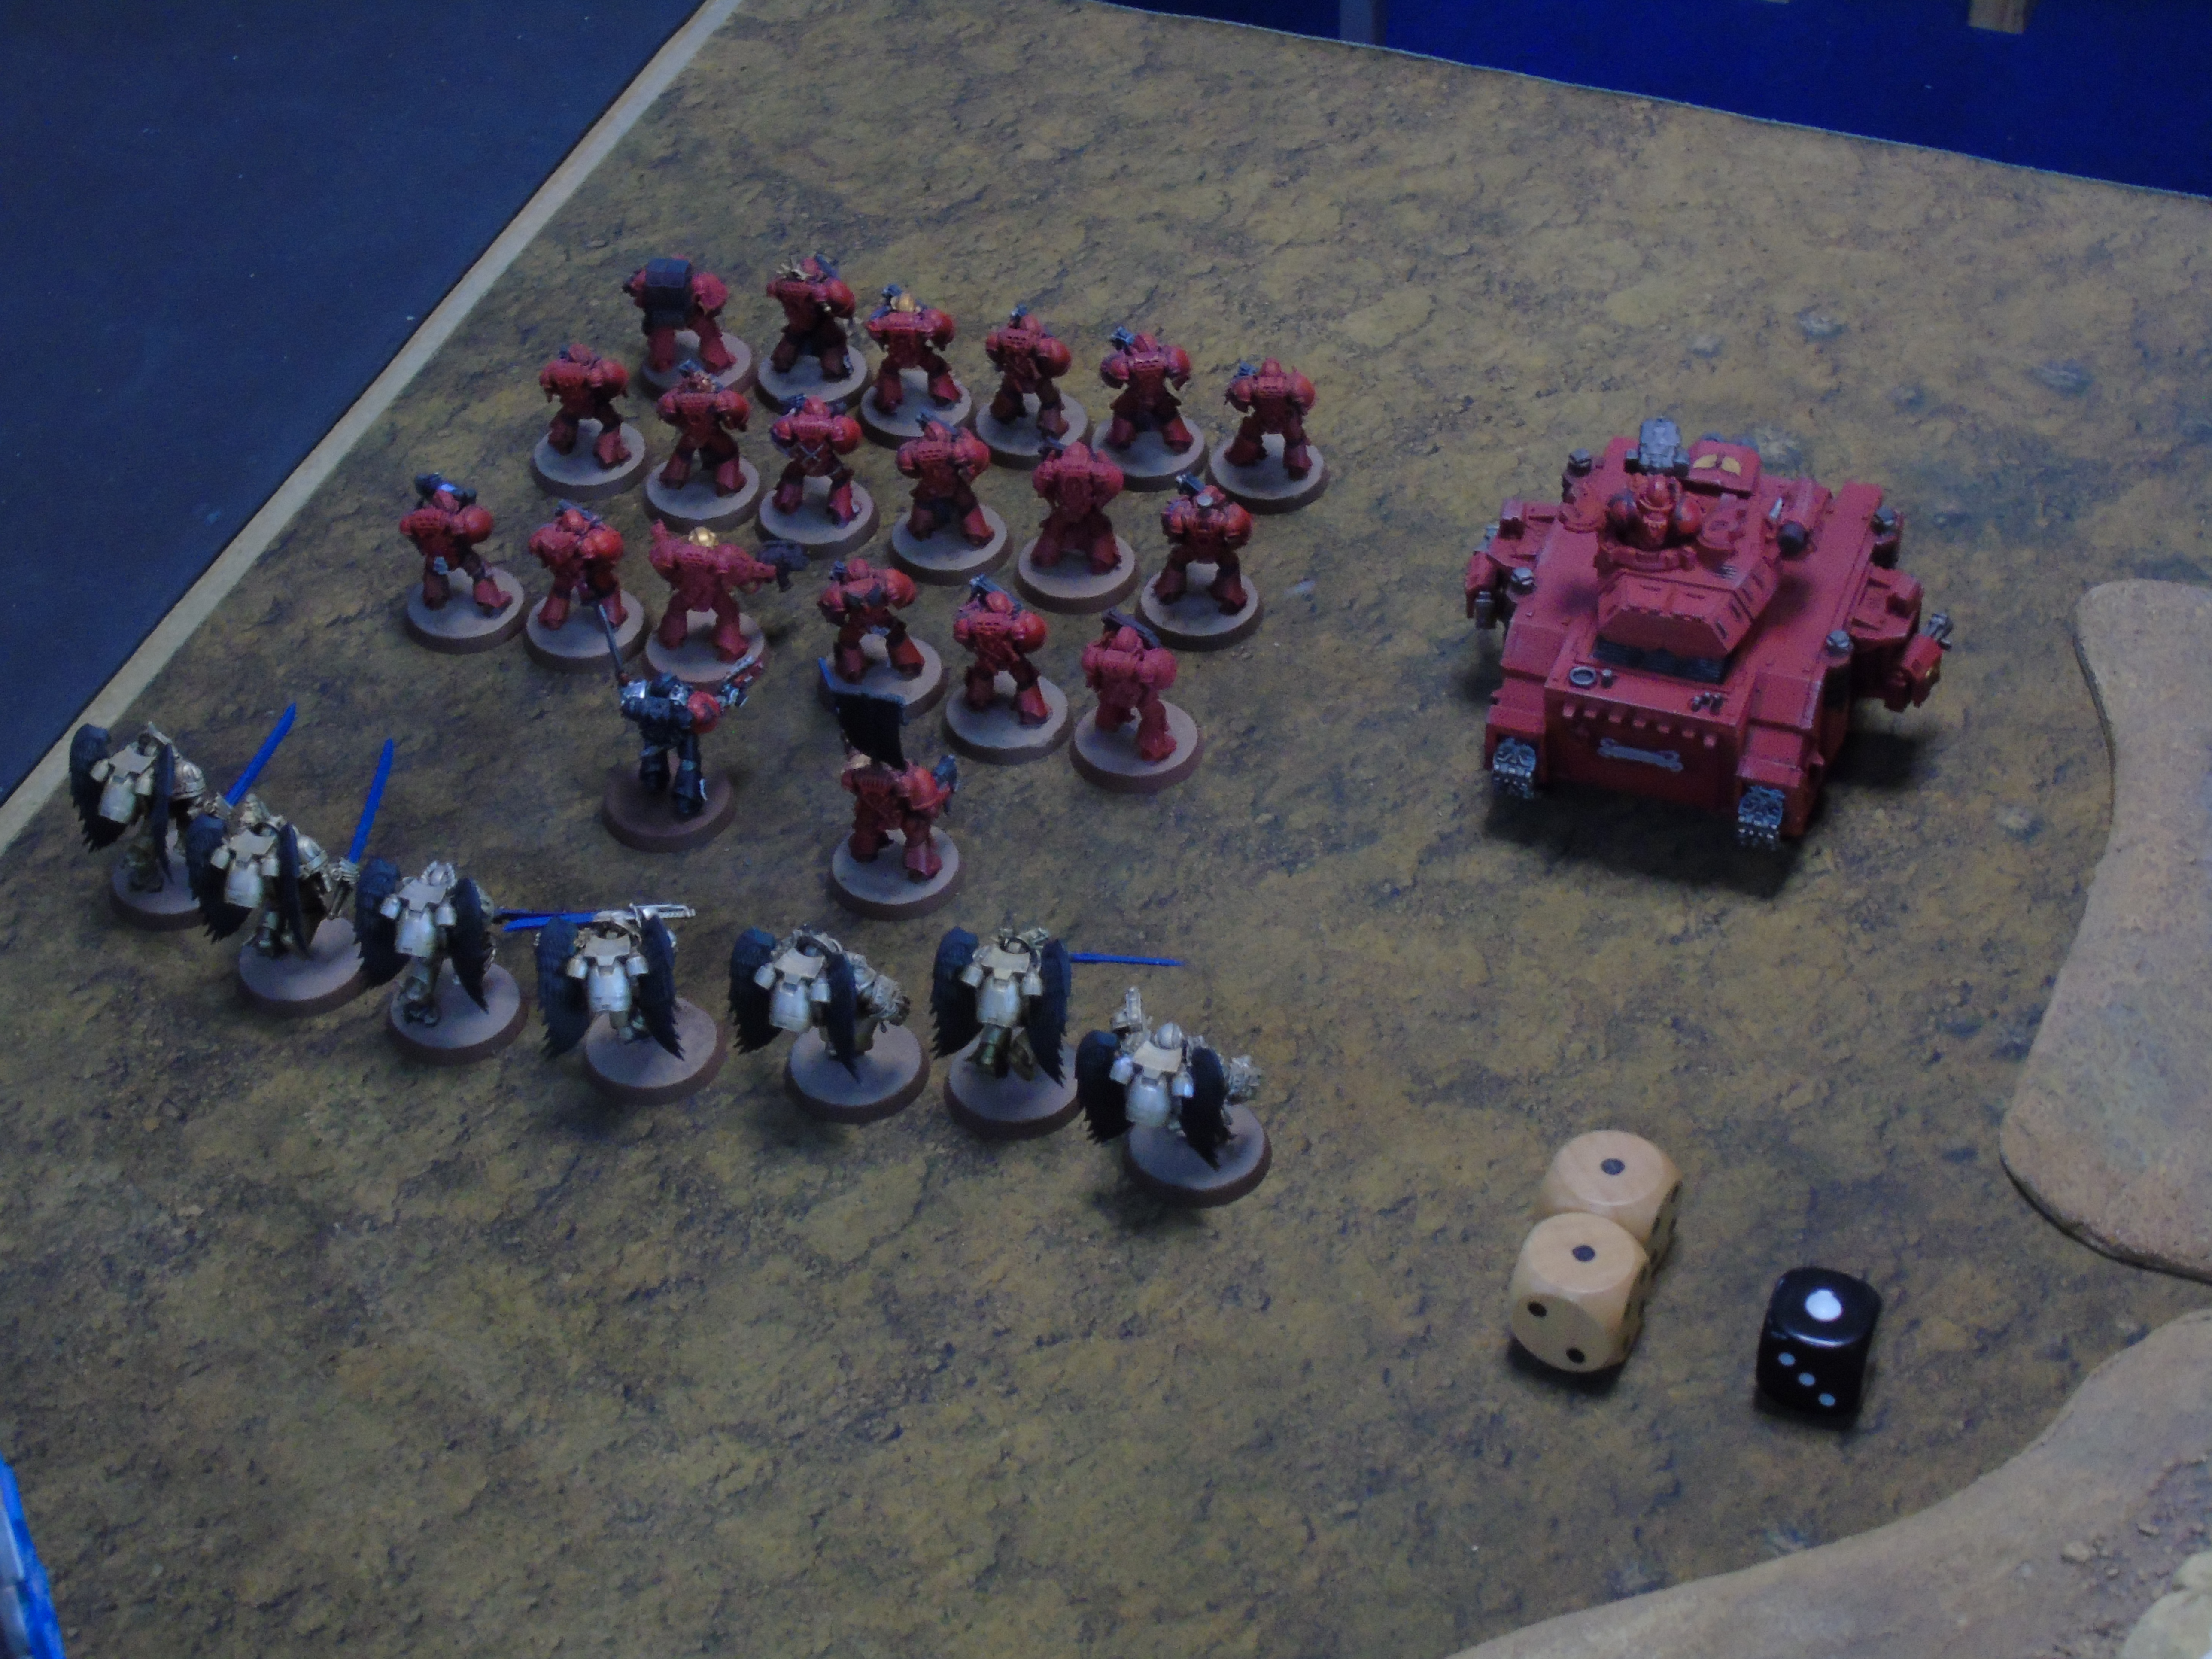
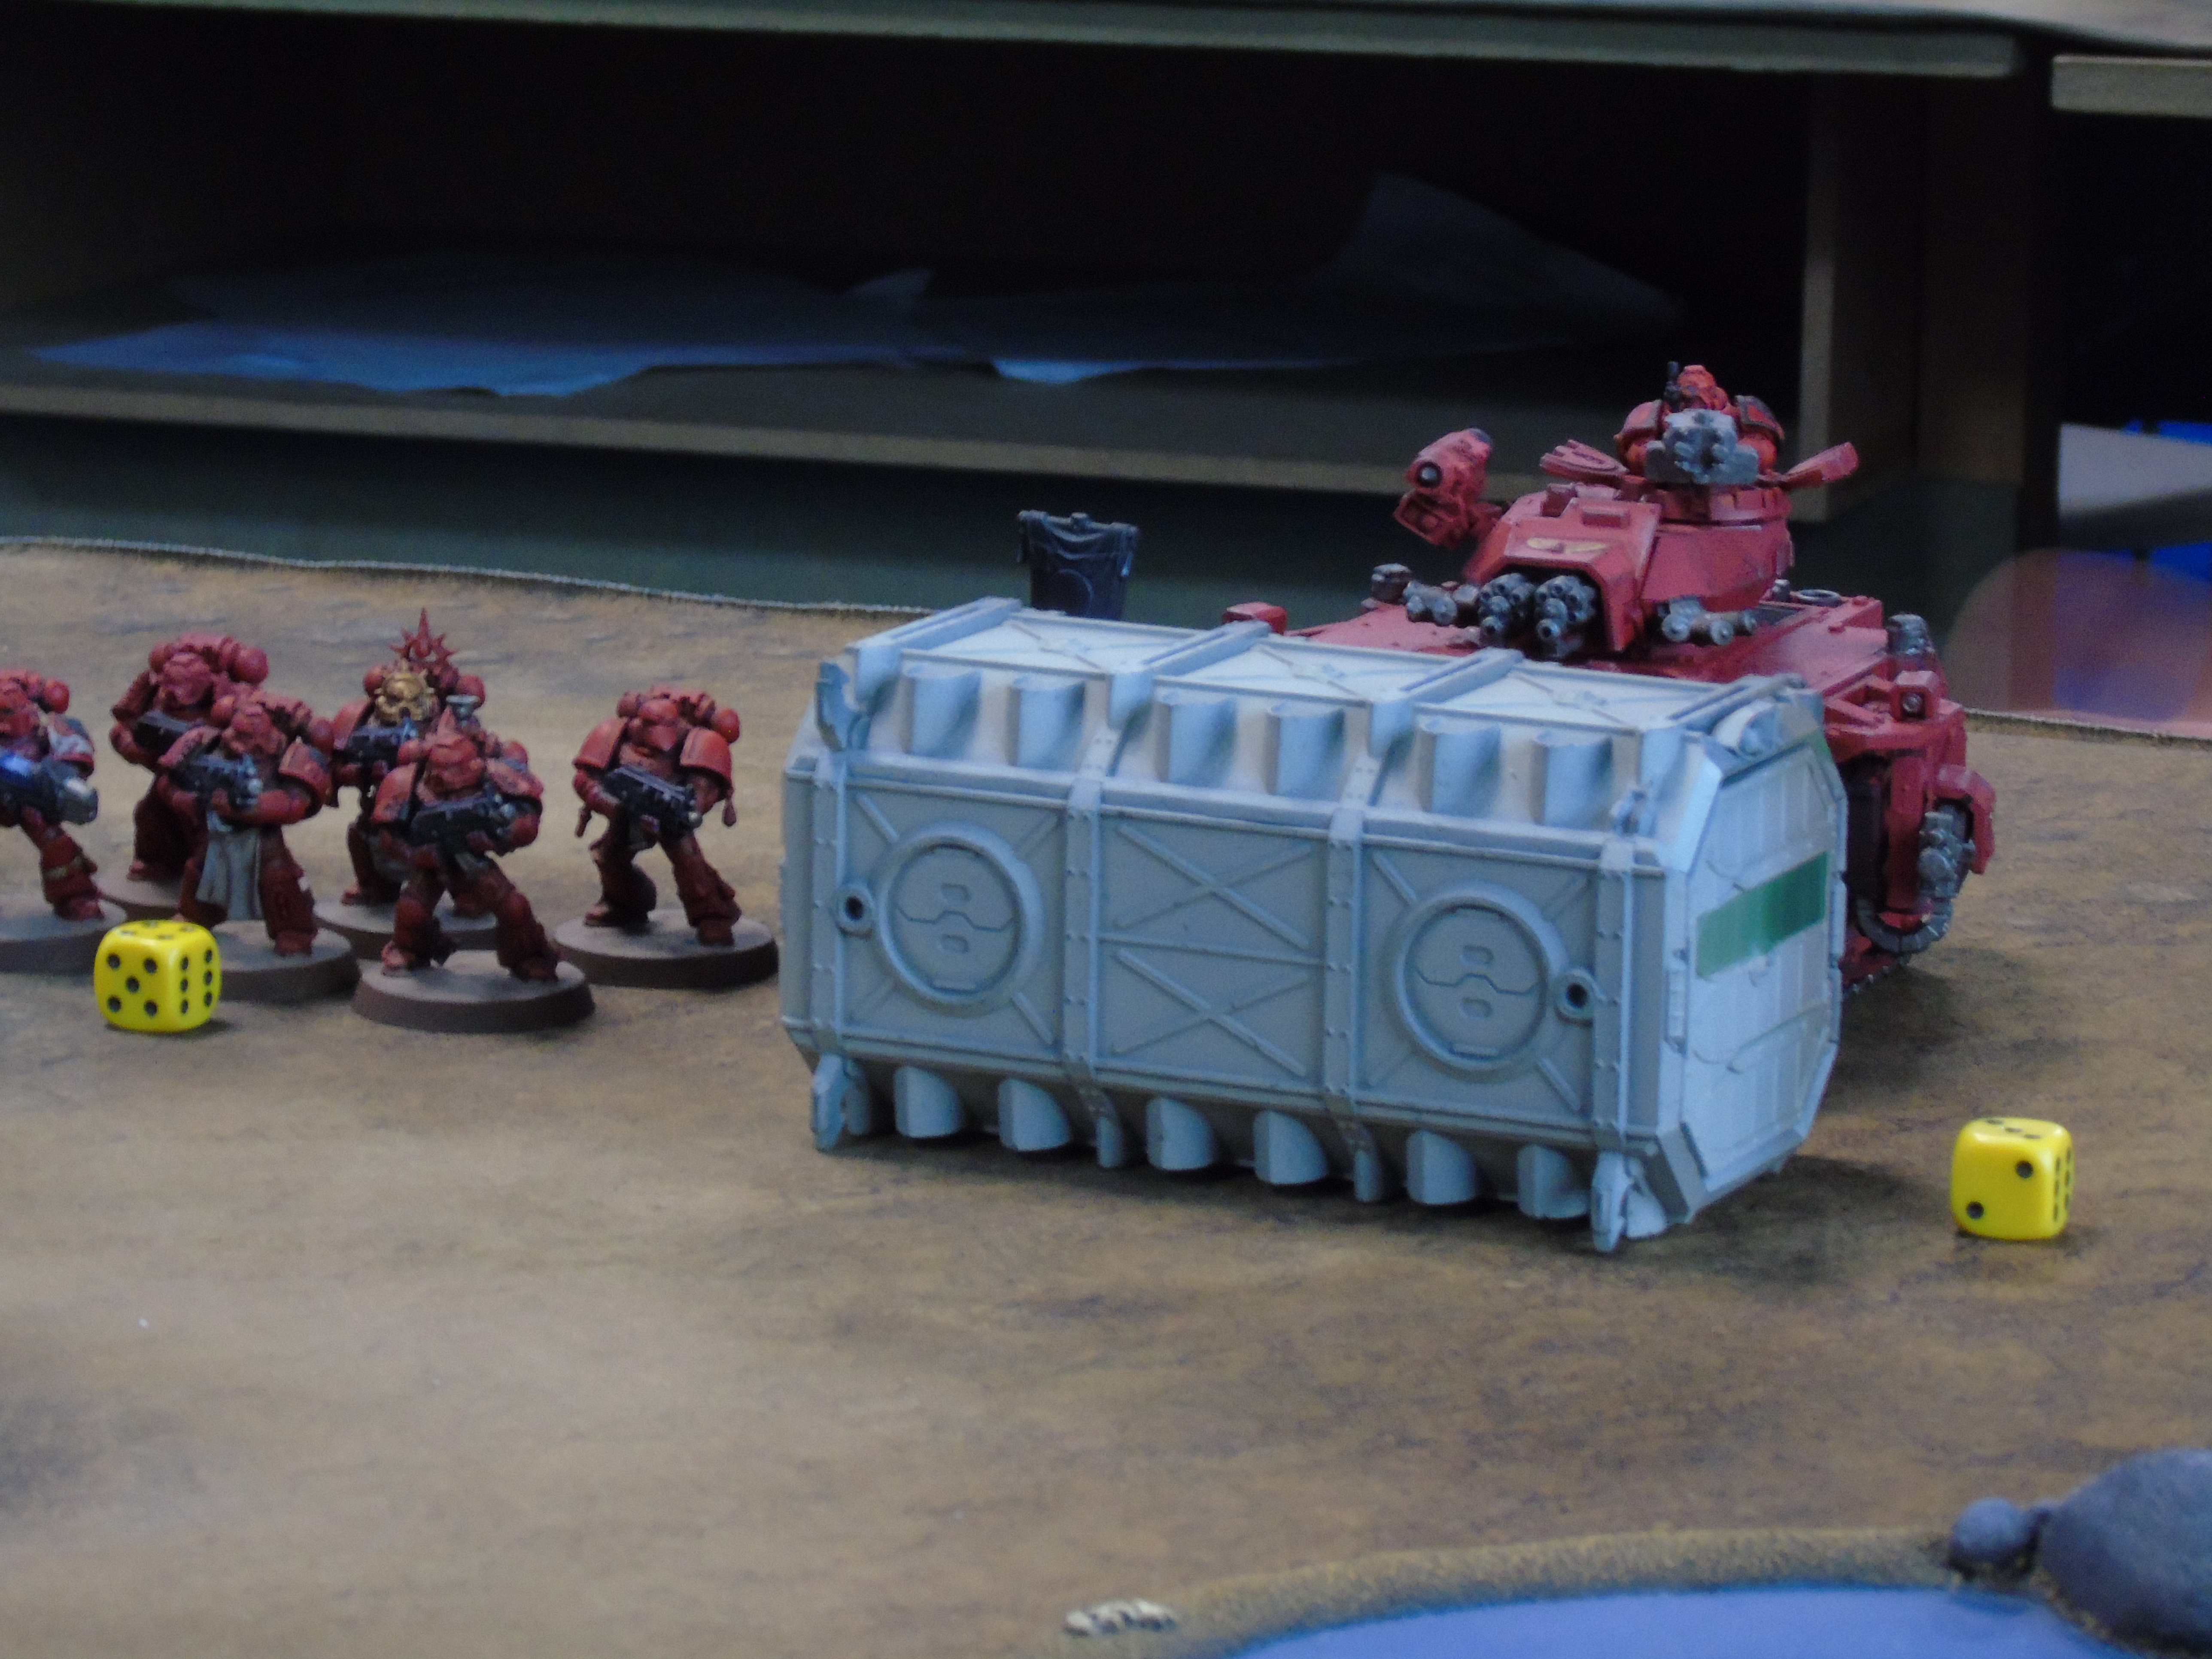
Tactical Squad [9 PL, 82pts]
. 4x Space Marine
. Space Marine (Heavy weapon): Heavy bolter
. Space Marine Sergeant: Boltgun, Chainsword
Tactical Squad [9 PL, 83pts]
. 4x Space Marine
. Space Marine (Special weapon): Plasma gun
. Space Marine Sergeant: Boltgun, Chainsword
Tactical Squad [9 PL, 83pts]
. 4x Space Marine
. Space Marine (Special weapon): Plasma gun
. Space Marine Sergeant: Boltgun, Chainsword
+ Elites +
Sanguinary Guard [20 PL, 198pts]
. Sanguinary Guard: Angelus boltgun, Power fist
. Sanguinary Guard: Angelus boltgun, Power fist
. Sanguinary Guard: Angelus boltgun, Encarmine sword
. Sanguinary Guard: Angelus boltgun, Encarmine sword
. Sanguinary Guard: Angelus boltgun, Encarmine sword
. Sanguinary Guard: Angelus boltgun, Encarmine sword
. Sanguinary Guard: Angelus boltgun, Encarmine sword
+ Heavy Support +
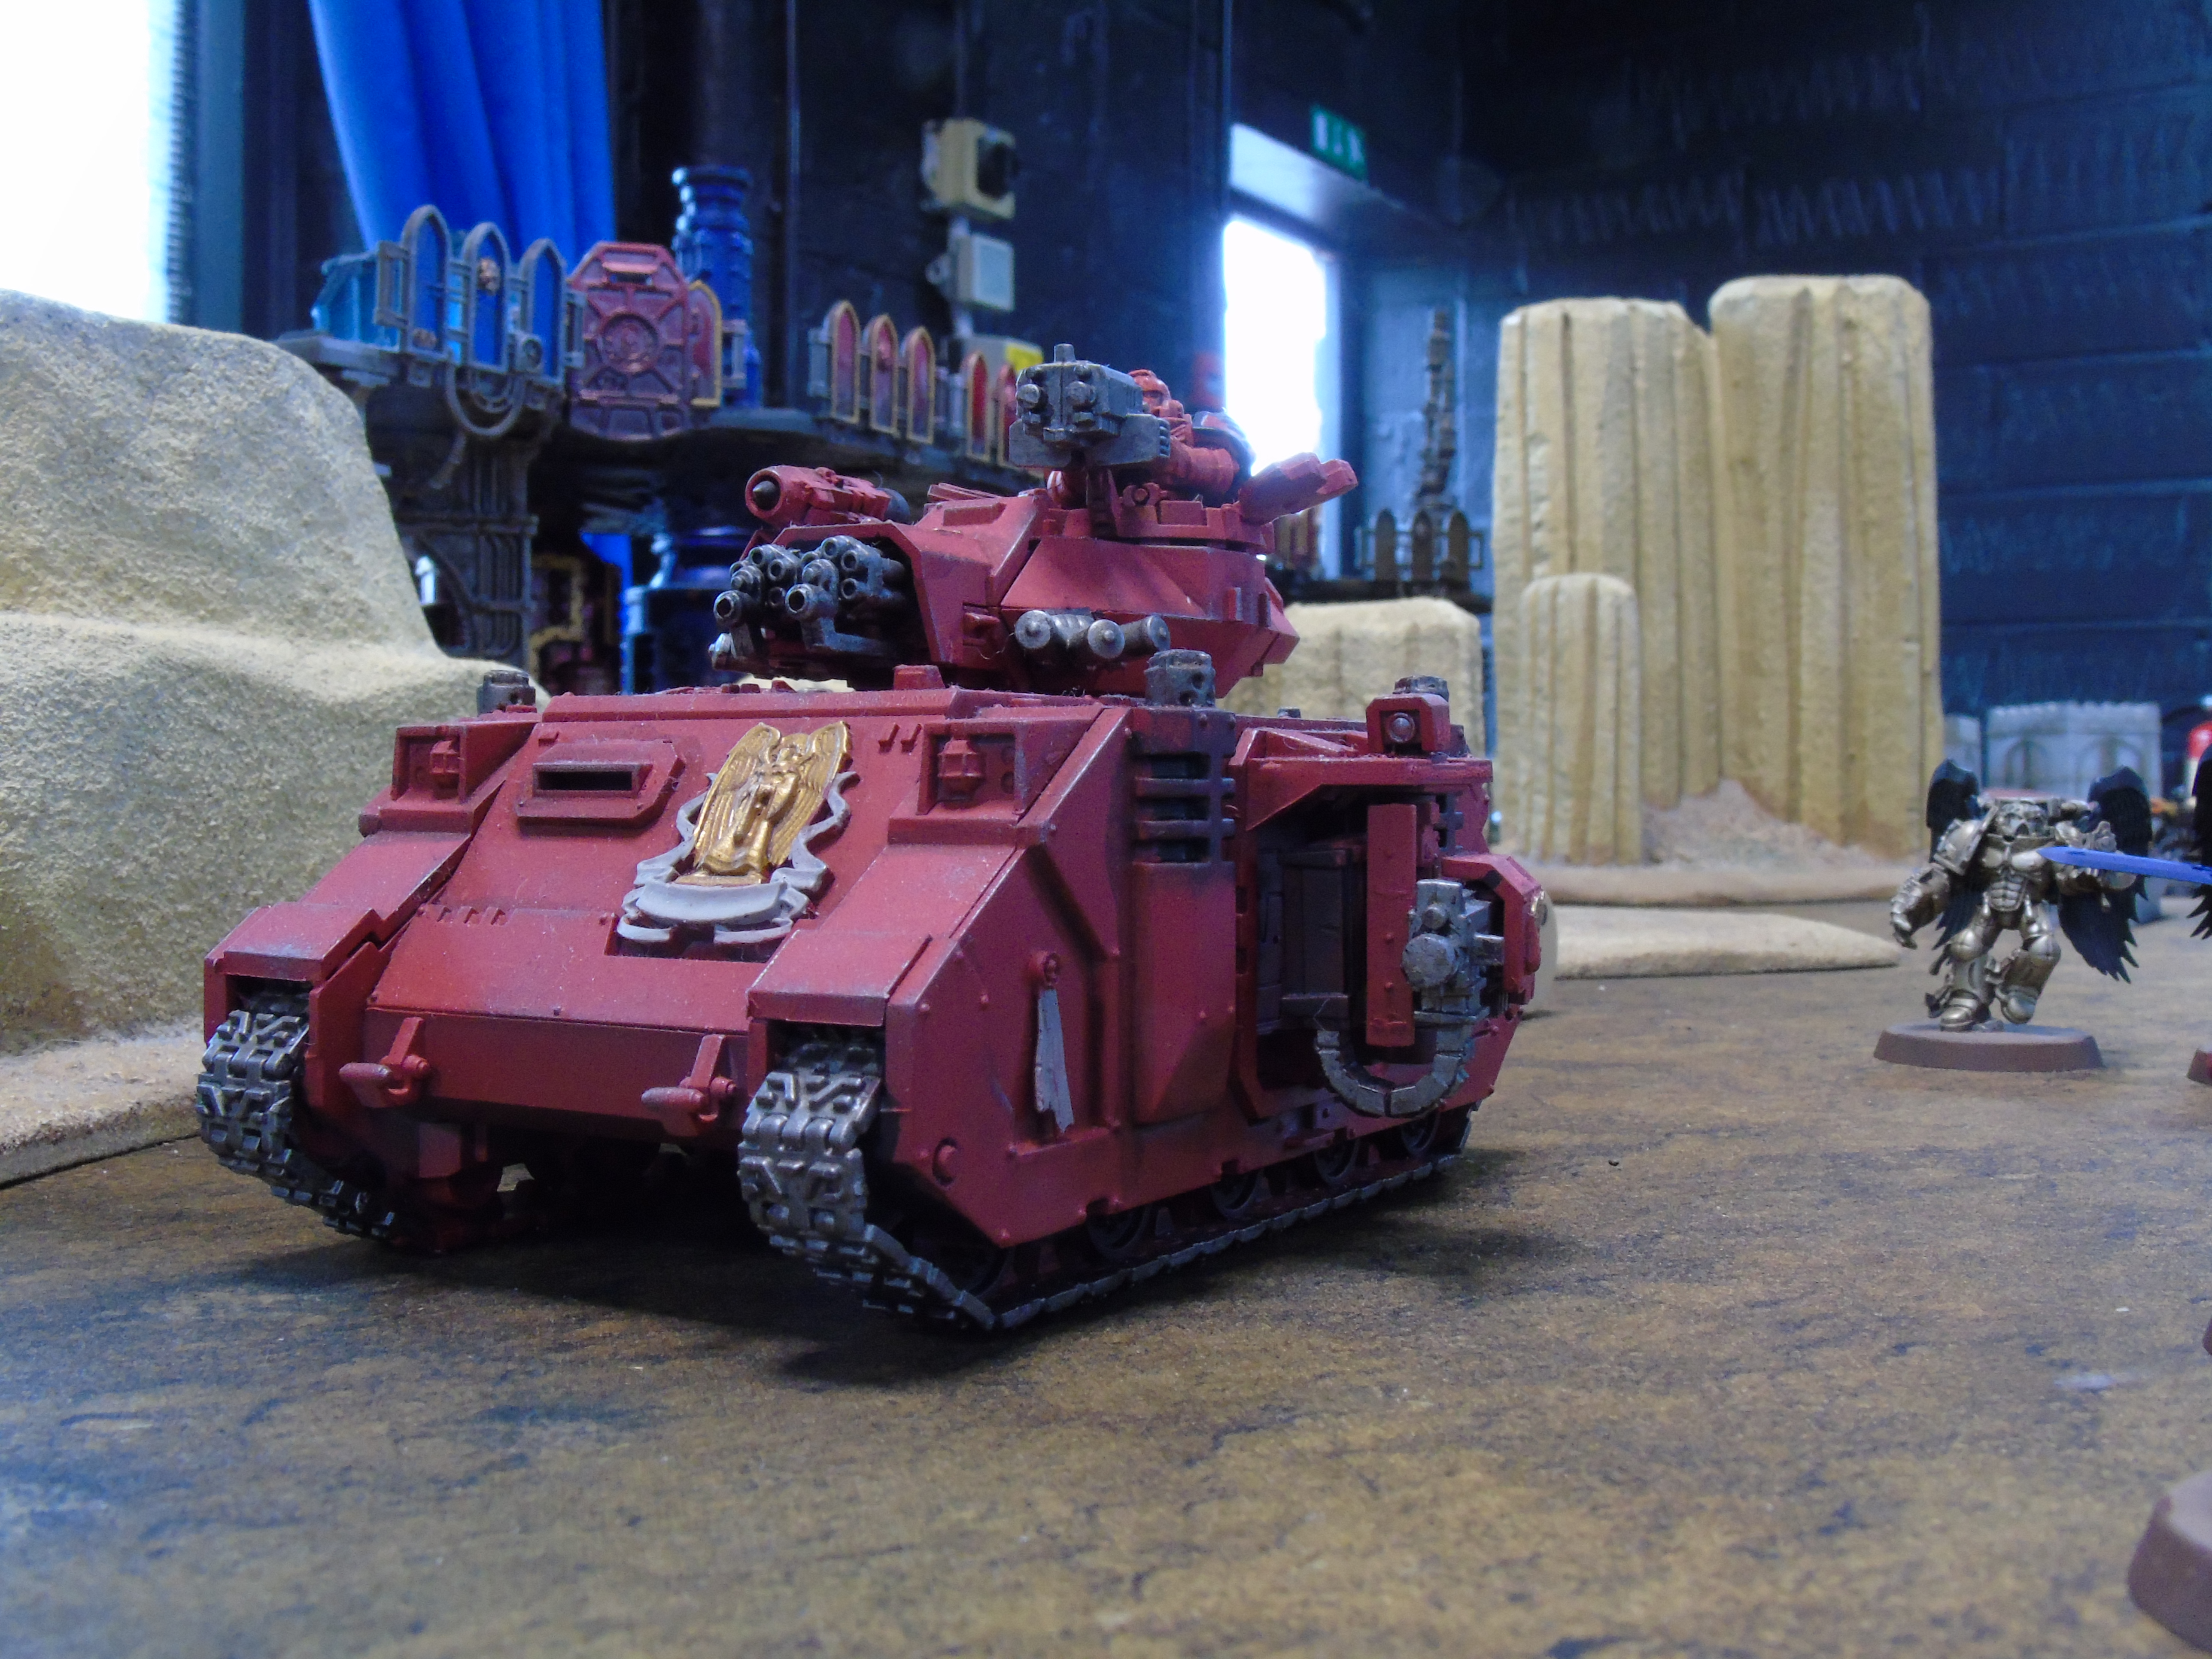
Baal Predator [8 PL, 156pts]: Storm bolter, Twin assault cannon
. Two heavy bolters: 2x Heavy bolter
Necron ‘Solar Legion’
- Battalion Detachment +5CP (Necrons)
- No Force Org Slot
- Battle-forged CP
- Dynasty Choice
- Dynasty: Sautekh
- HQ
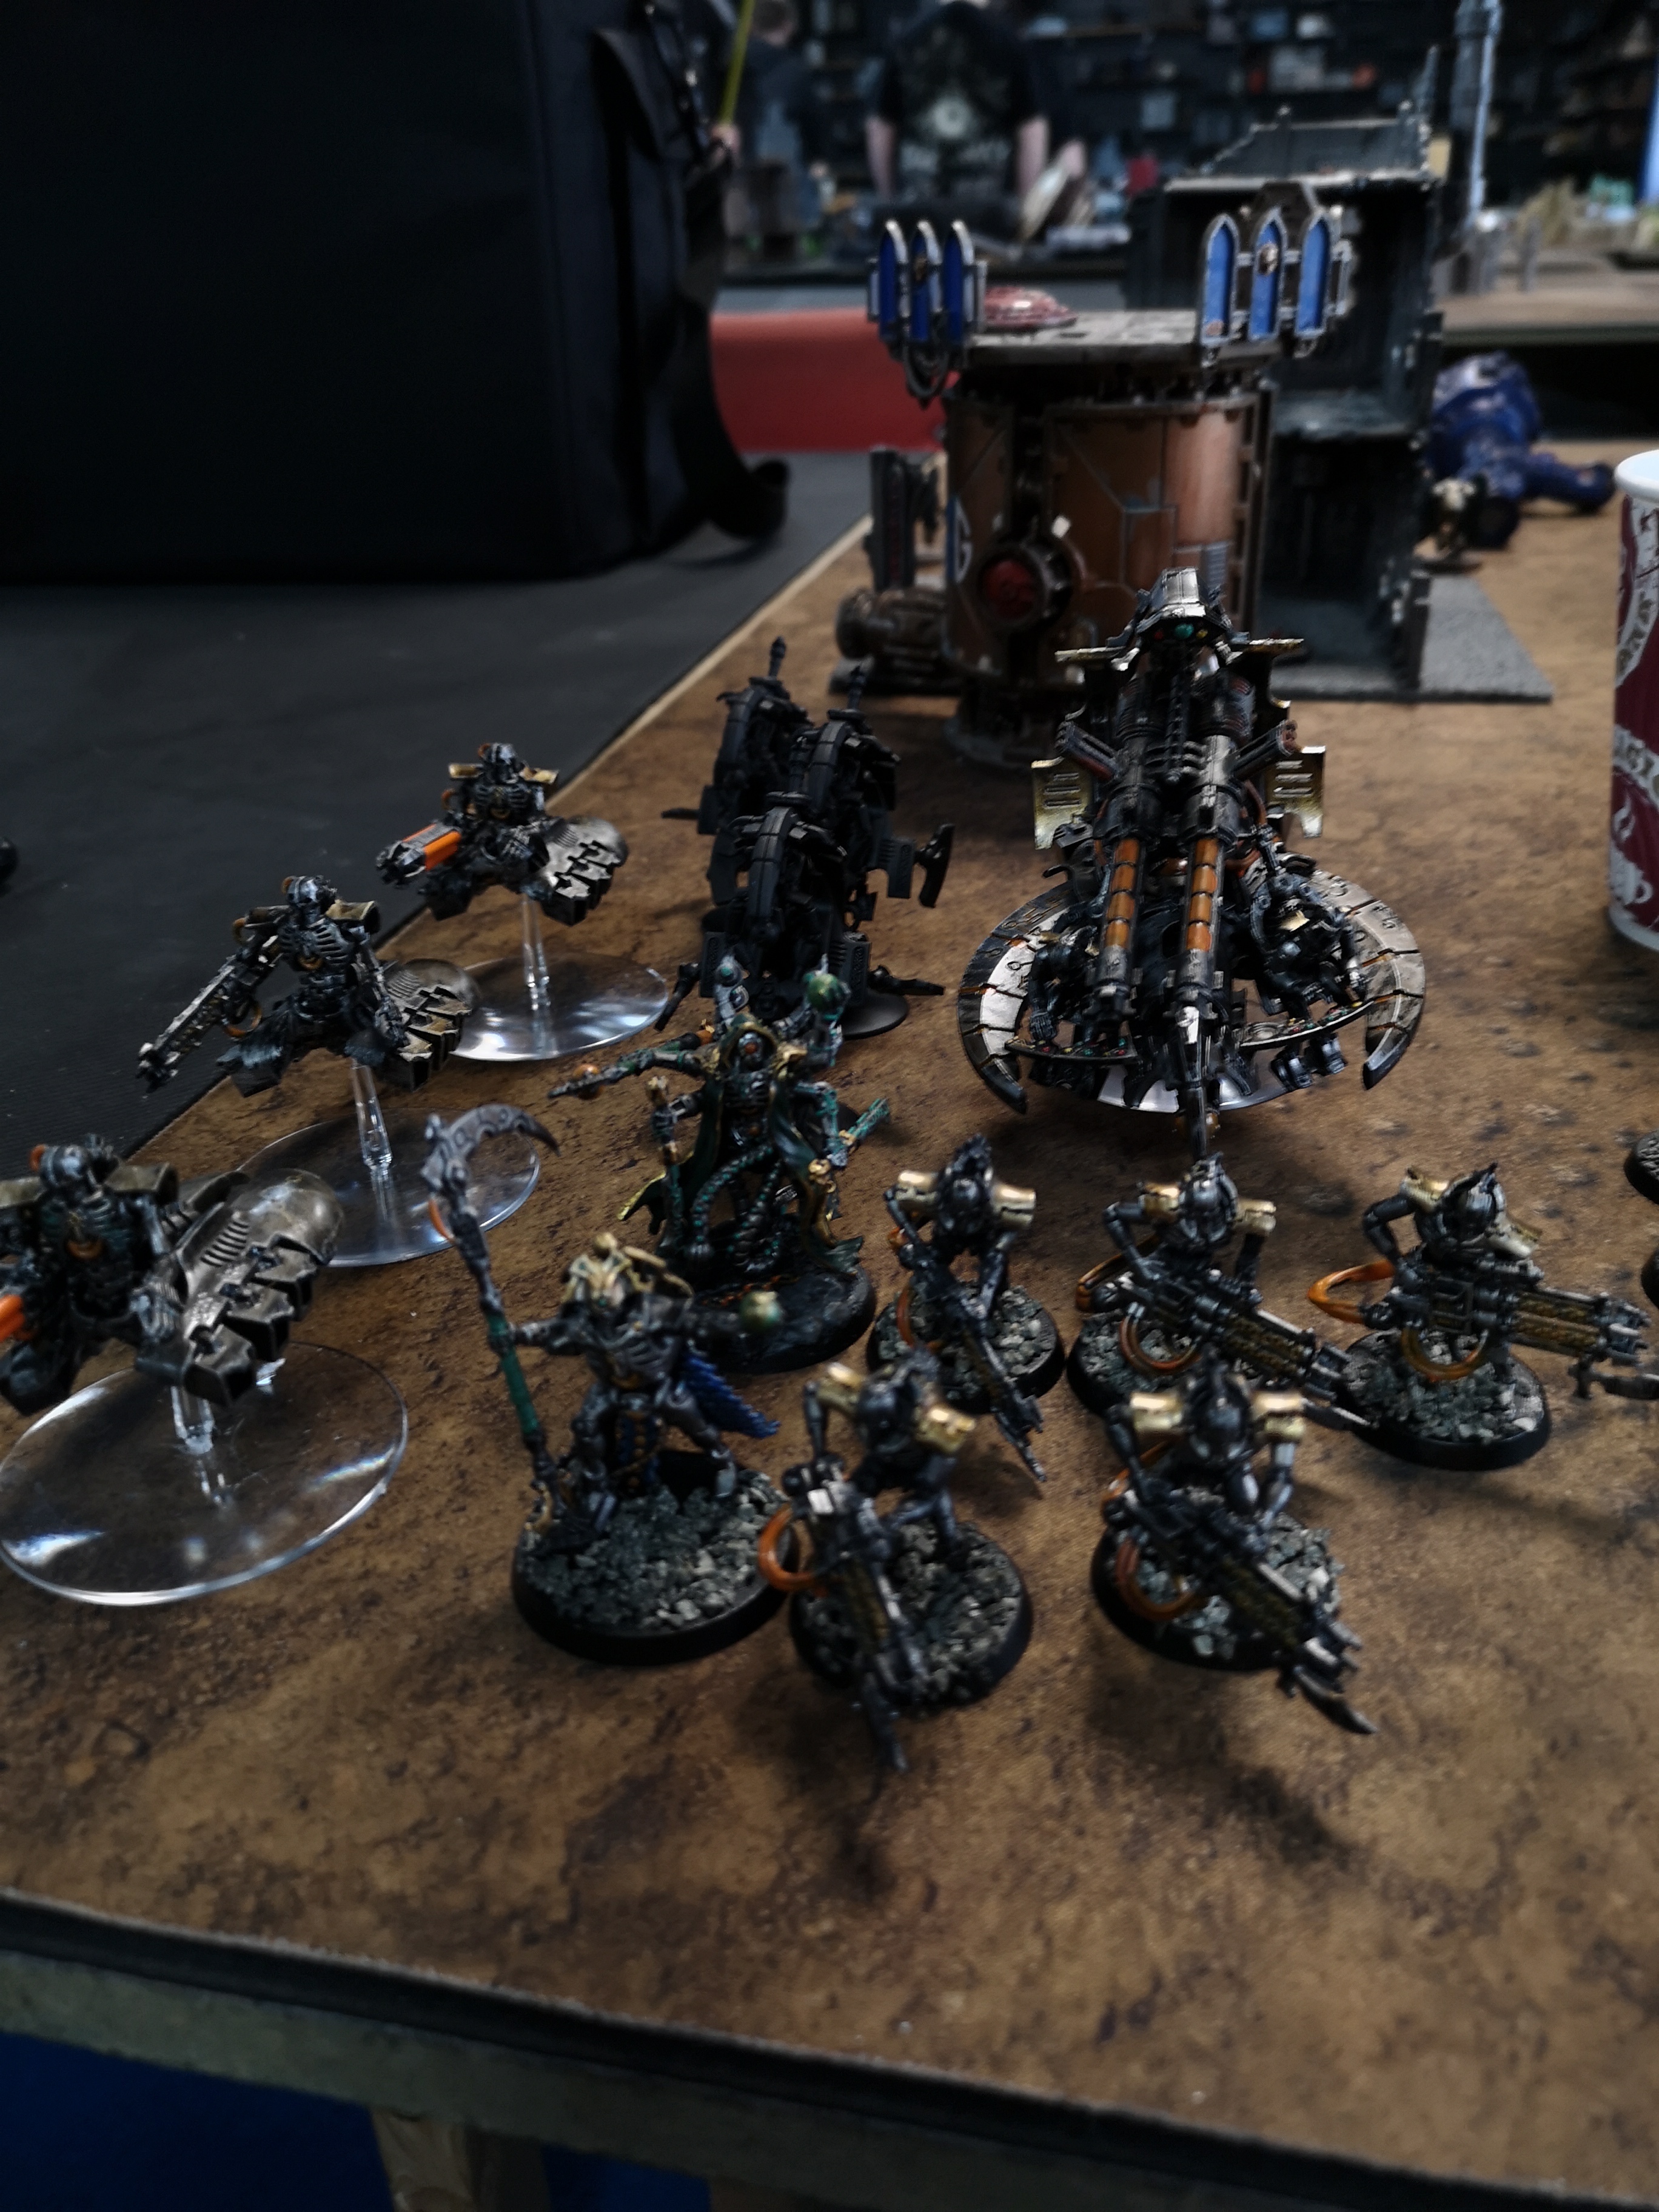
- Lord
Selections: Artefact: The Veil of Darkness, Hyperphase Sword, Warlord - Overlord
Selections: Hyperphase Sword
- Lord
- Troops
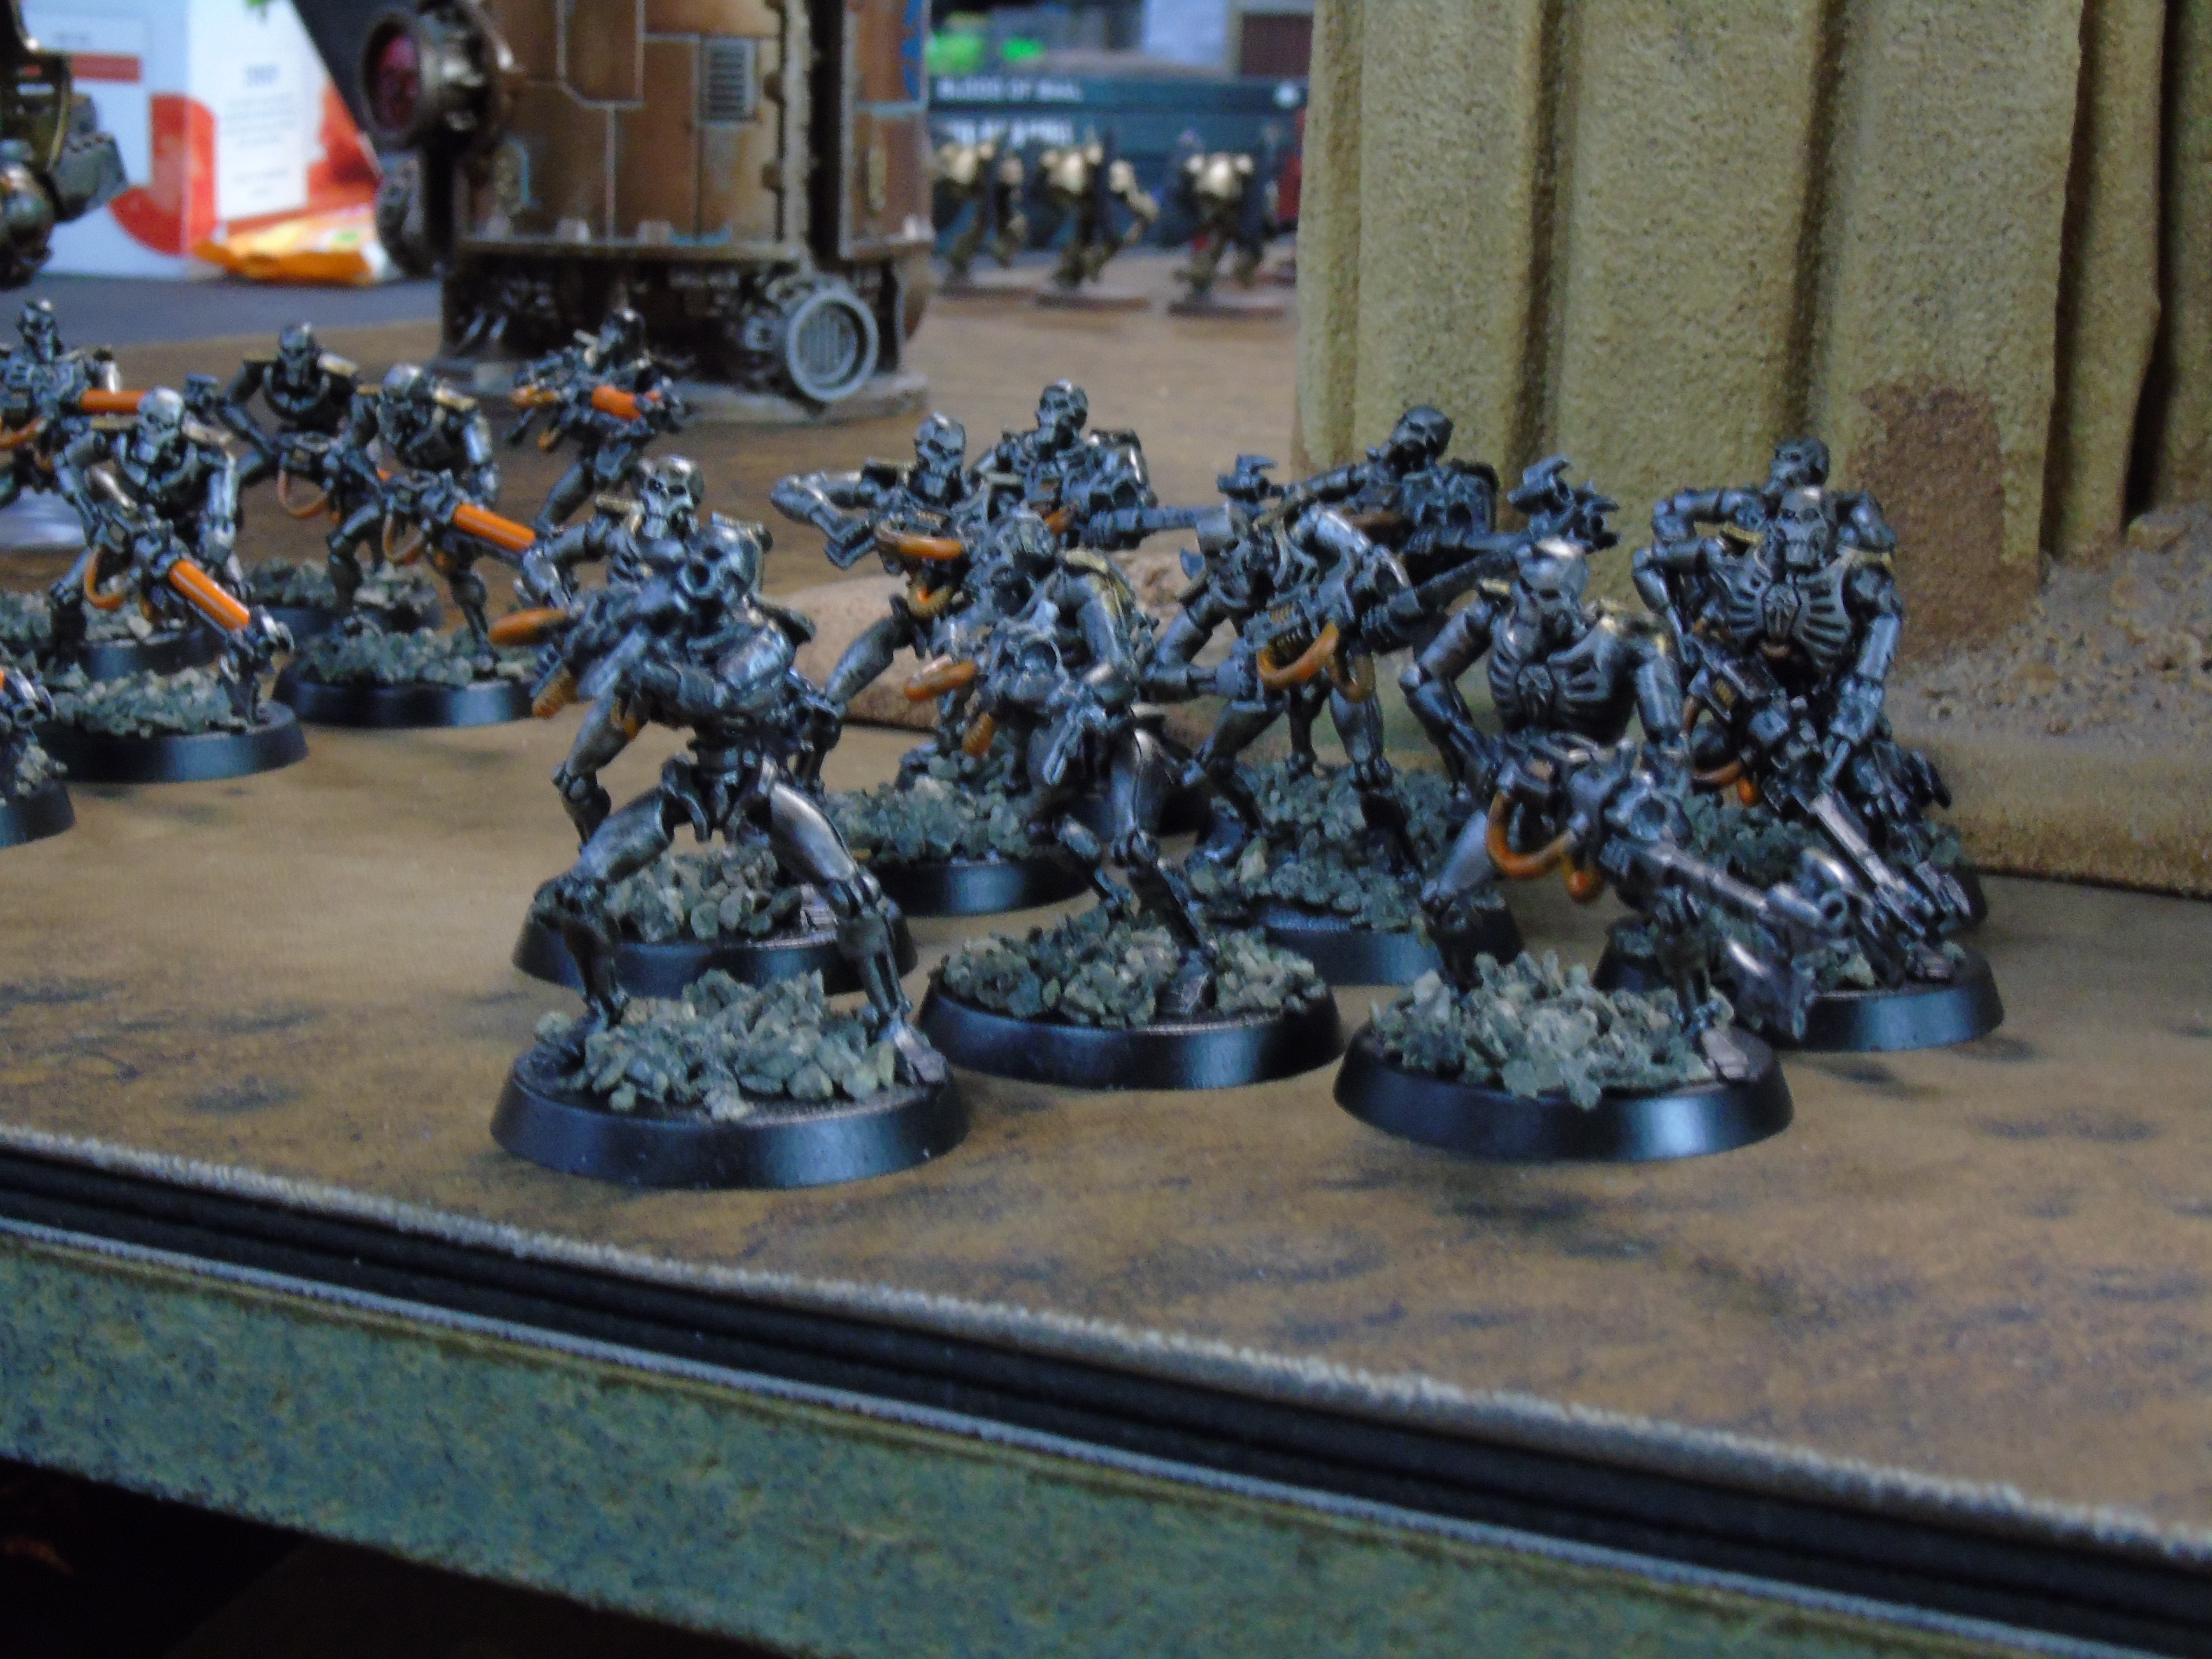
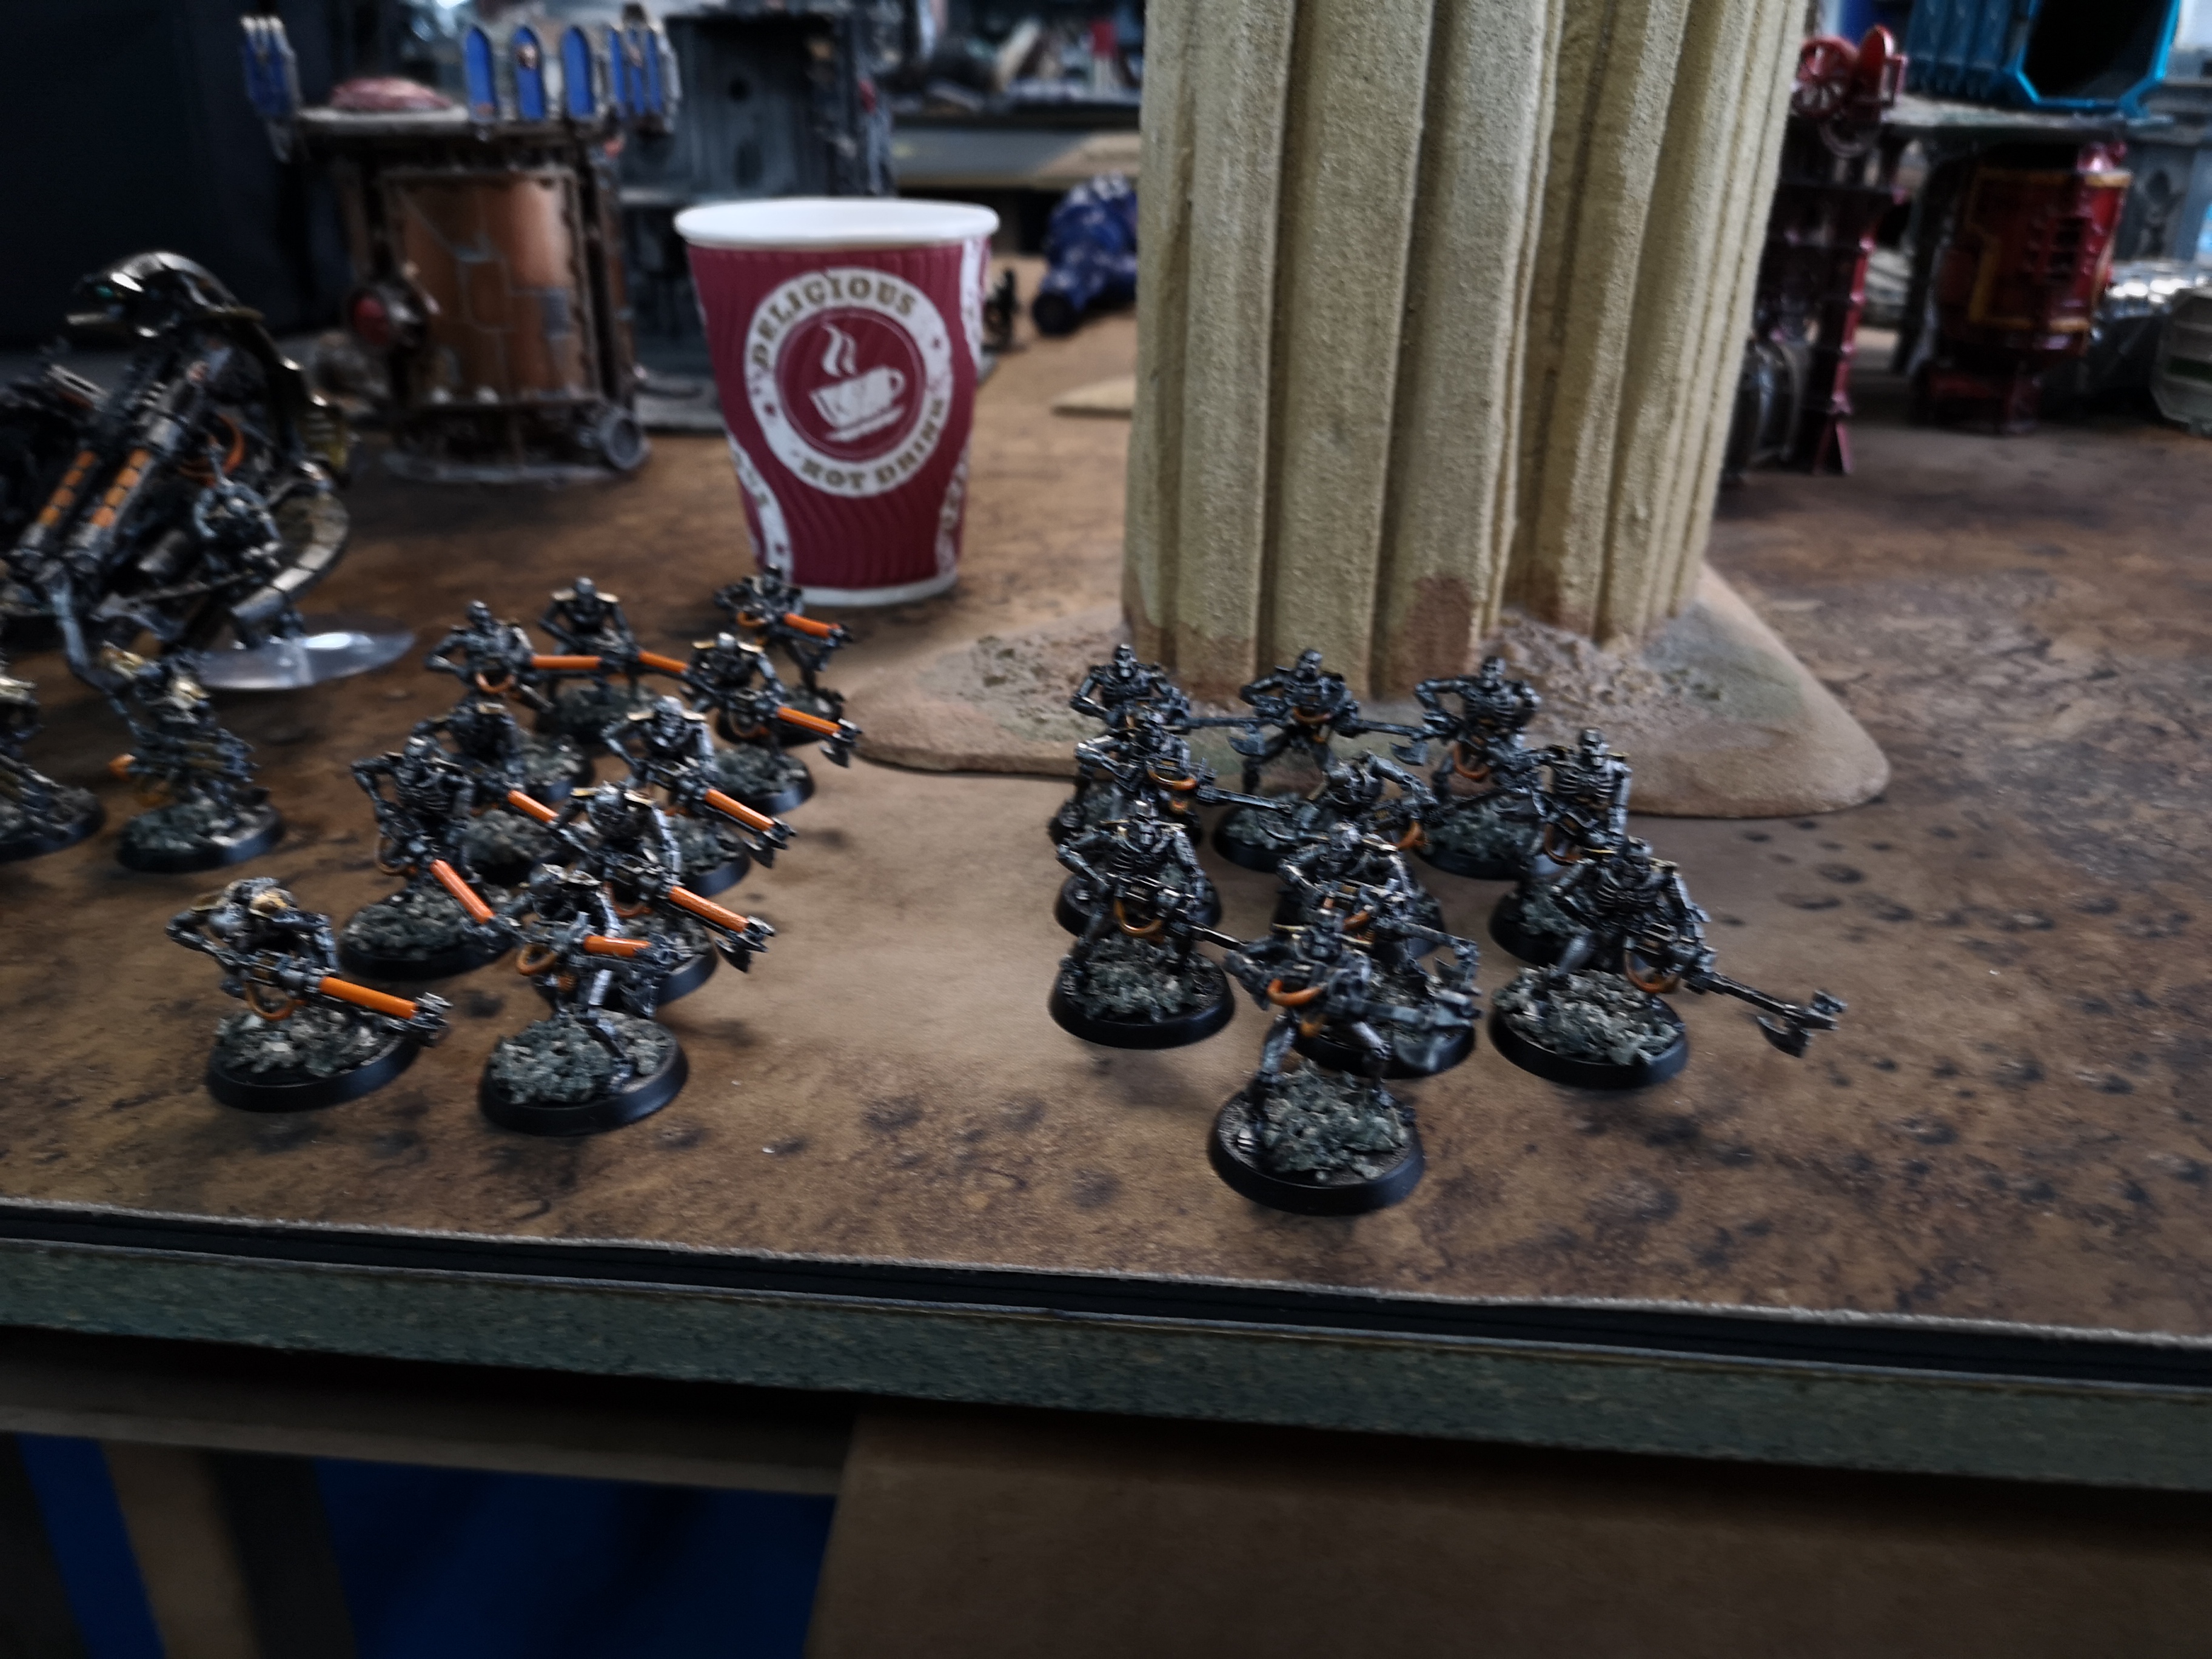
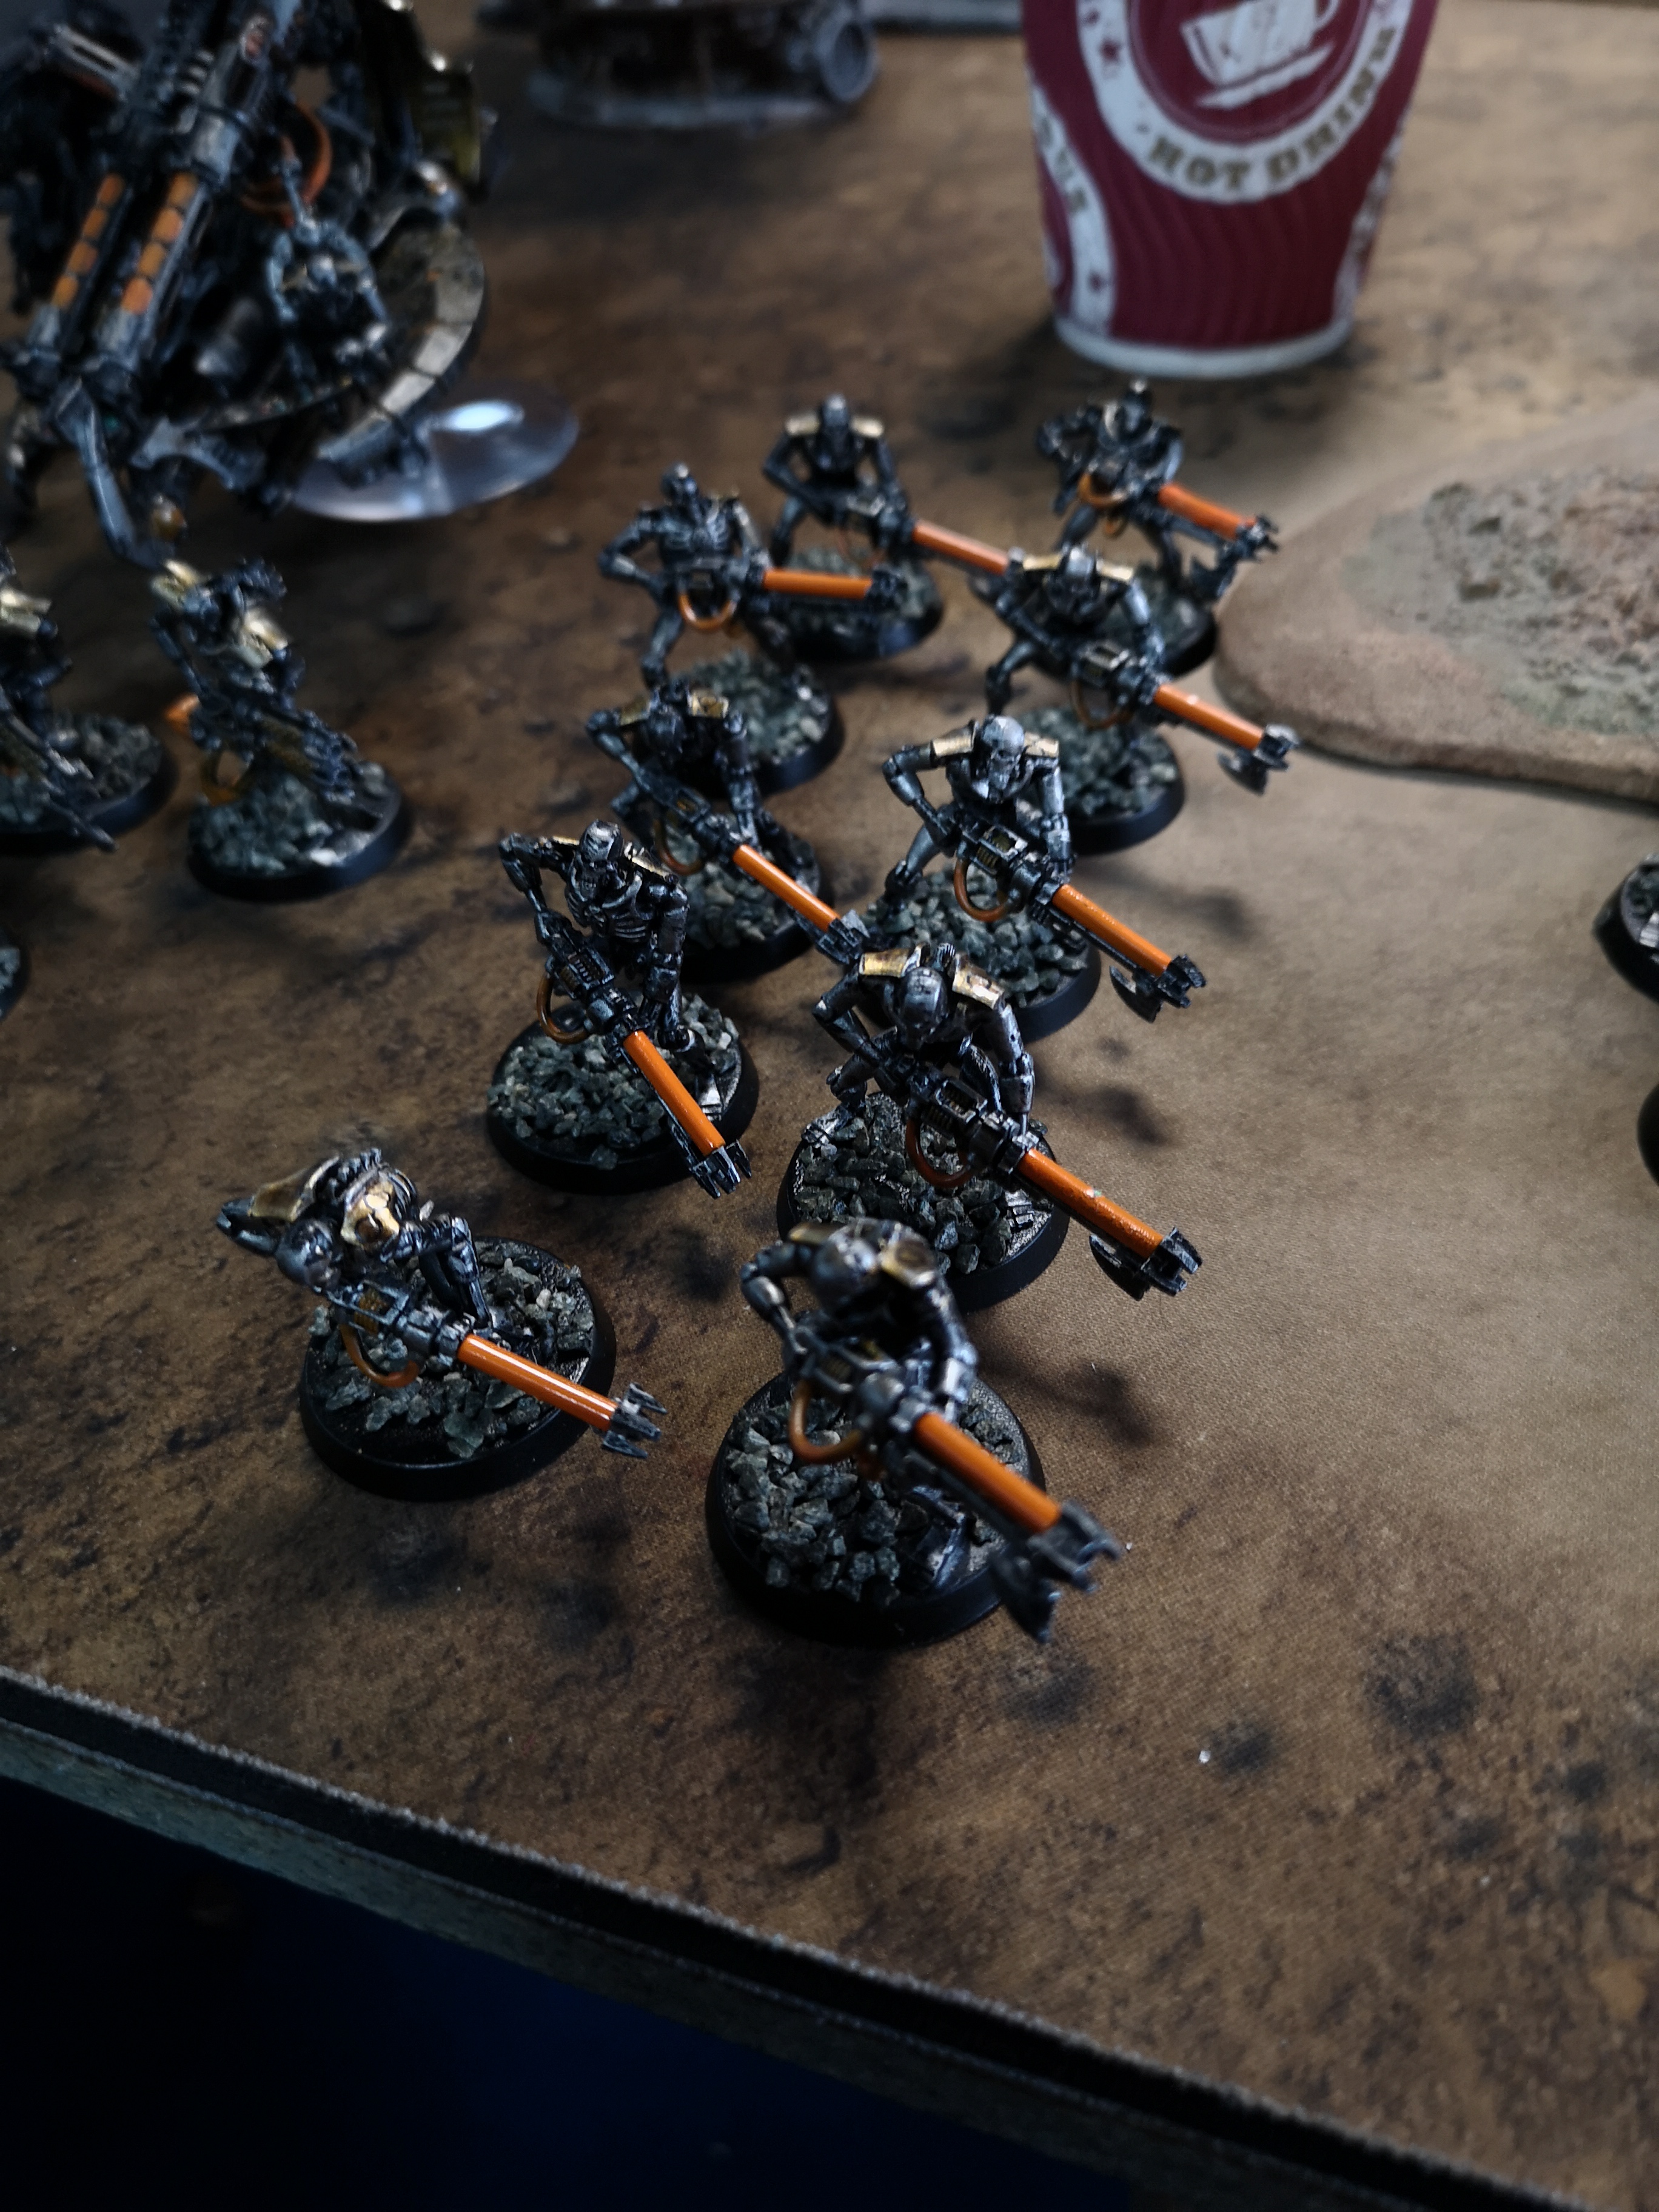
- Immortals
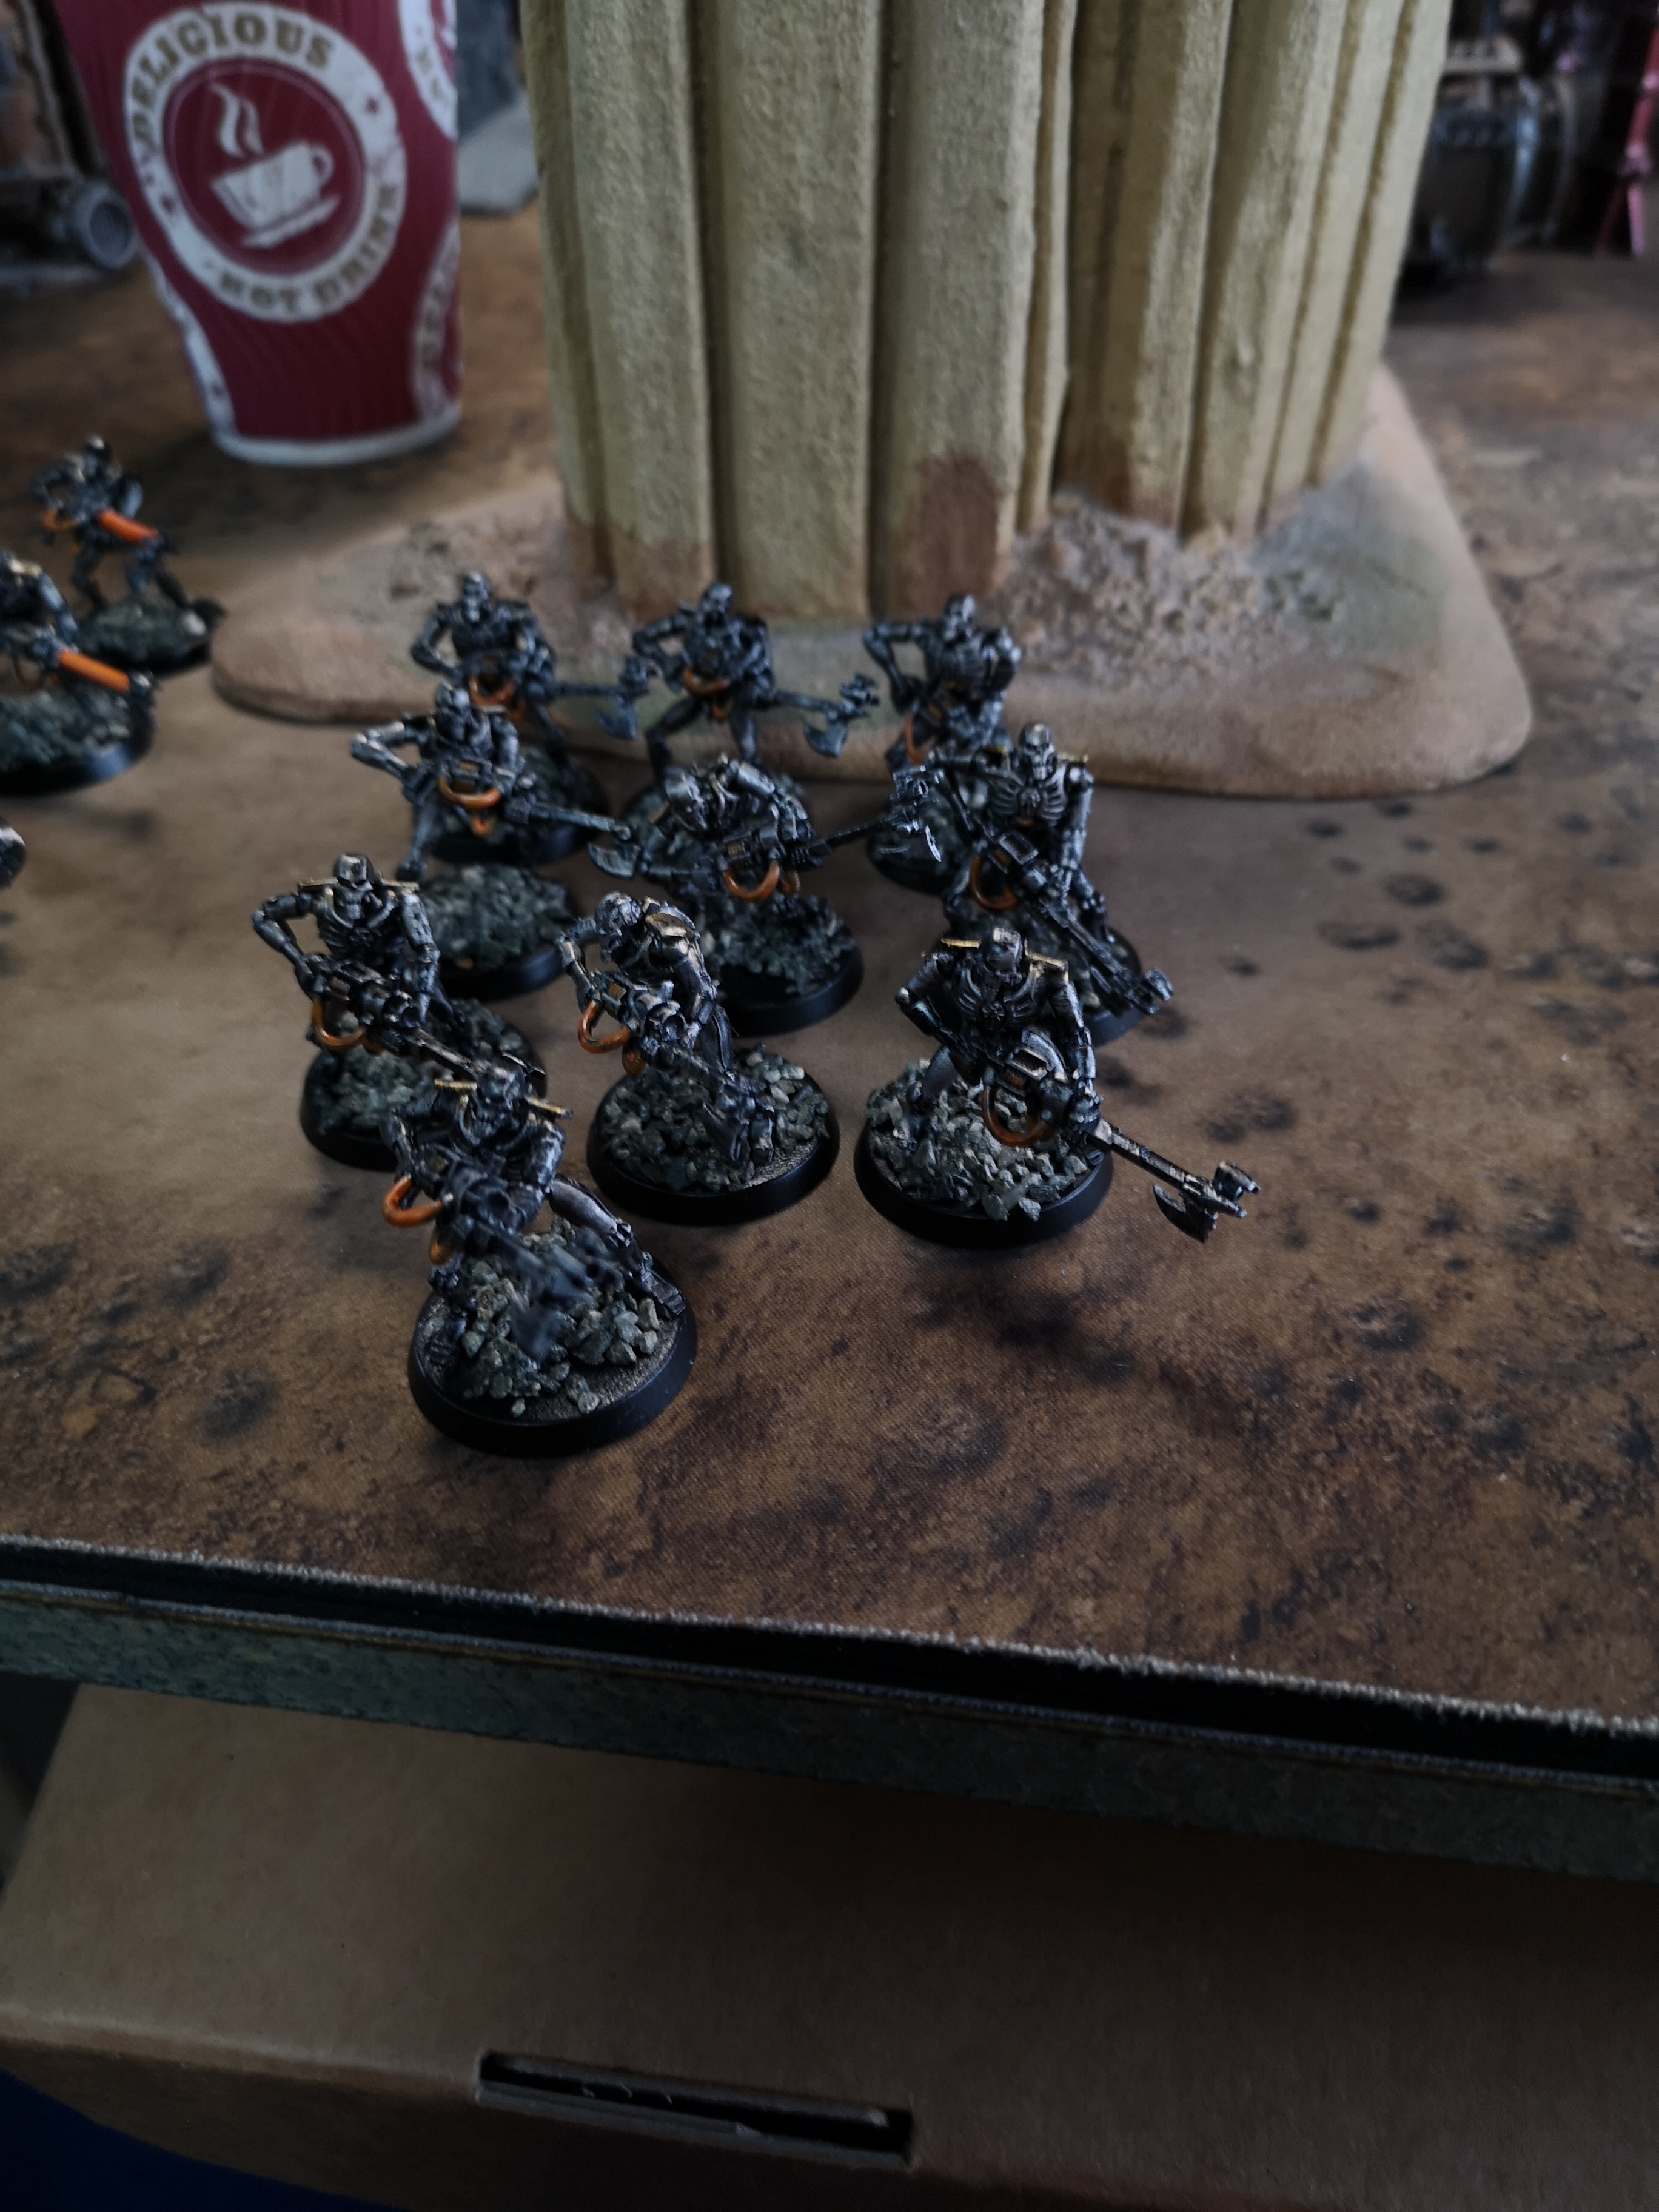
Selections: Gauss Blaster, 5x Immortal - Necron Warriors
Selections: 10x Necron Warrior - Necron Warriors
Selections: 10x Necron Warrior
- Immortals
- Fast Attack
- Destroyers
- 3x Destroyer
Selections: 3x Gauss Cannon
- 3x Destroyer
- Tomb Blades
- Tomb Blade
Selections: Particle Beamer, Shieldvanes - Tomb Blade
Selections: Particle Beamer, Shieldvanes - Tomb Blade
Selections: Particle Beamer, Shieldvanes
- Tomb Blade
- Destroyers
- Heavy Support
- Annihilation Barge
Selections: Tesla Cannon
- Annihilation Barge
- No Force Org Slot
As I had come prepared for a 1000 point game I had to make some hurried changes to my list and as a result ended up playing at 760 points. Just how we roll.
For me the aims were:
- Survive into turn 3 and still have a realistic chance of winning
- Test out the tomb blades
- Try and minimise my exposure to Blood Angels close combat units
- Try and concentrate my firepower and make better use of the necrons synergistic traits.
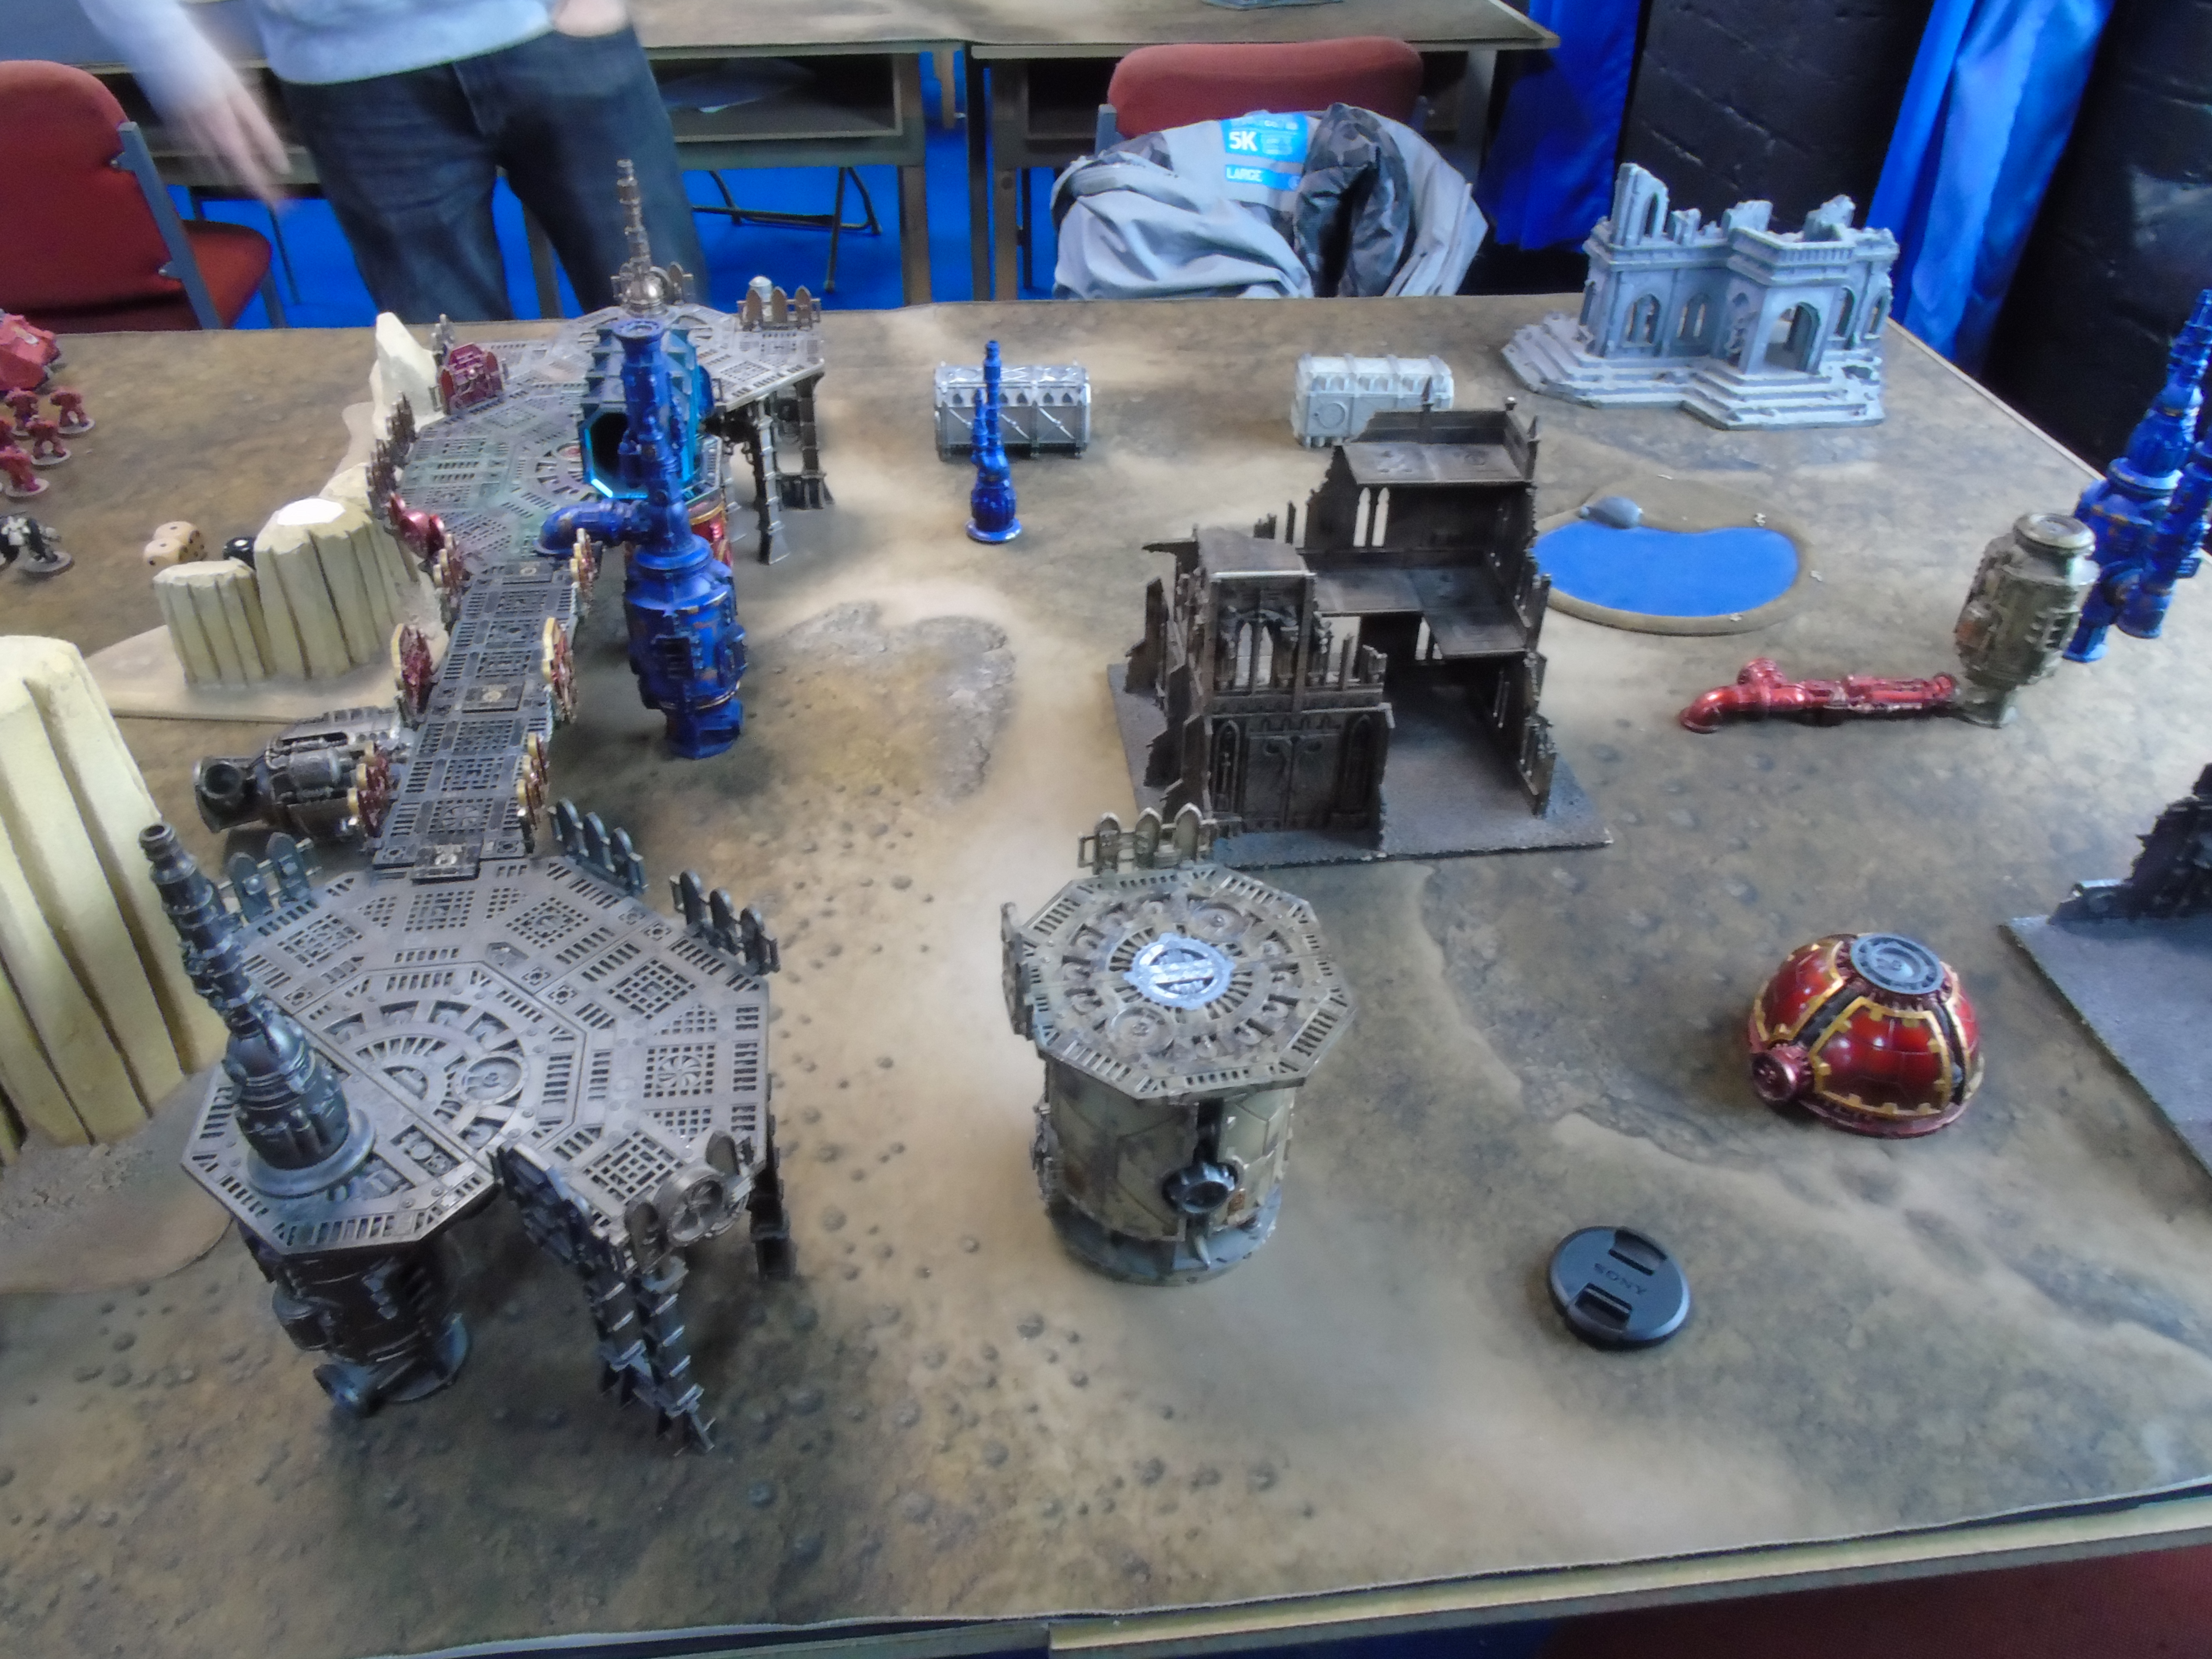
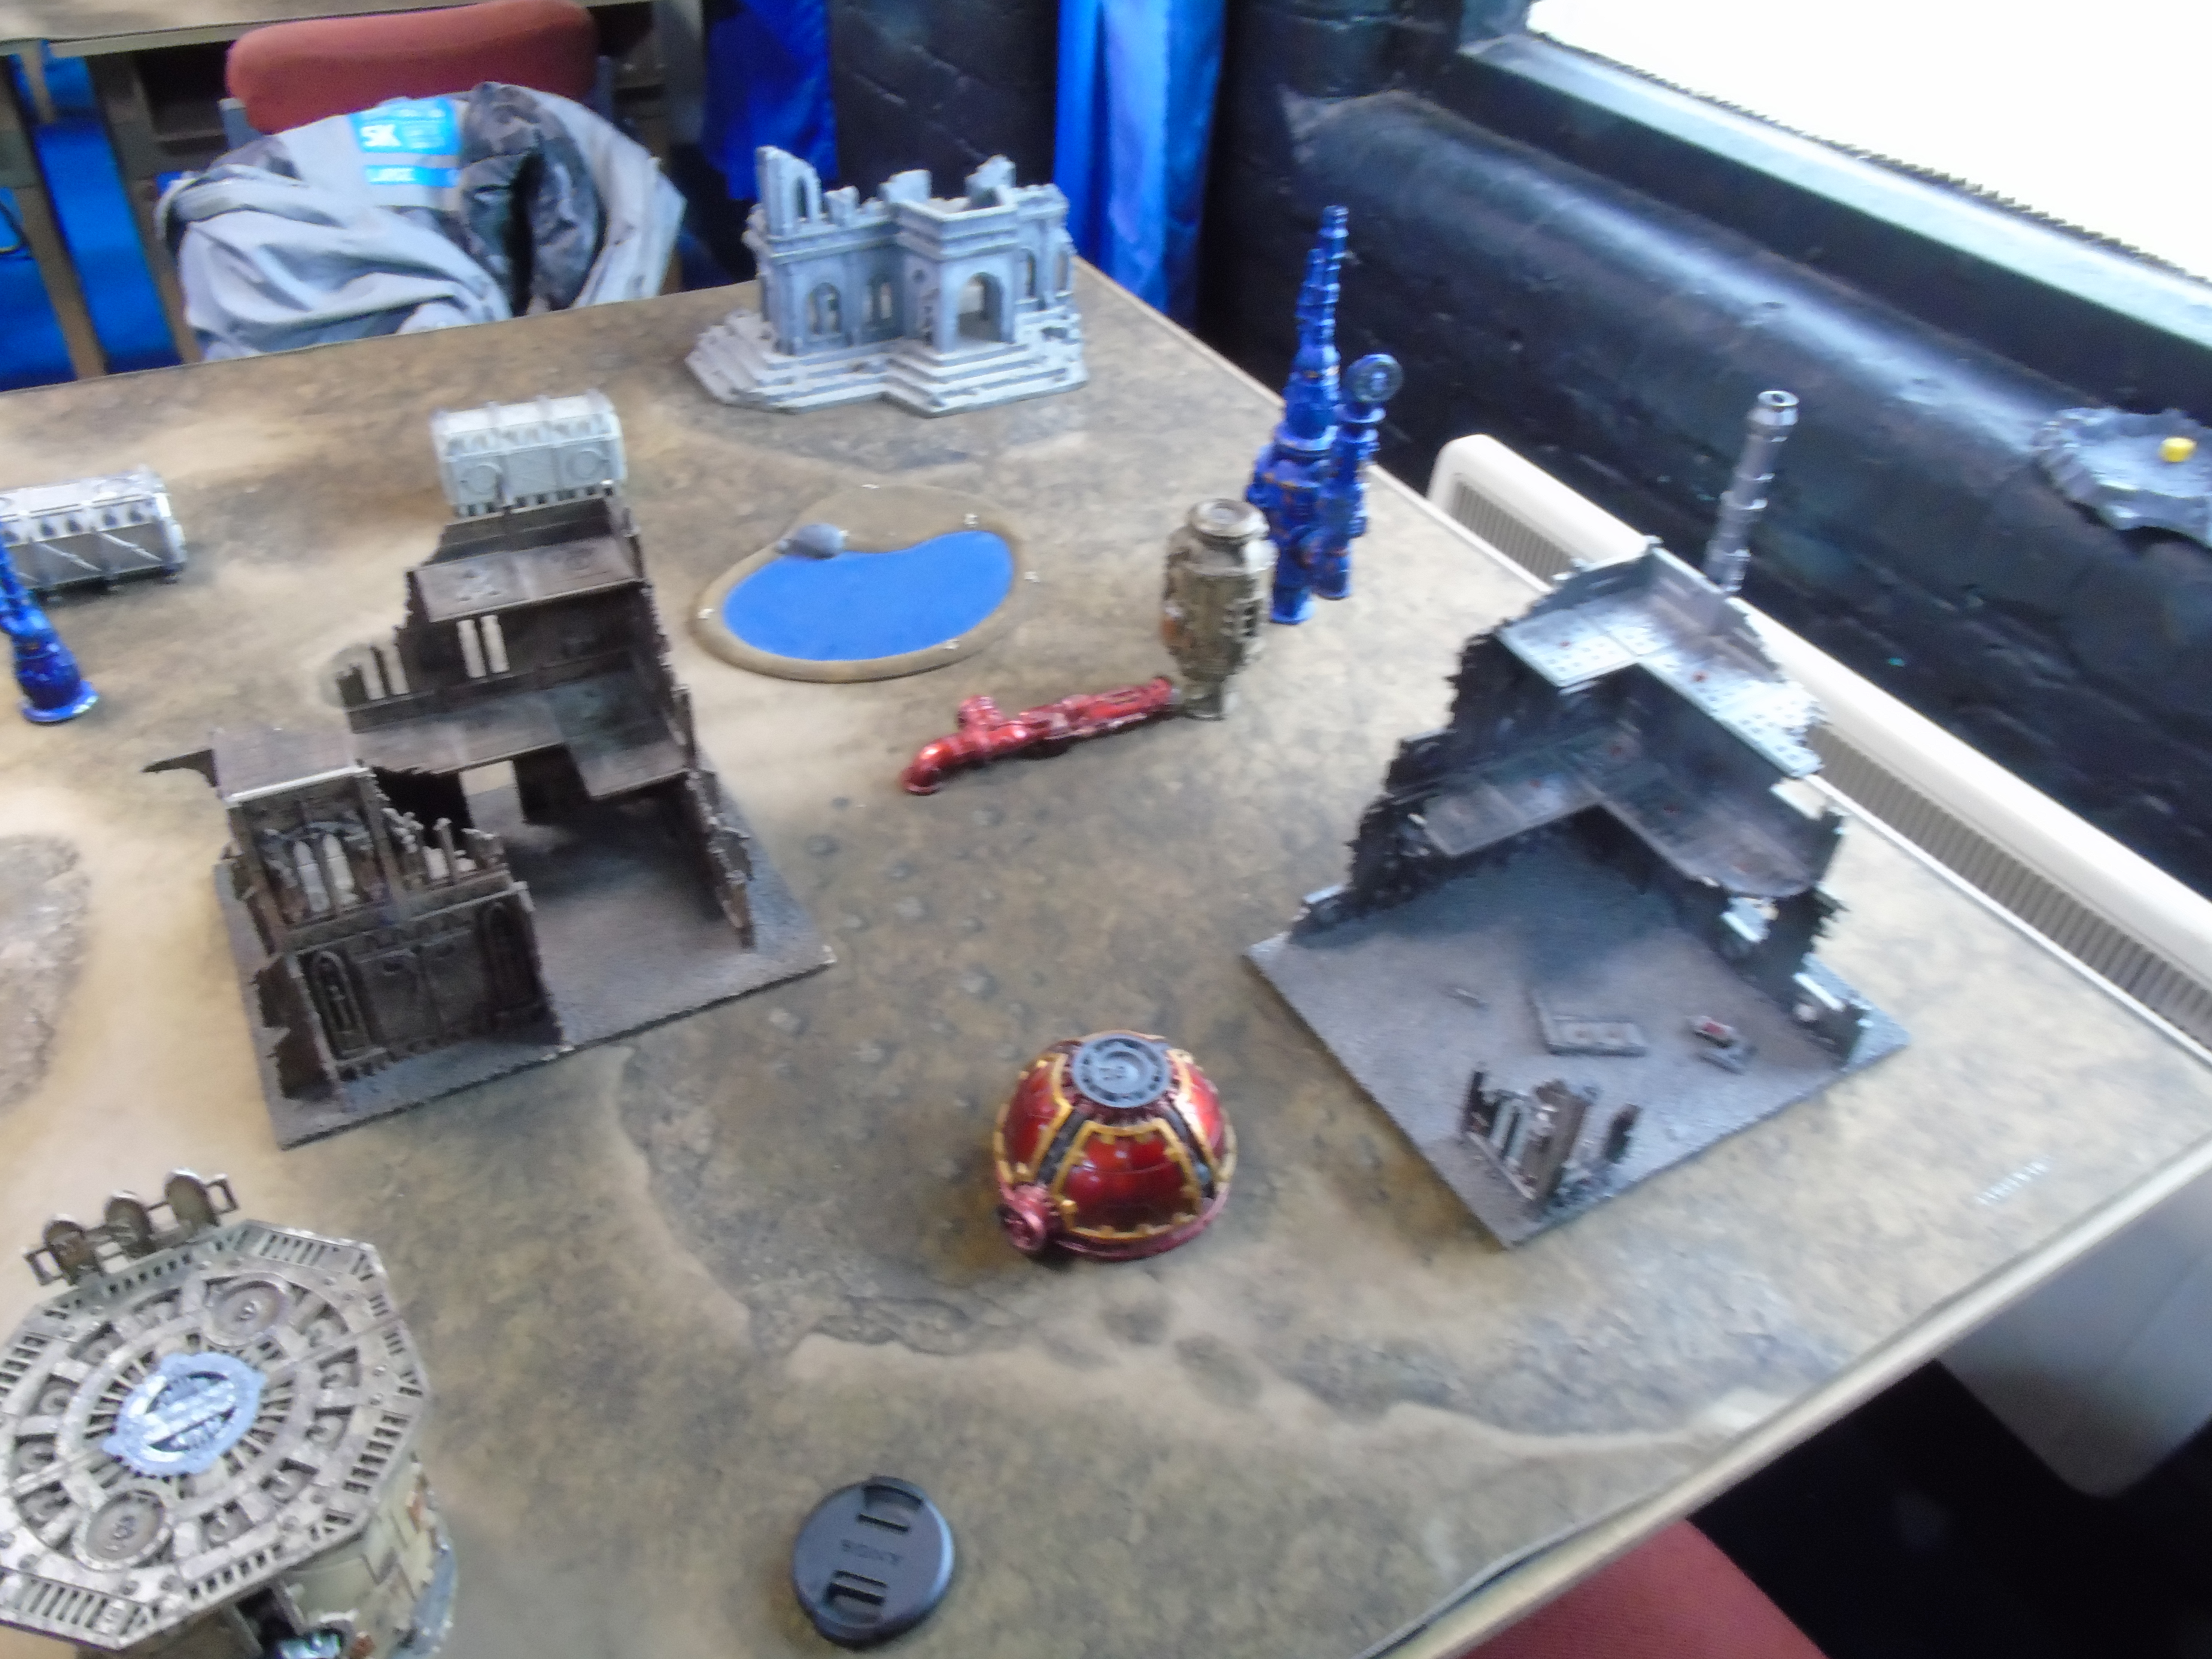
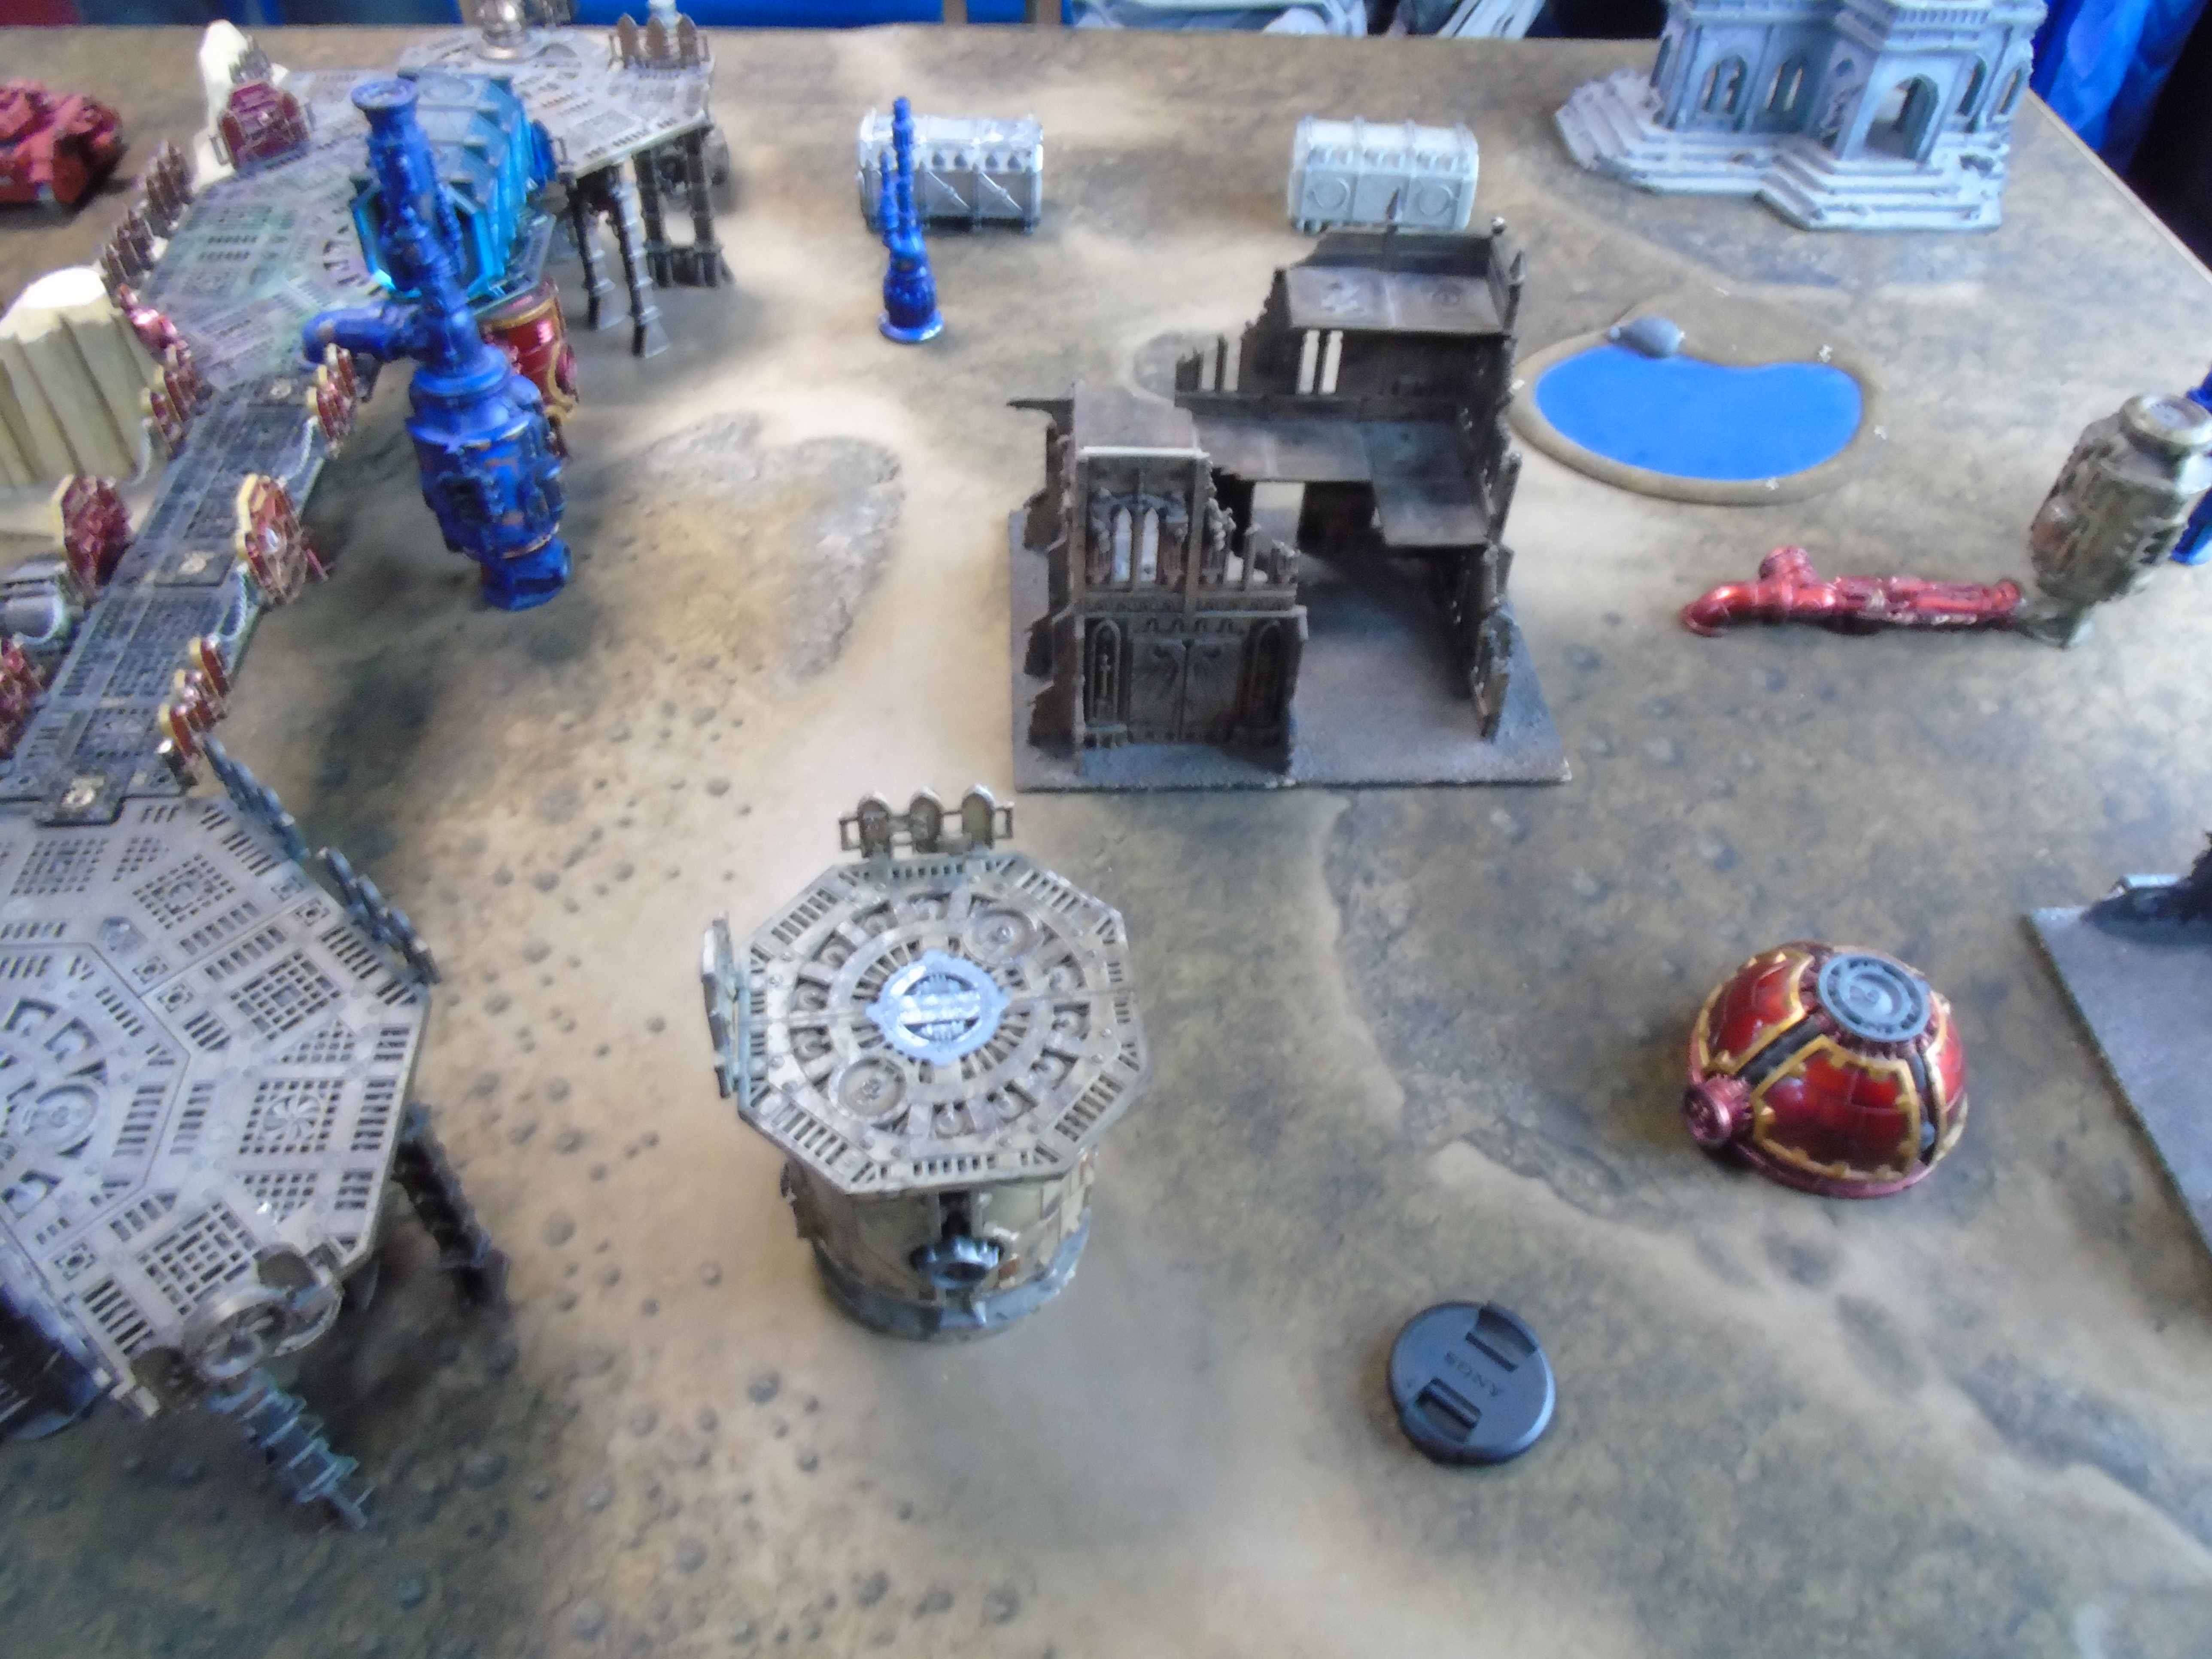
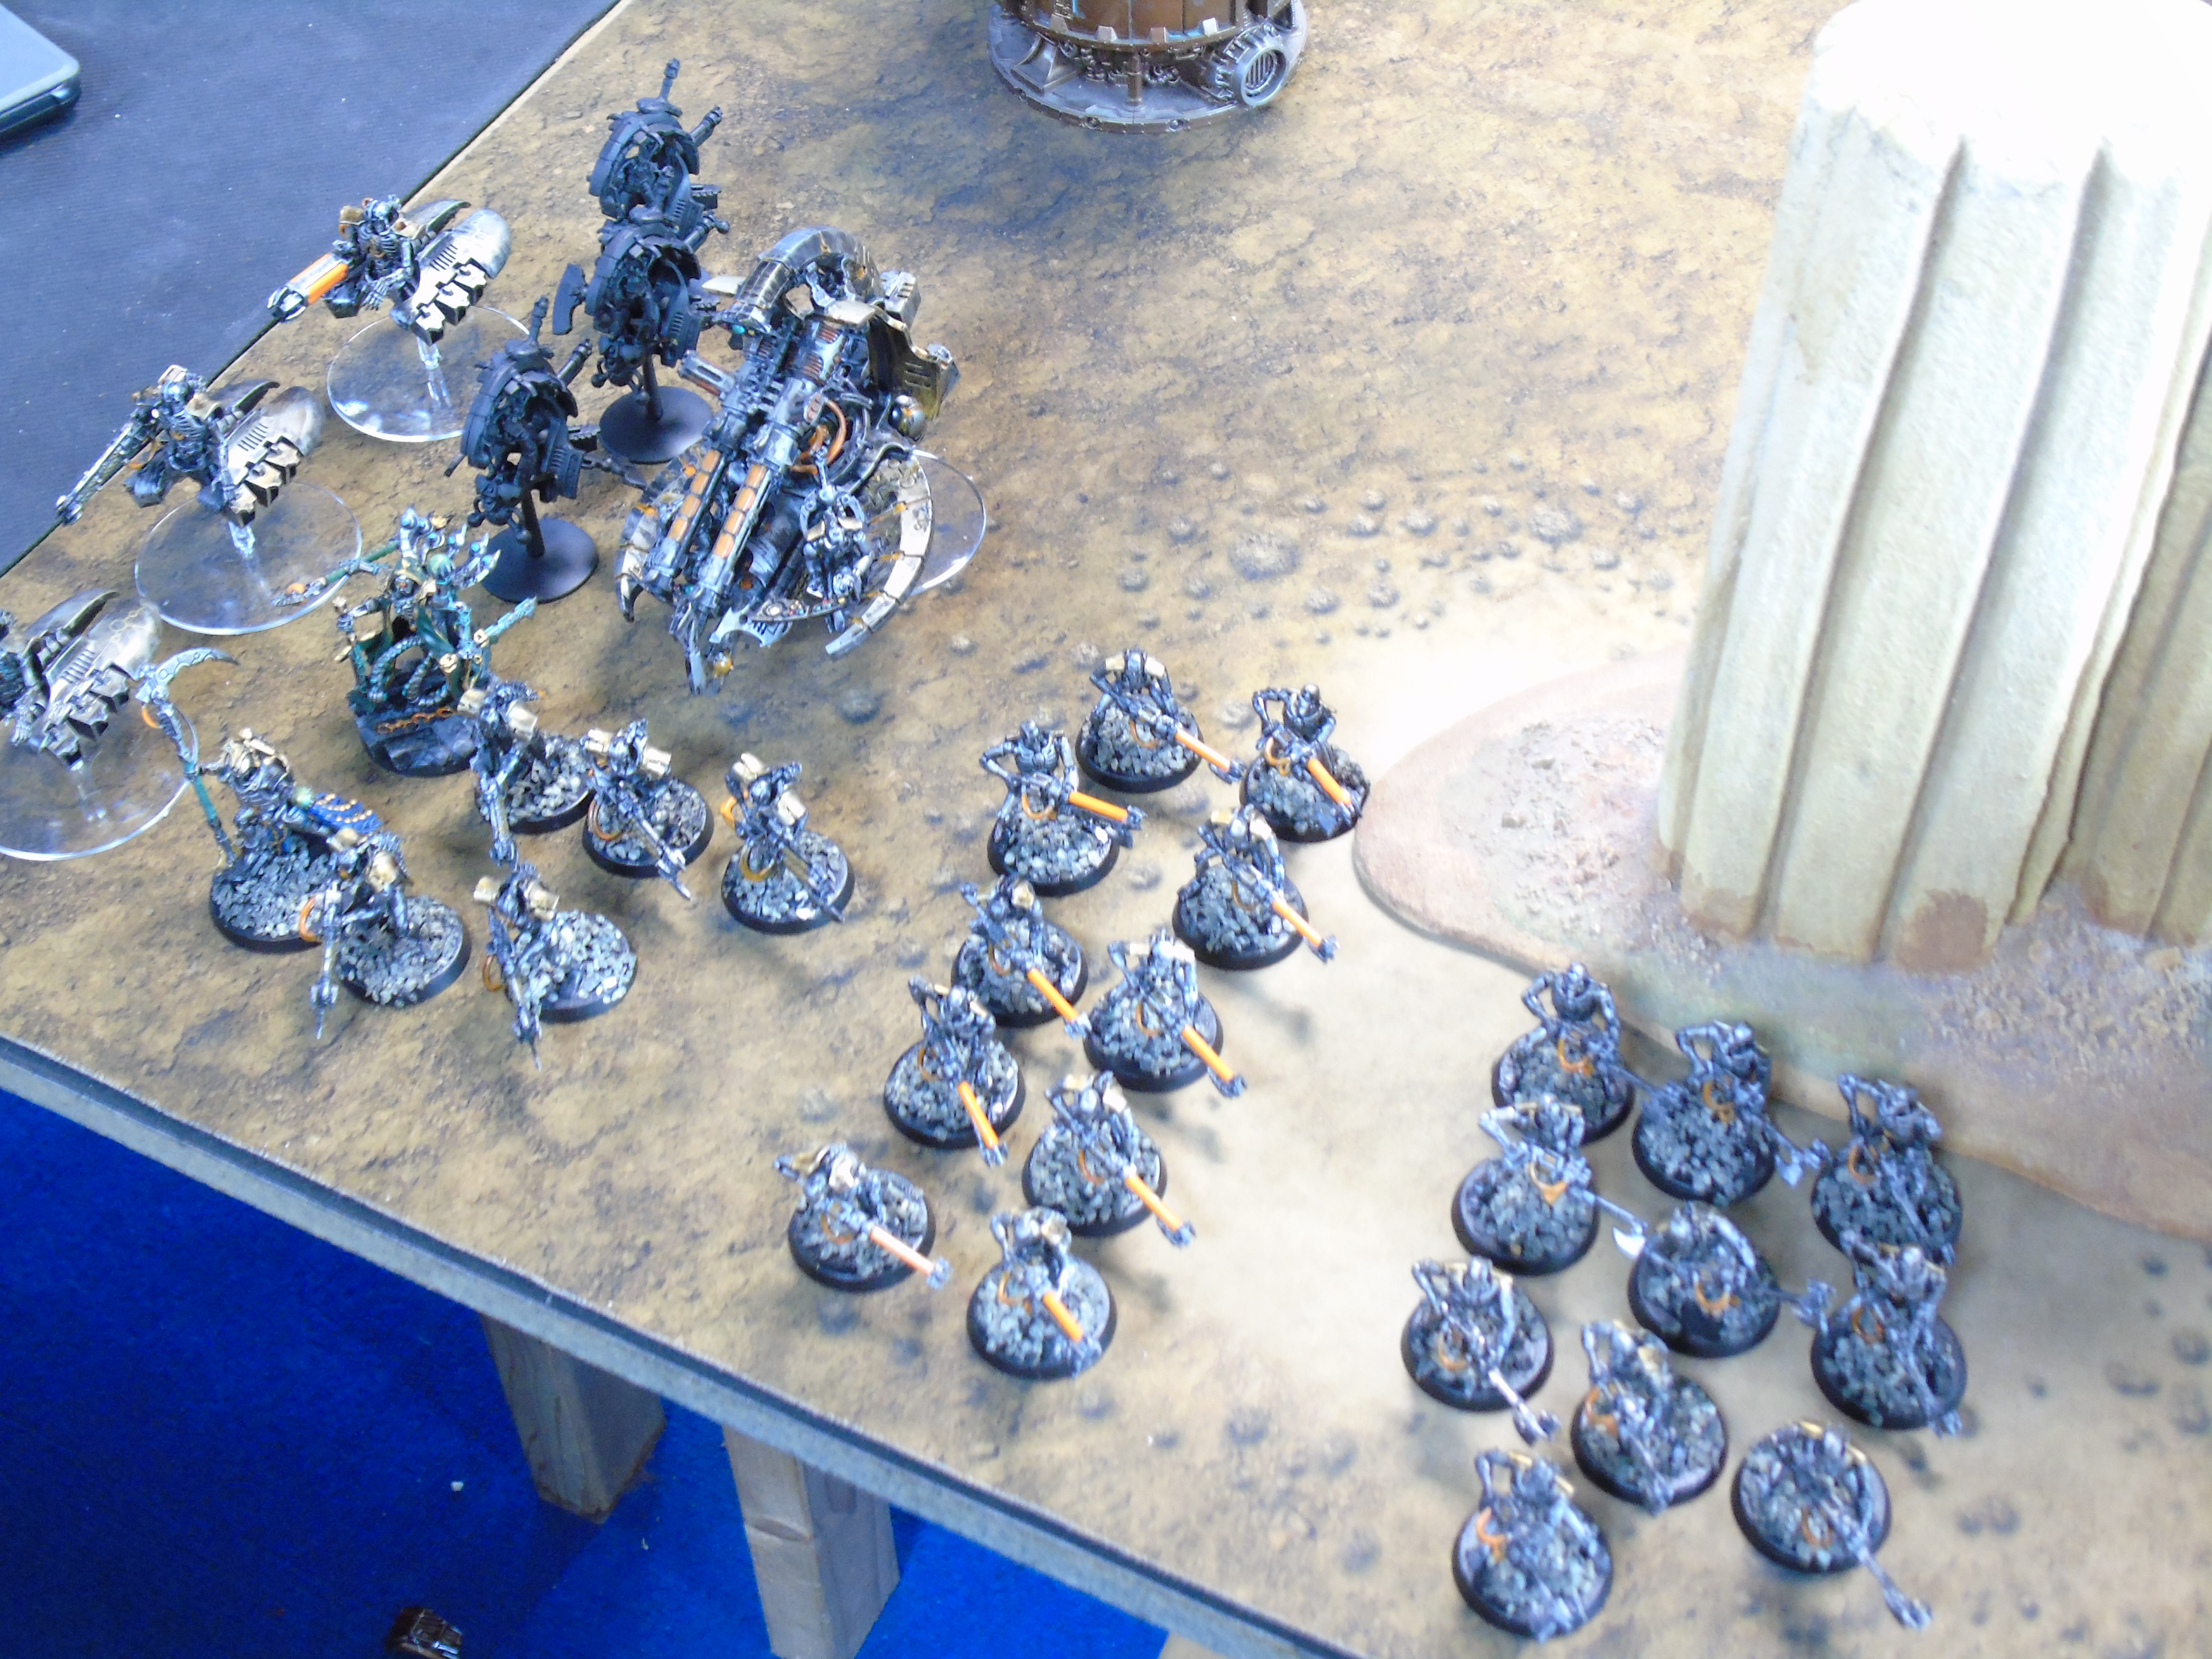
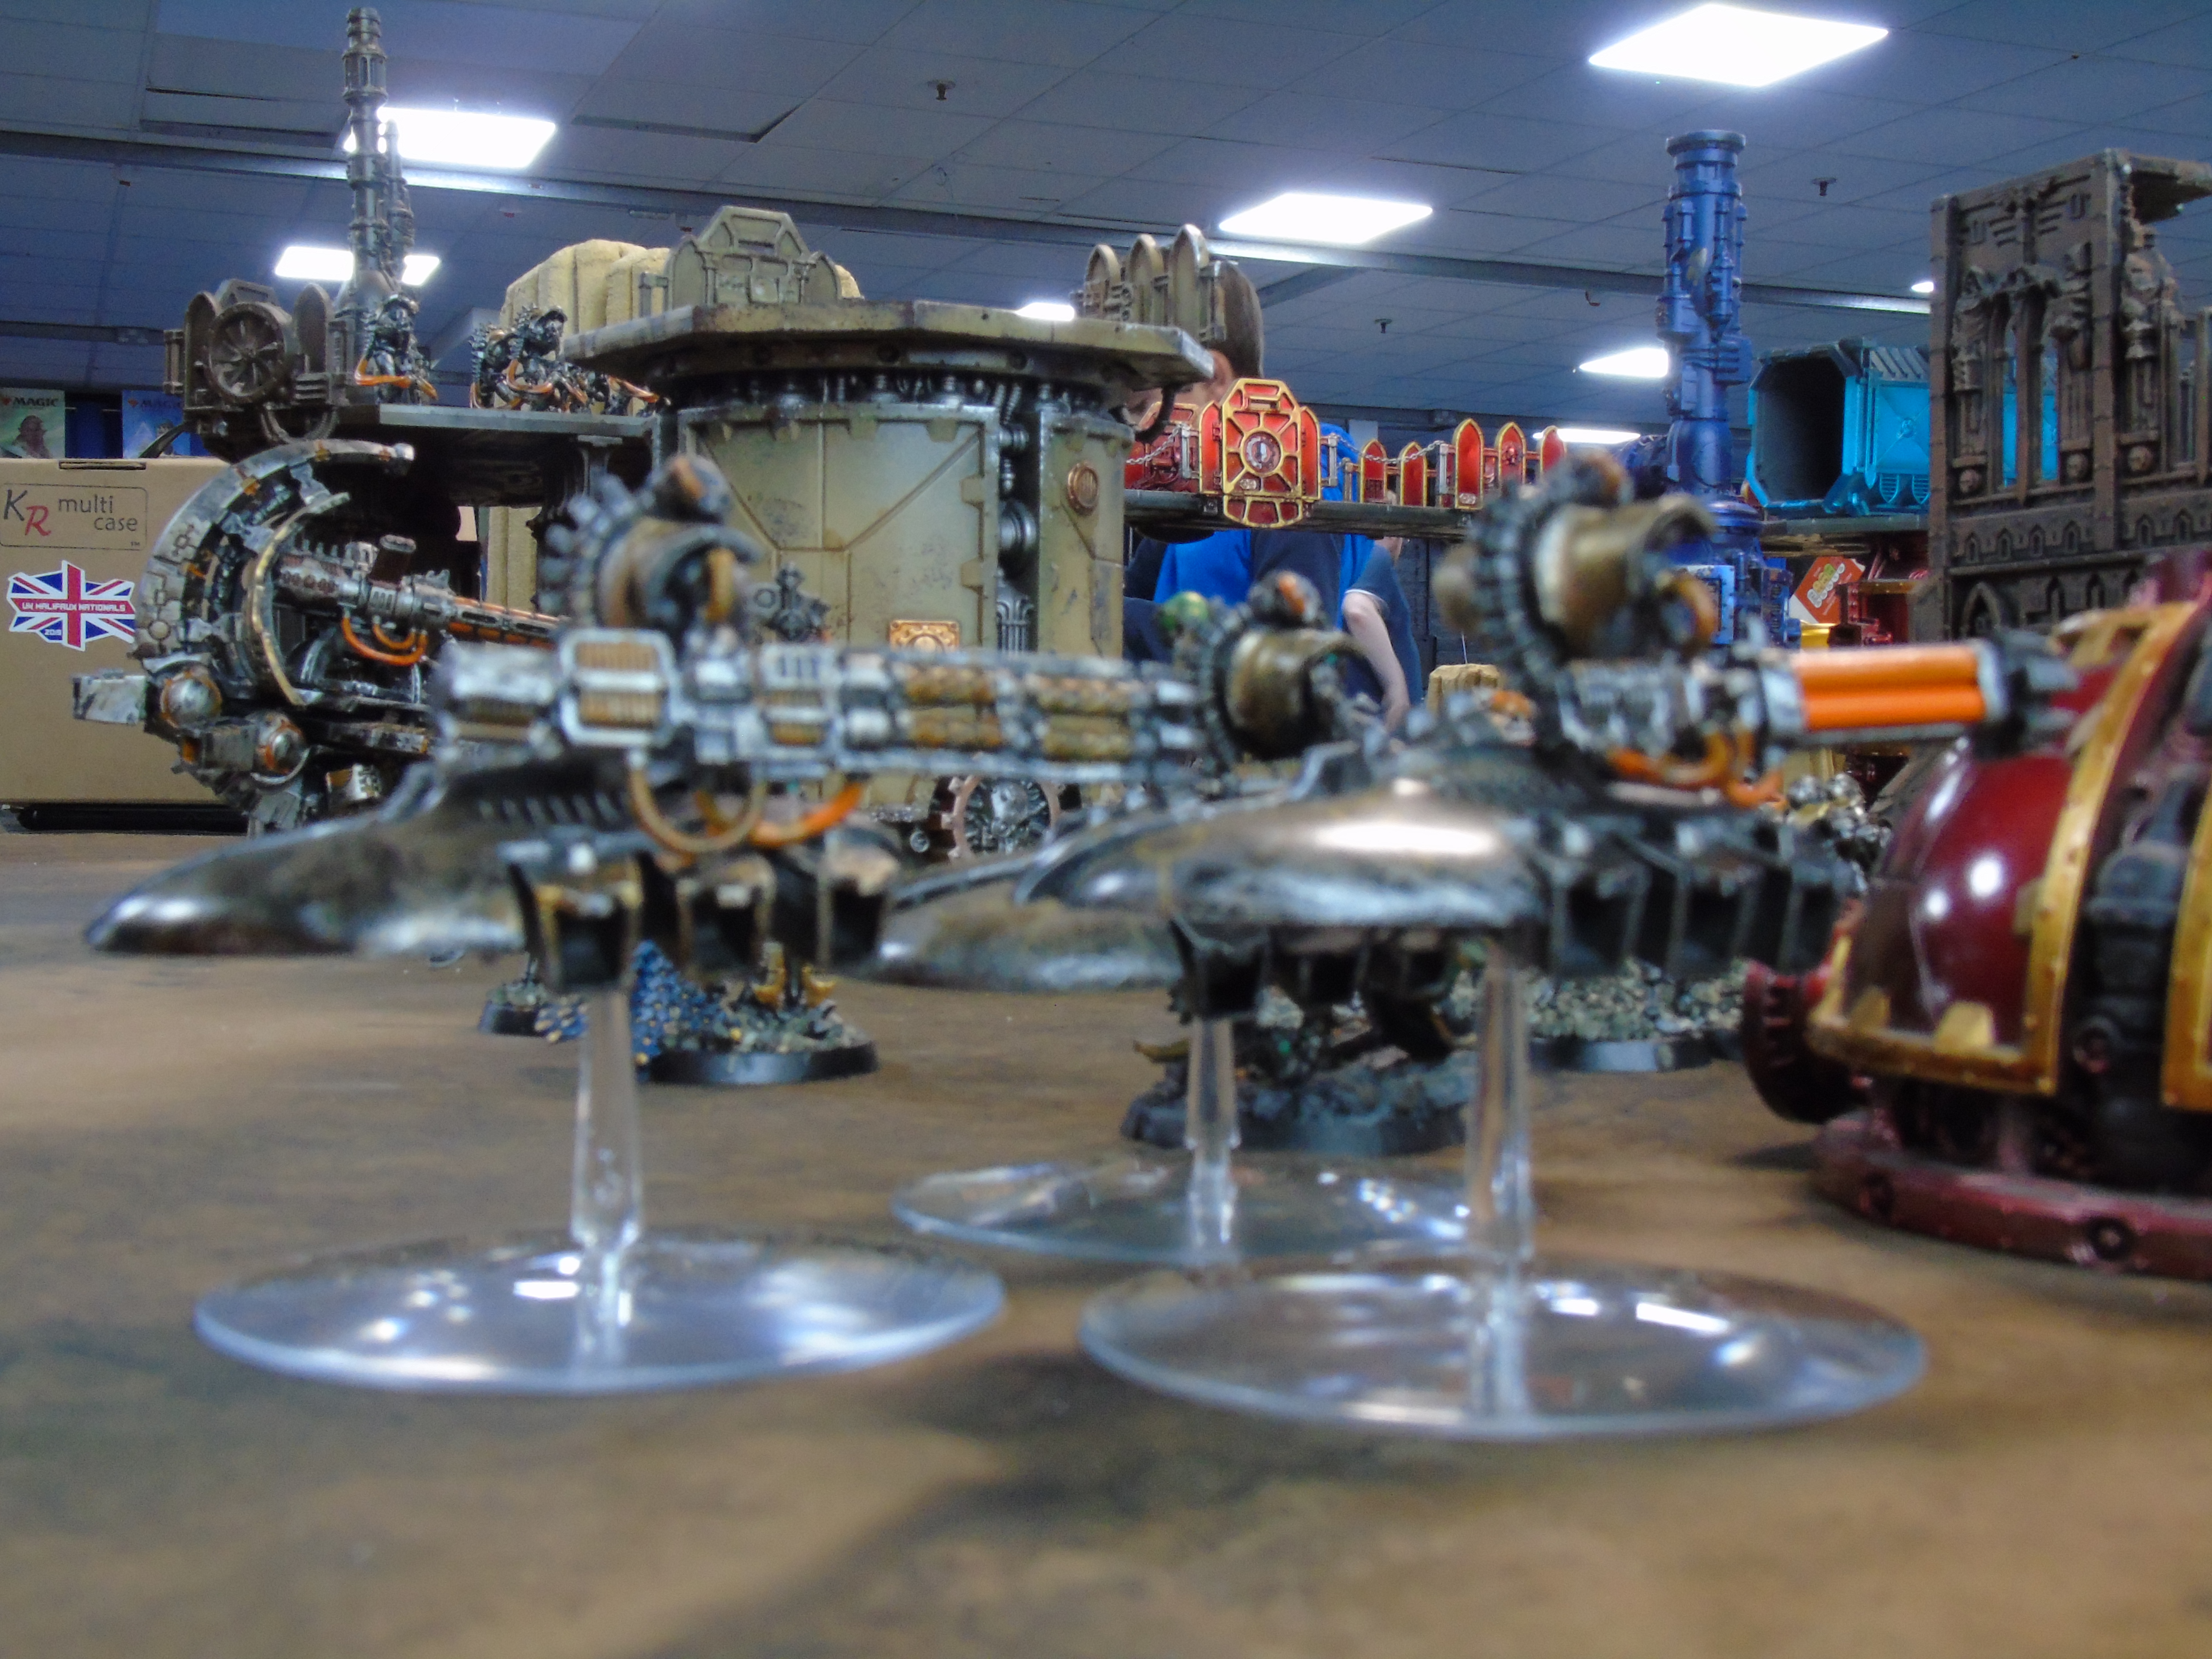
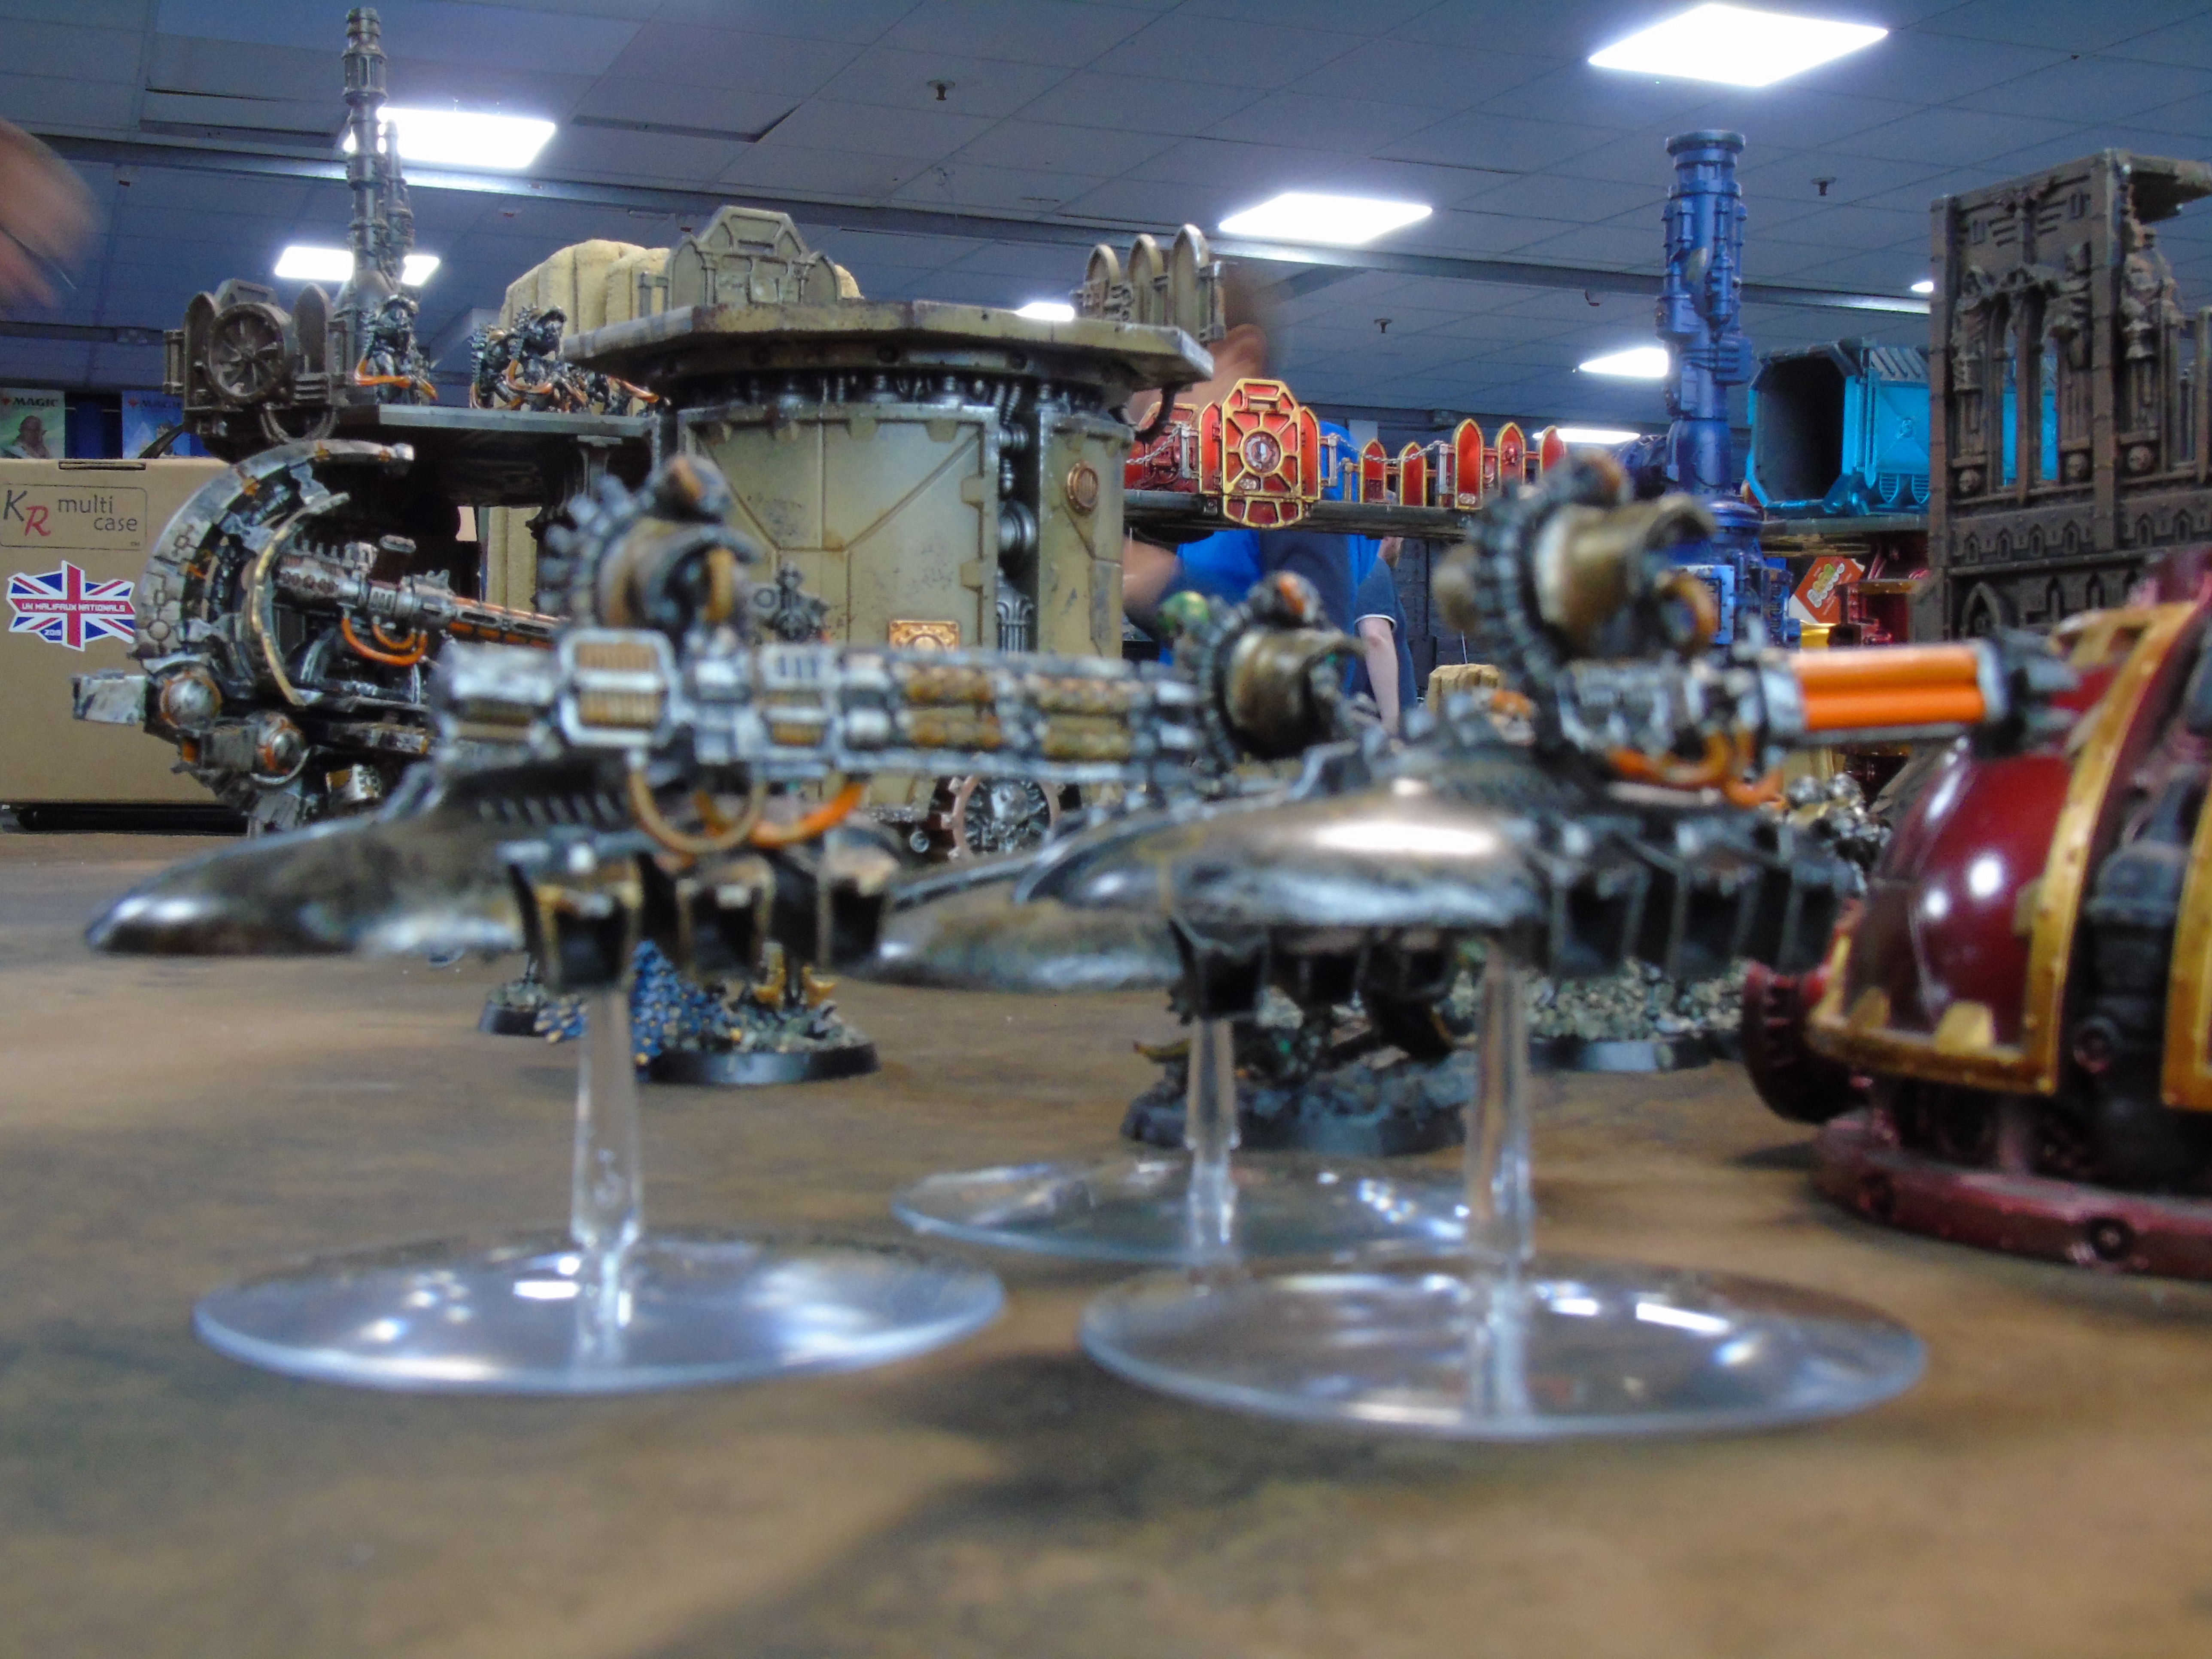
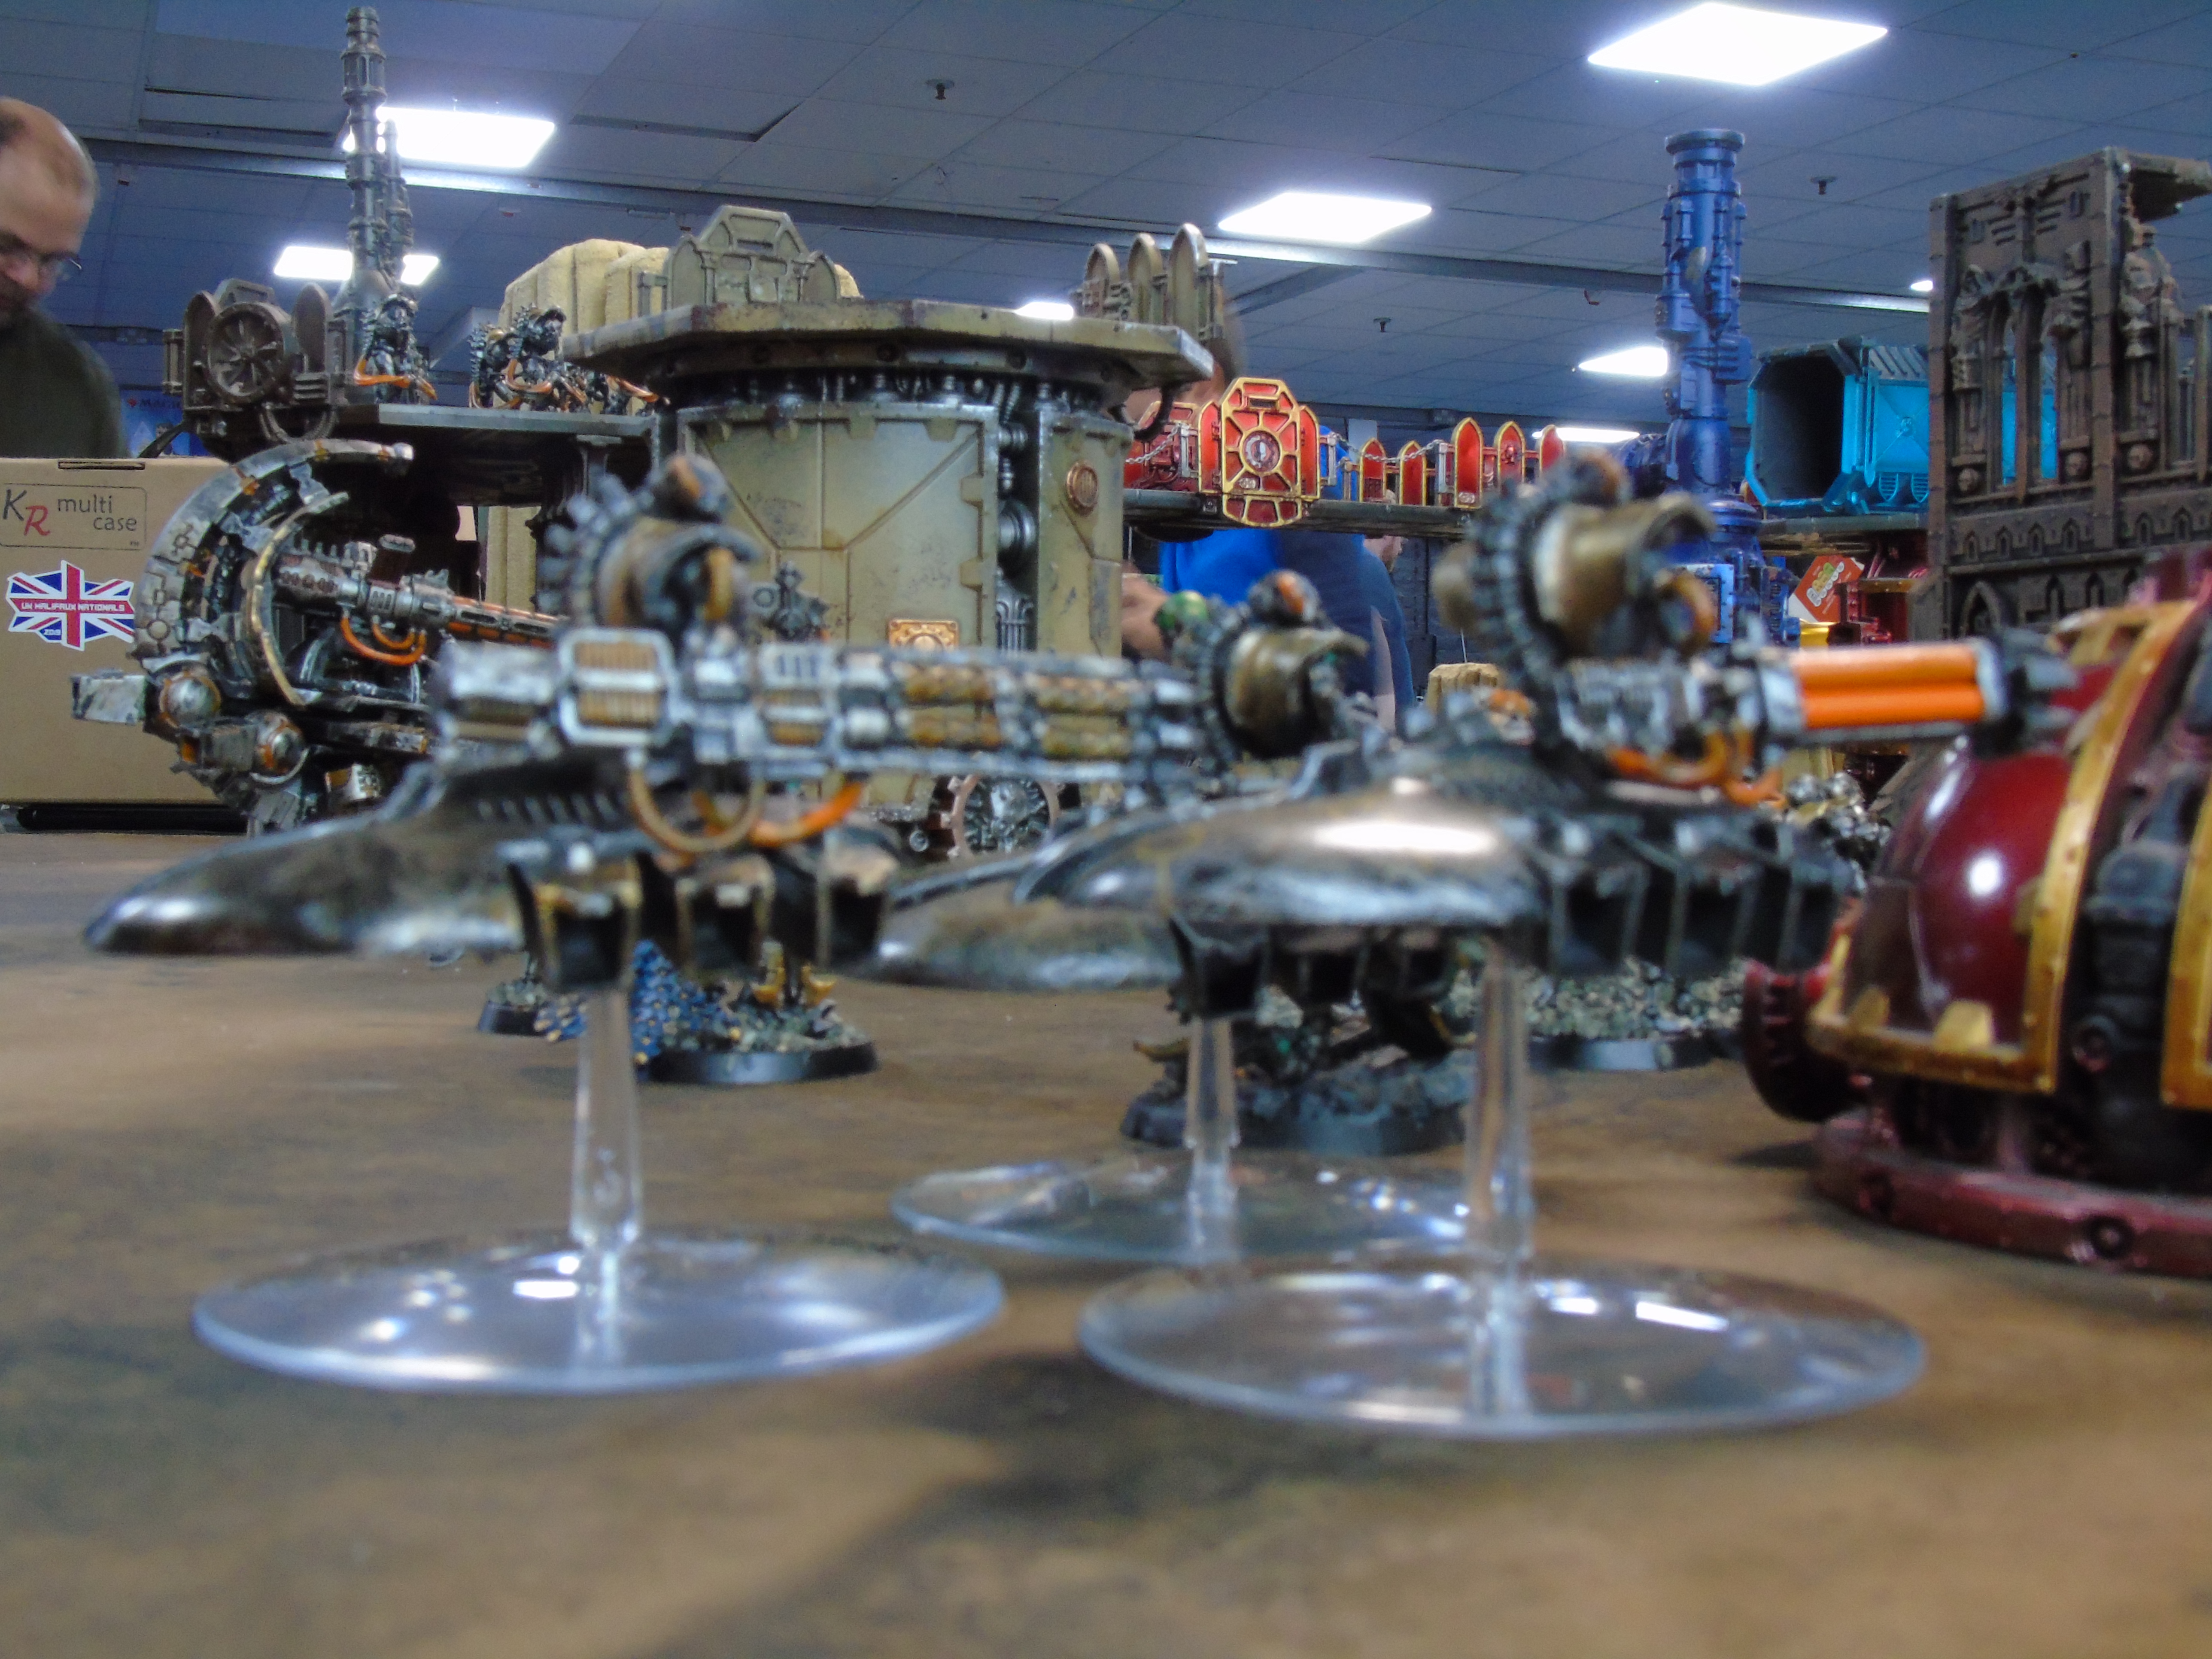
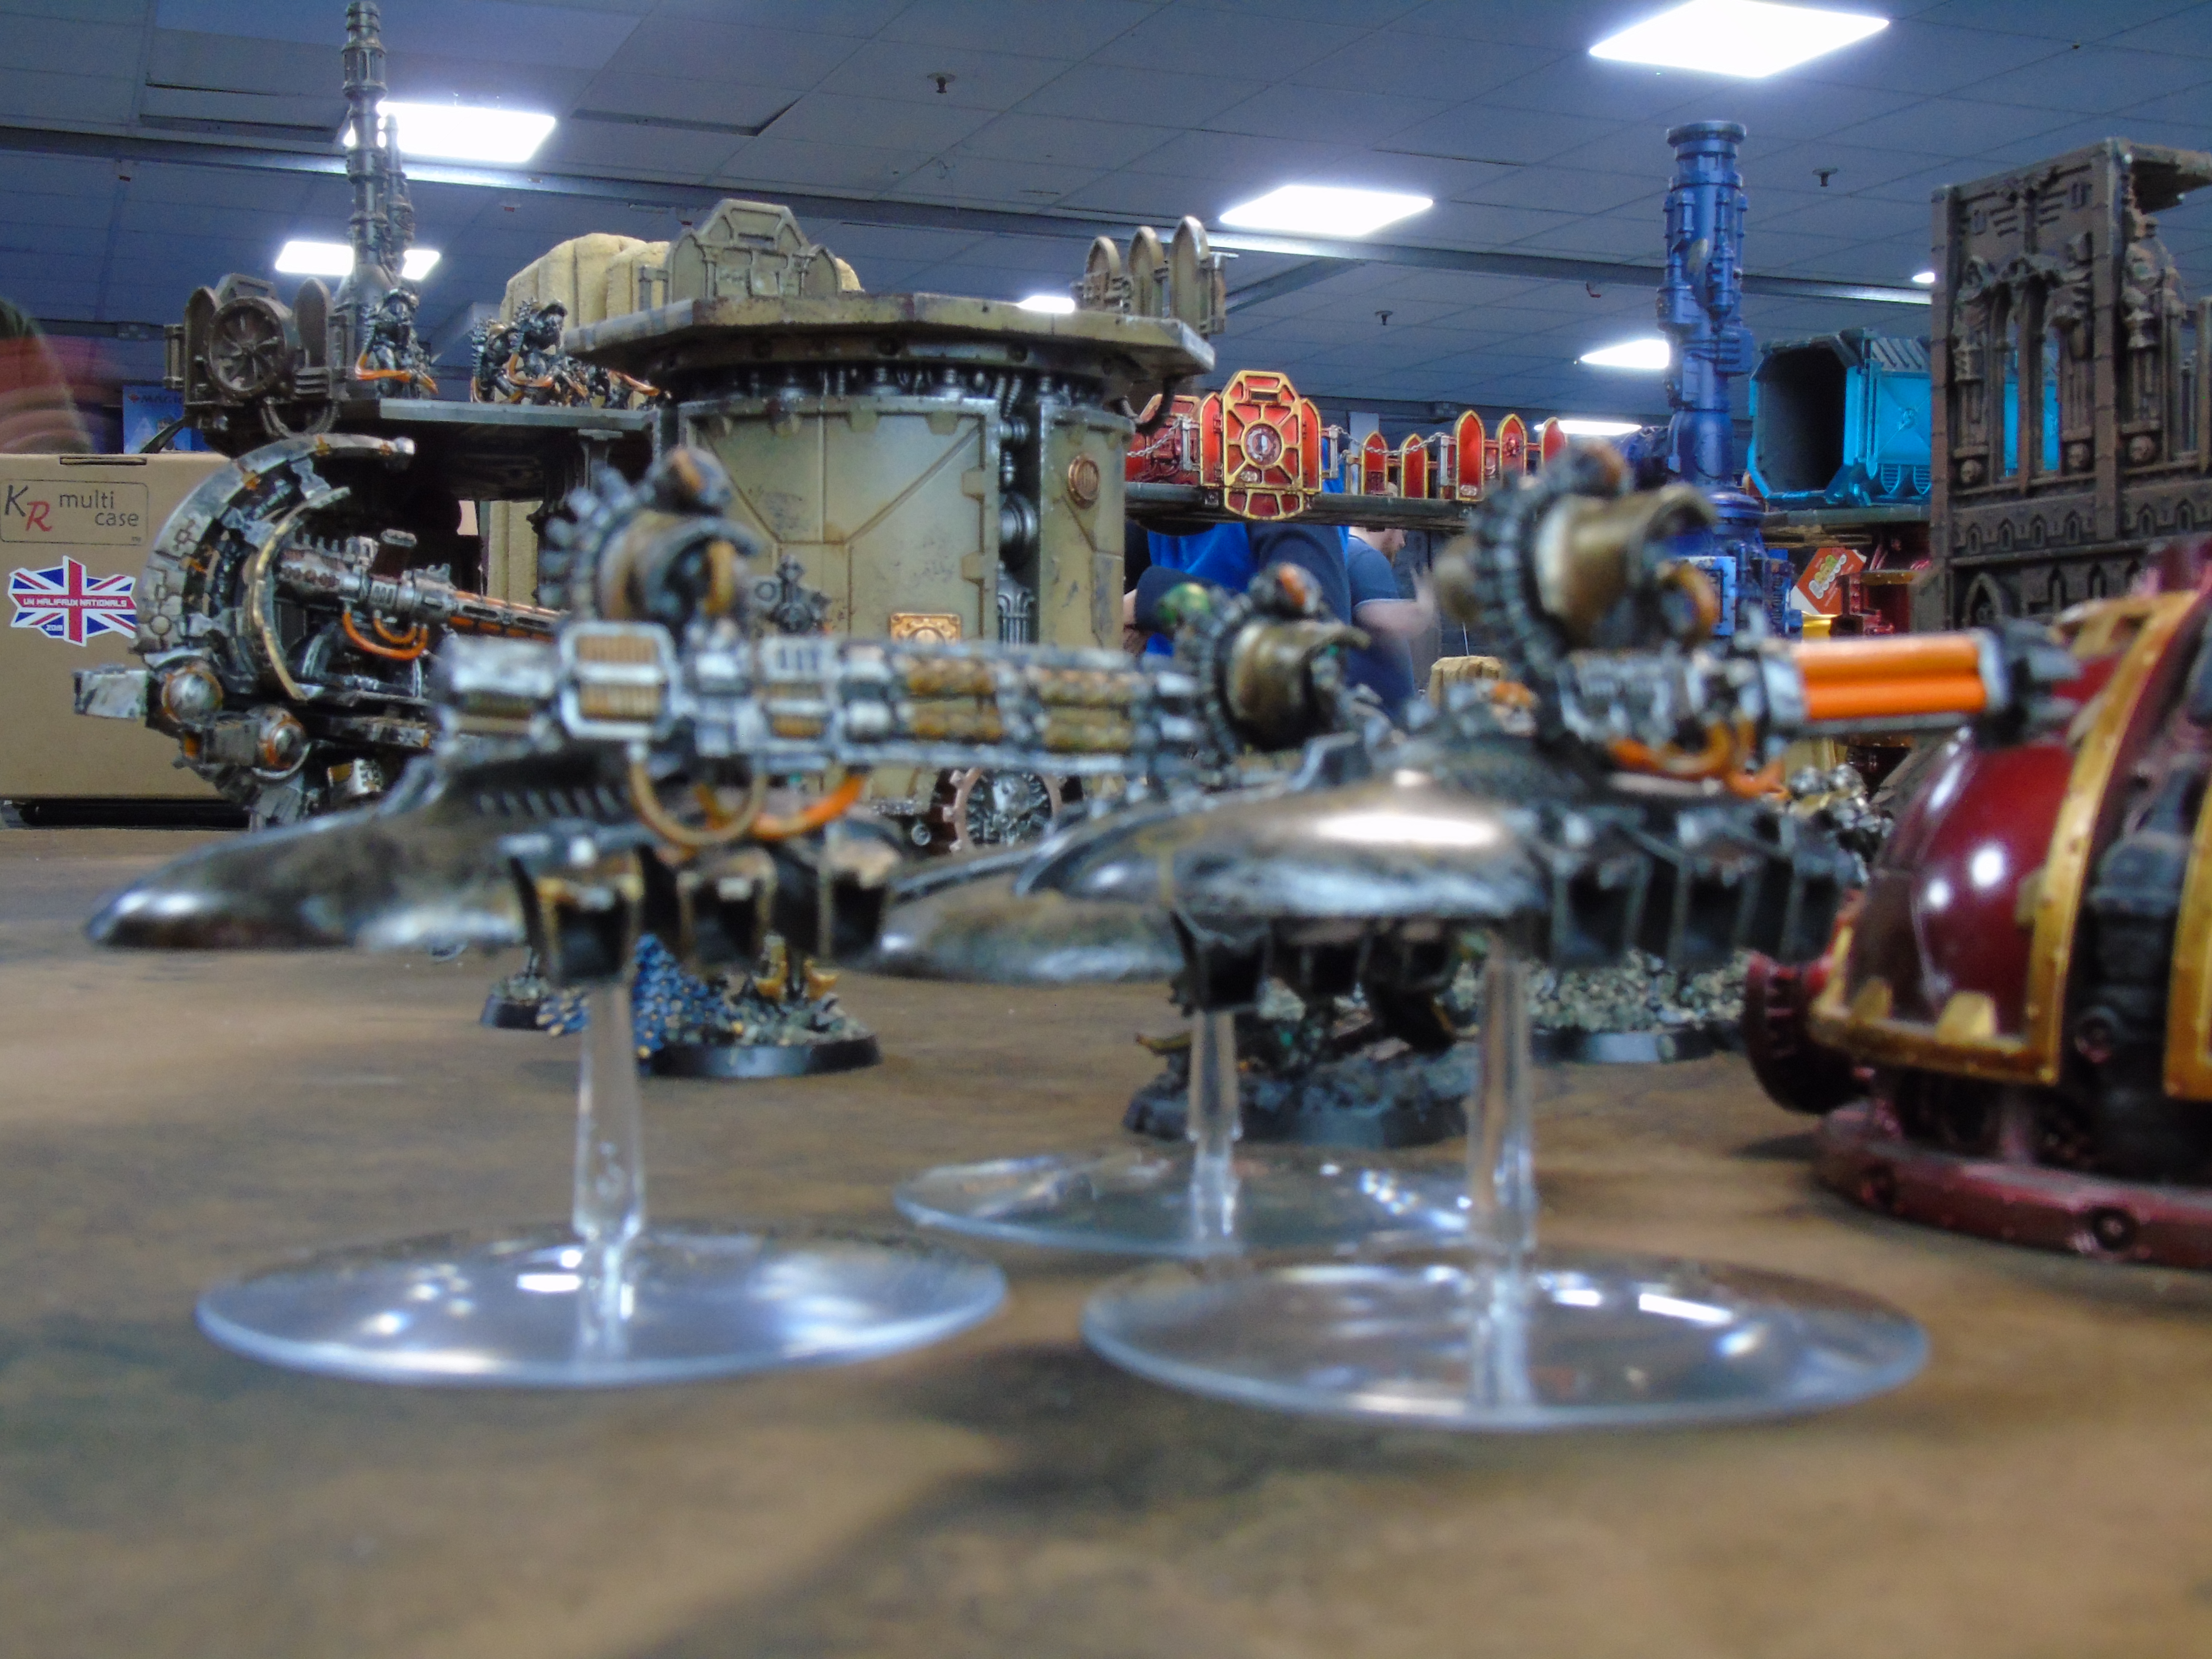
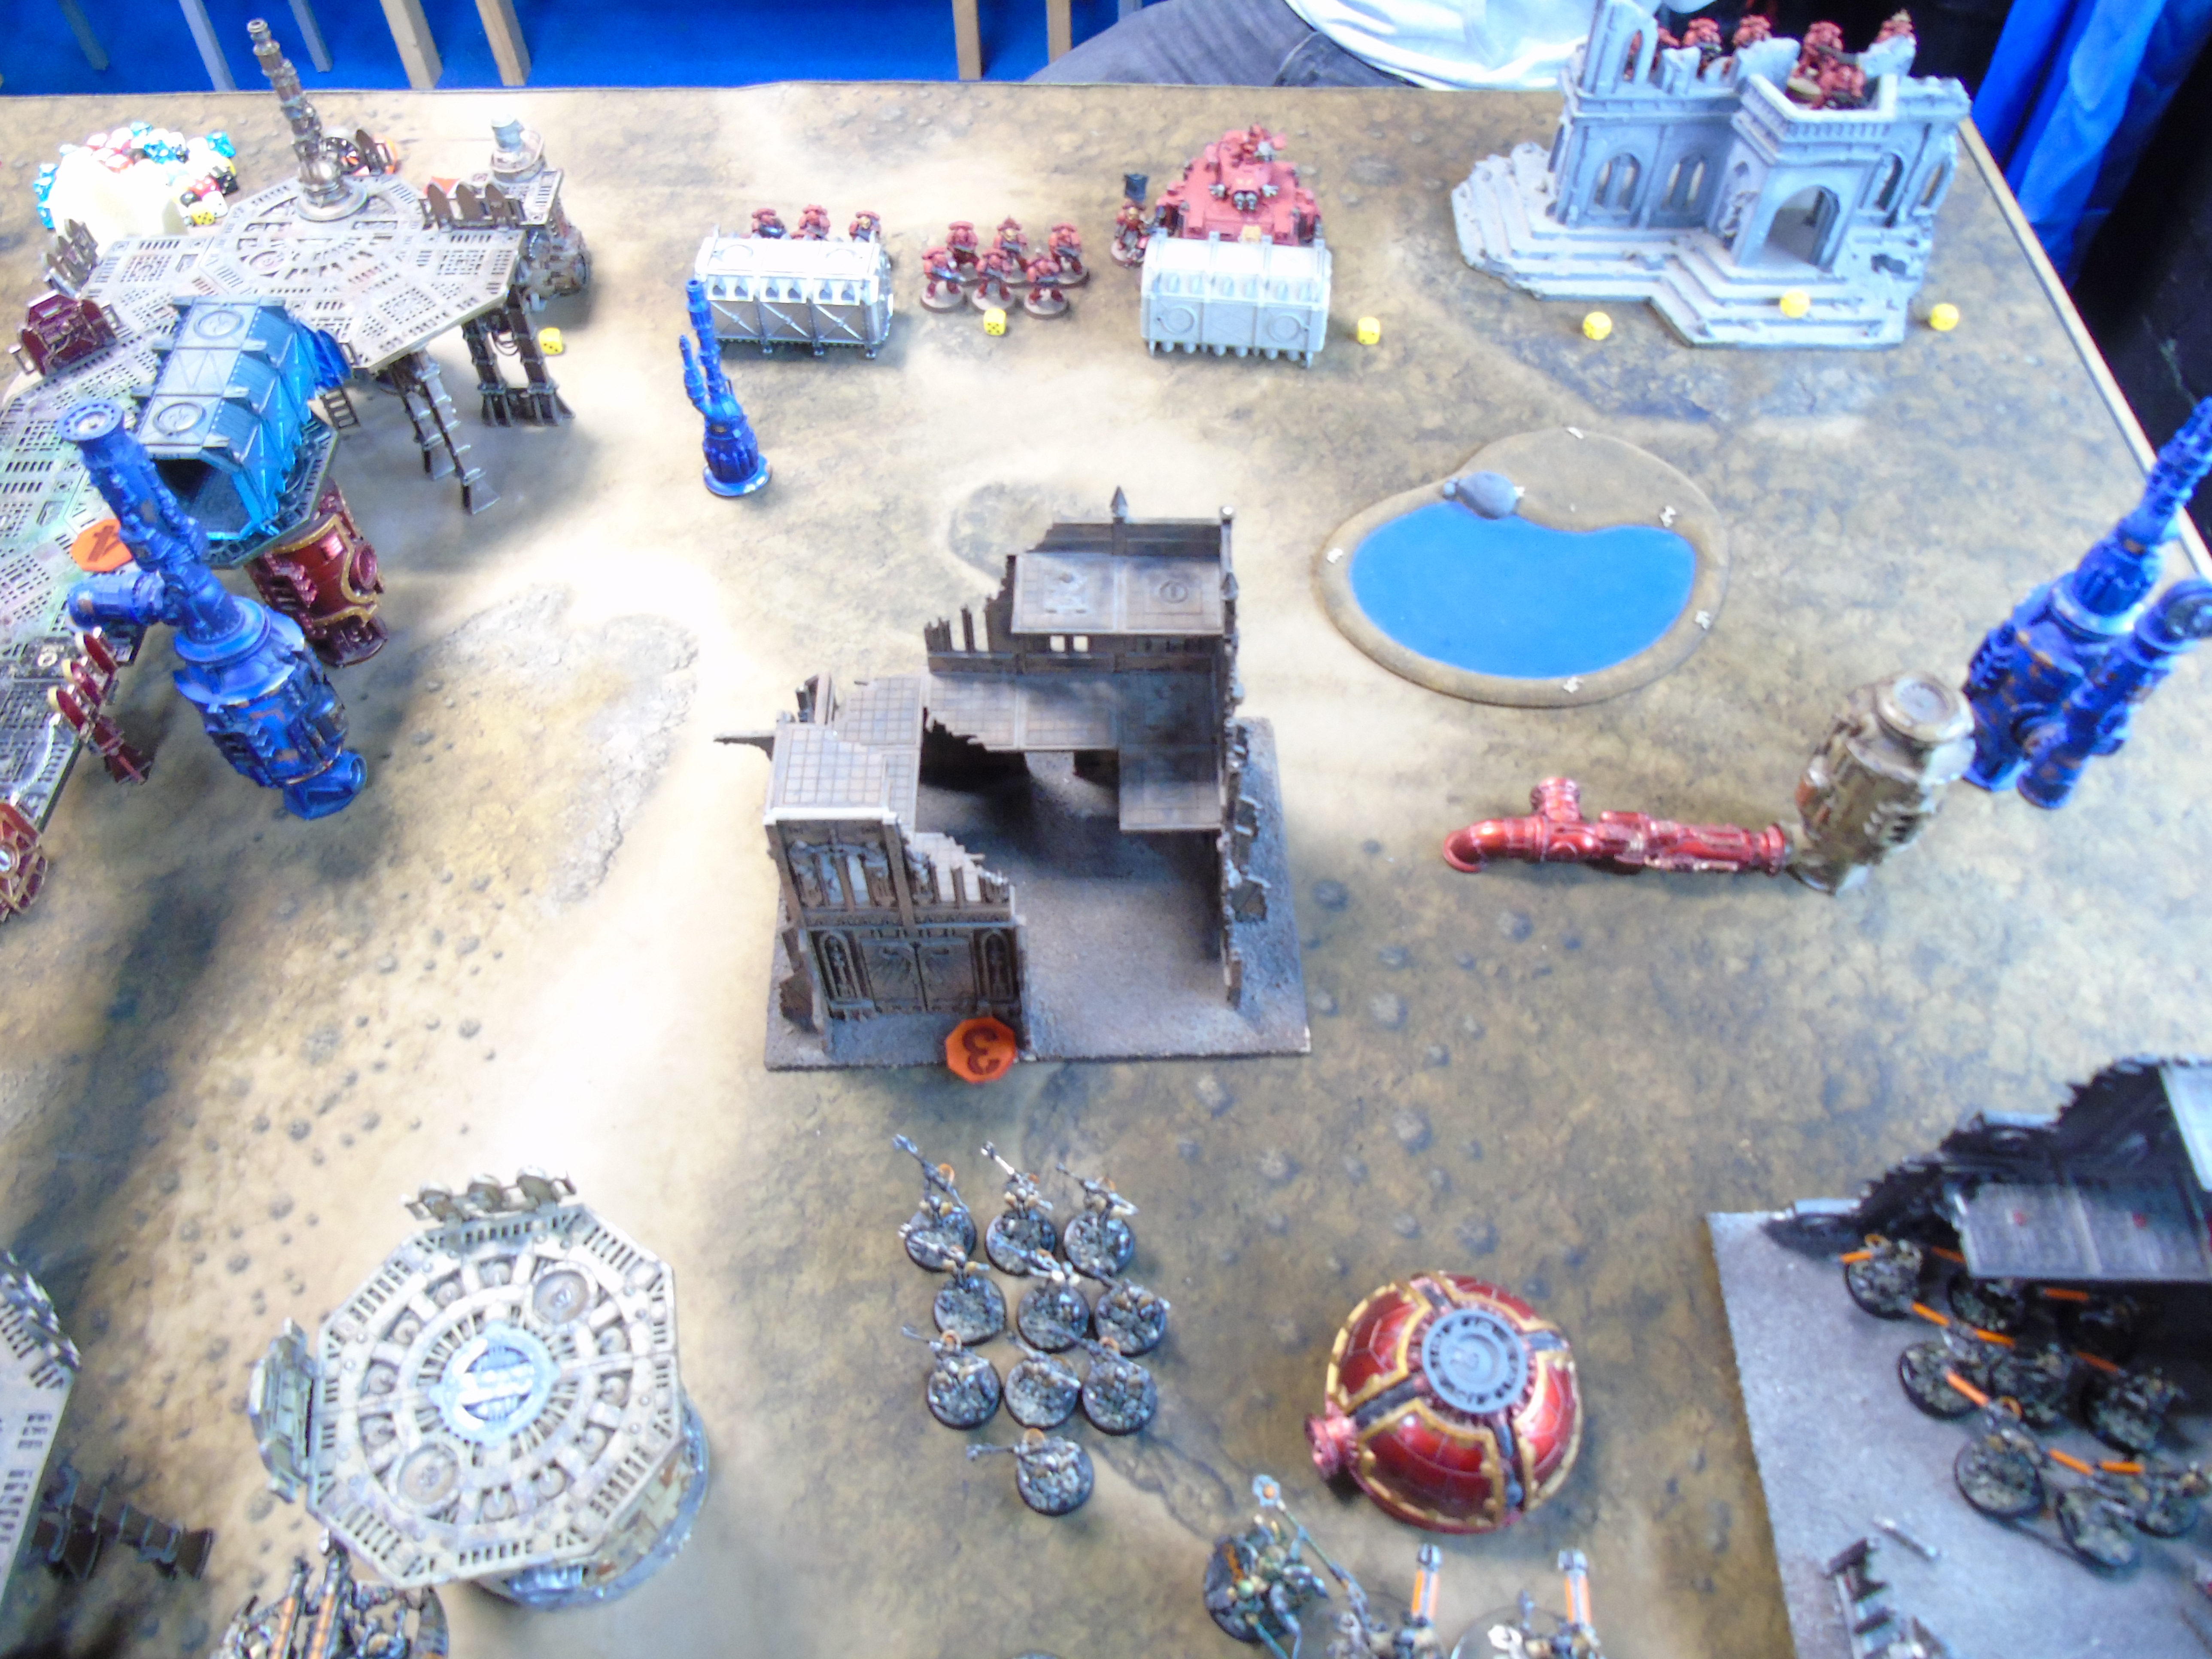
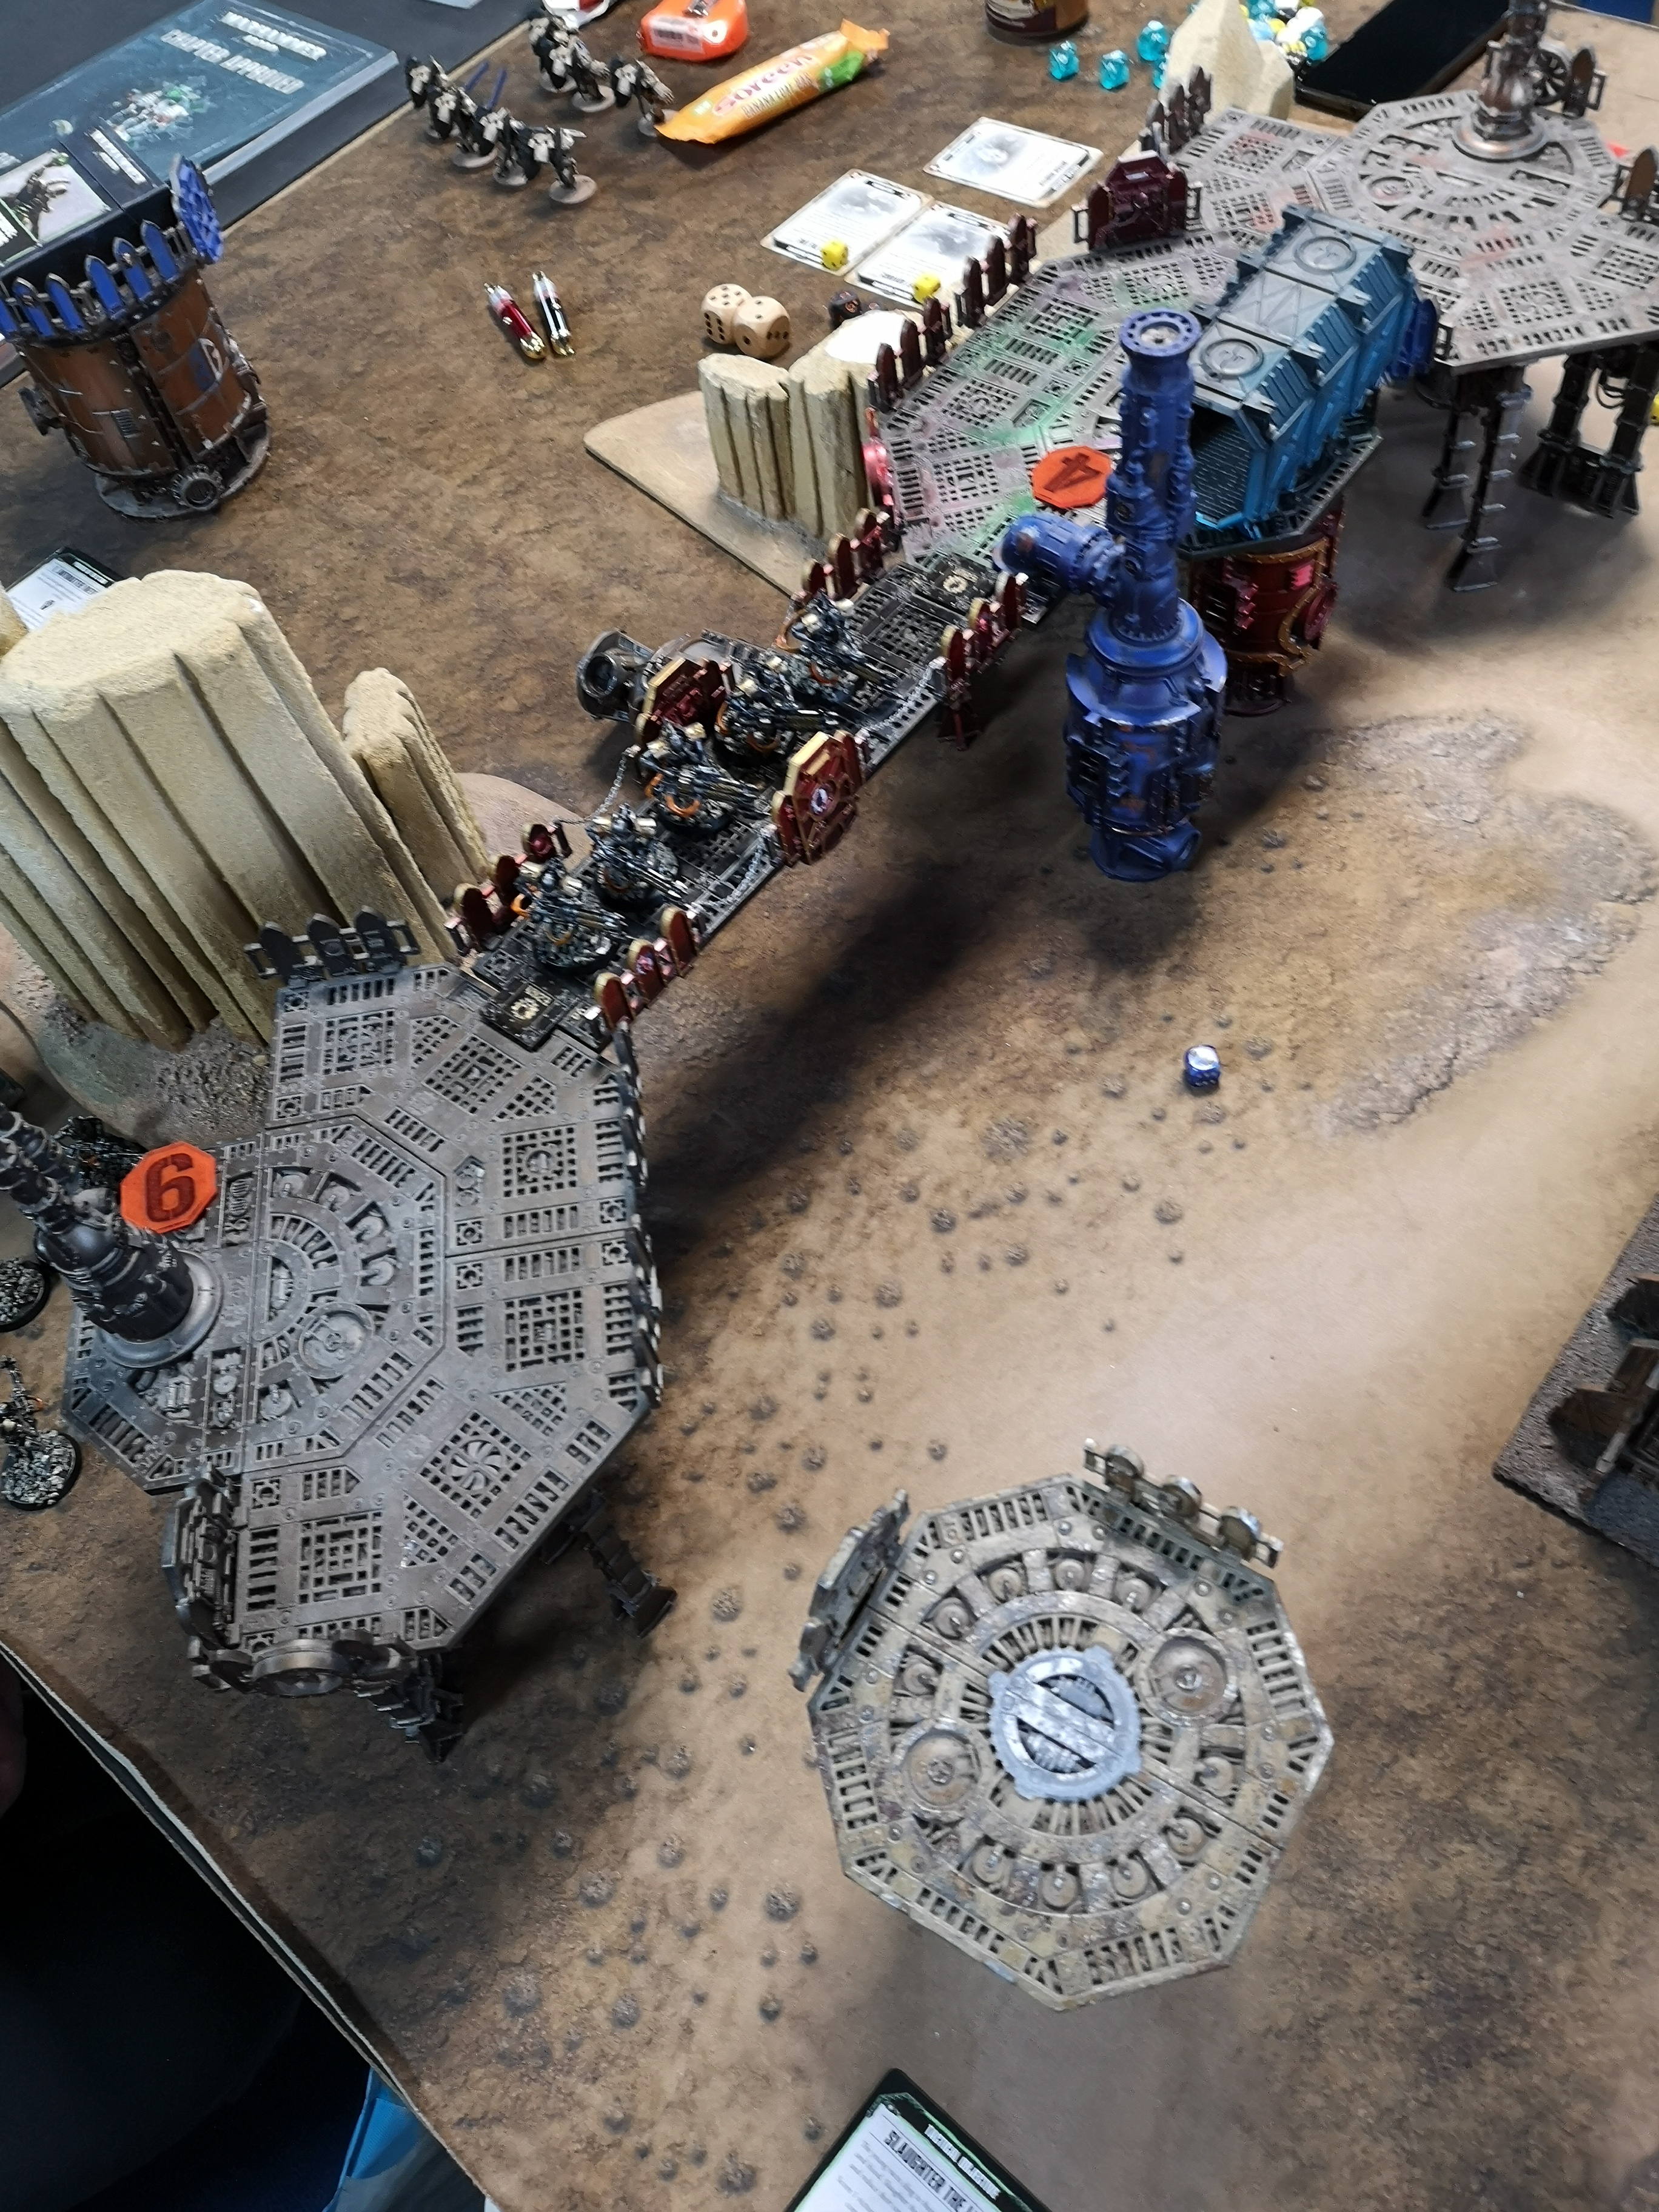
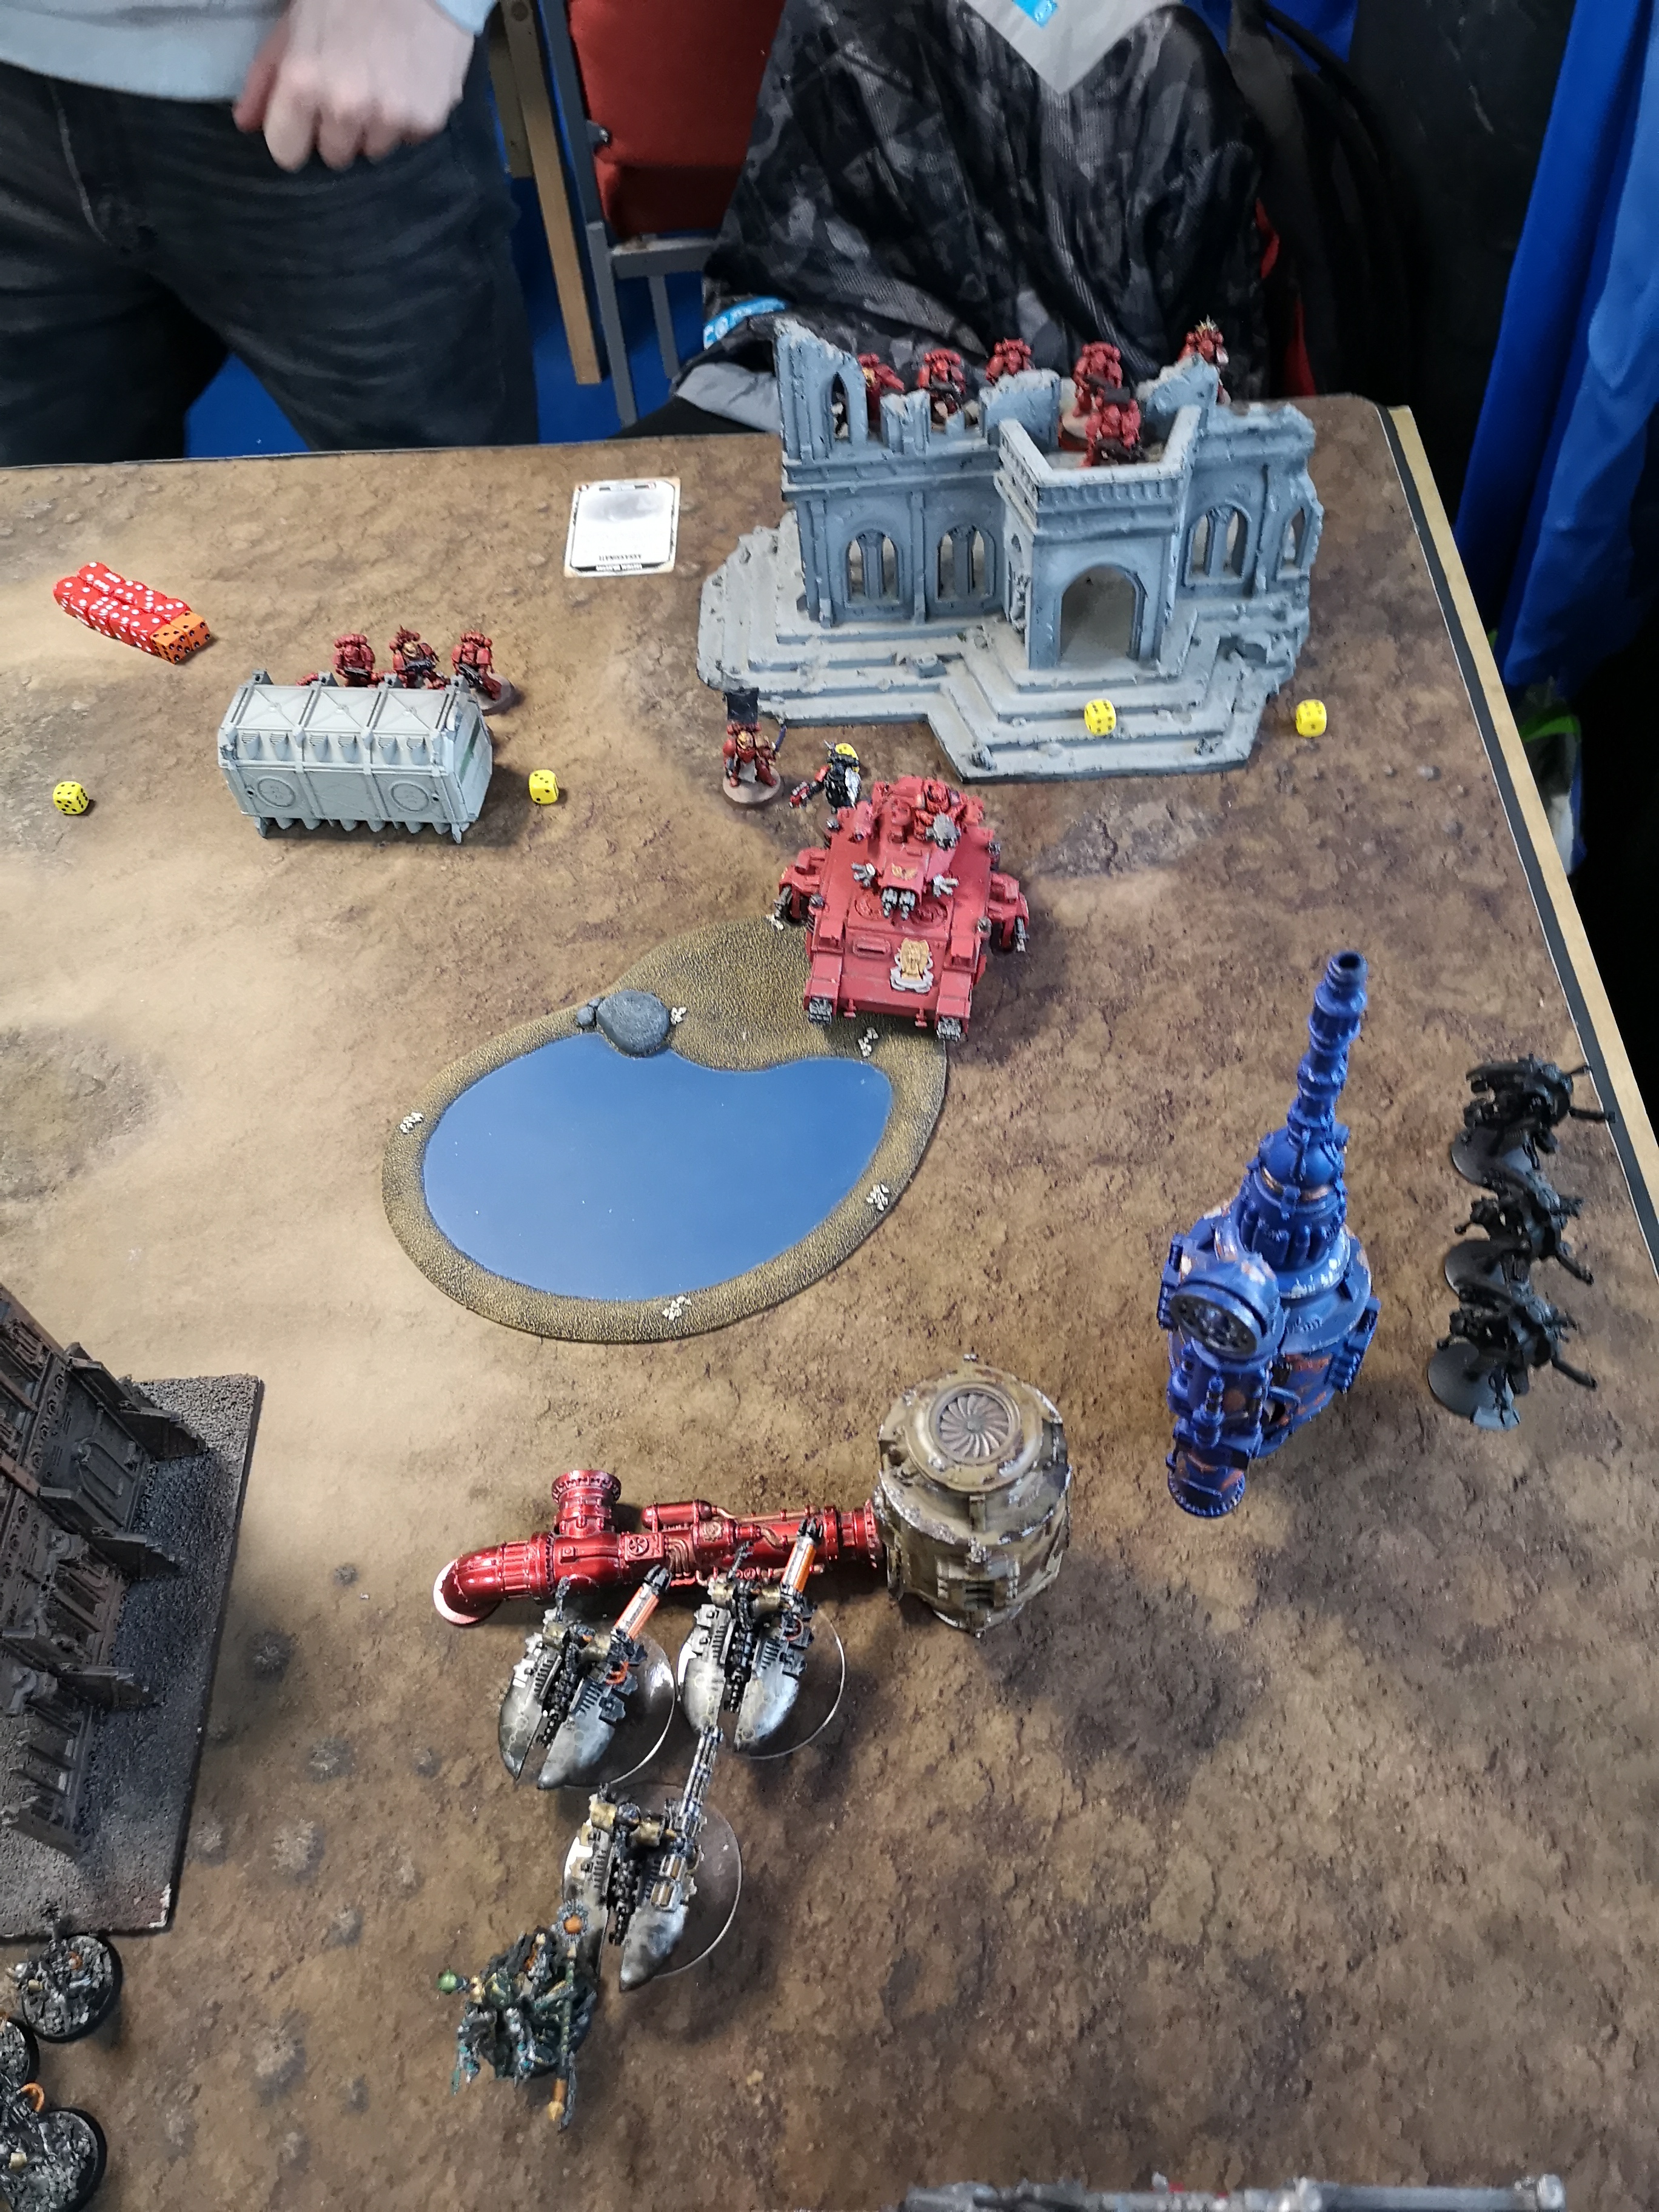
We were playing the maelstrom of war missions and had six objective markers set up on the board. We chose the ‘Dawn of War’ deployment due to this being a casual game and Jon chose to be the attacker and deployed his units first with me following. Post deployment the board looked like this
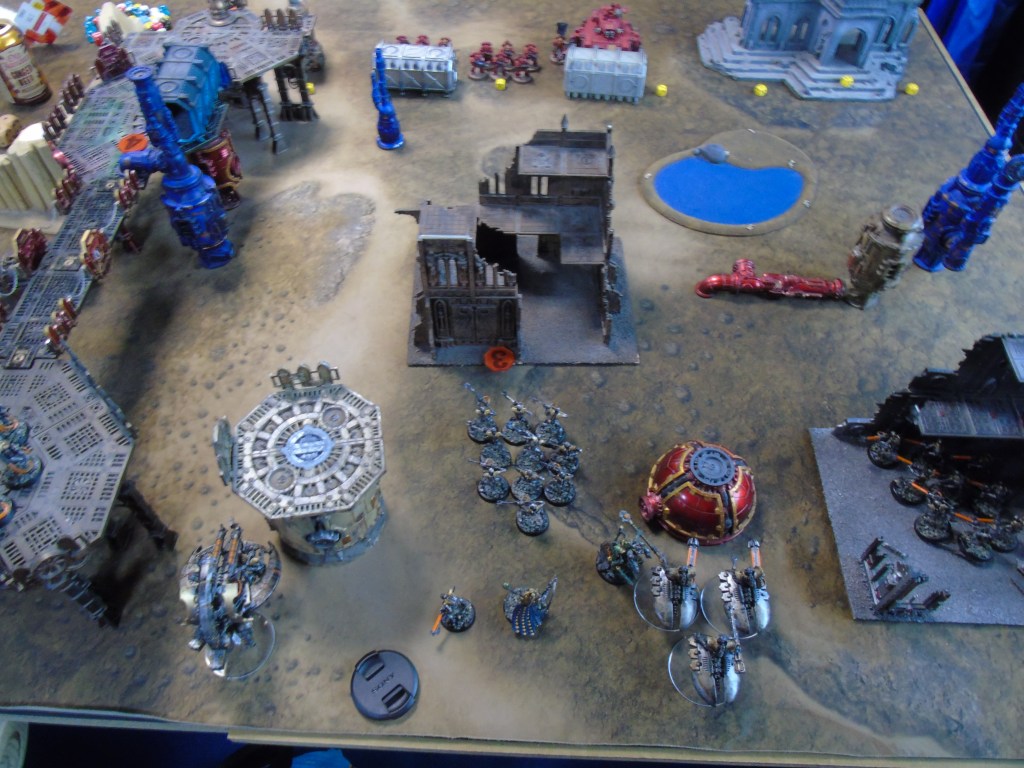
Markers six, three and two were on my side of the board (two in the building on the right on the first floor) and six on the top of the gantry on the right. Five was in the building on the top right and one was behind a container. In essence we both controlled three markers each.
Turn One
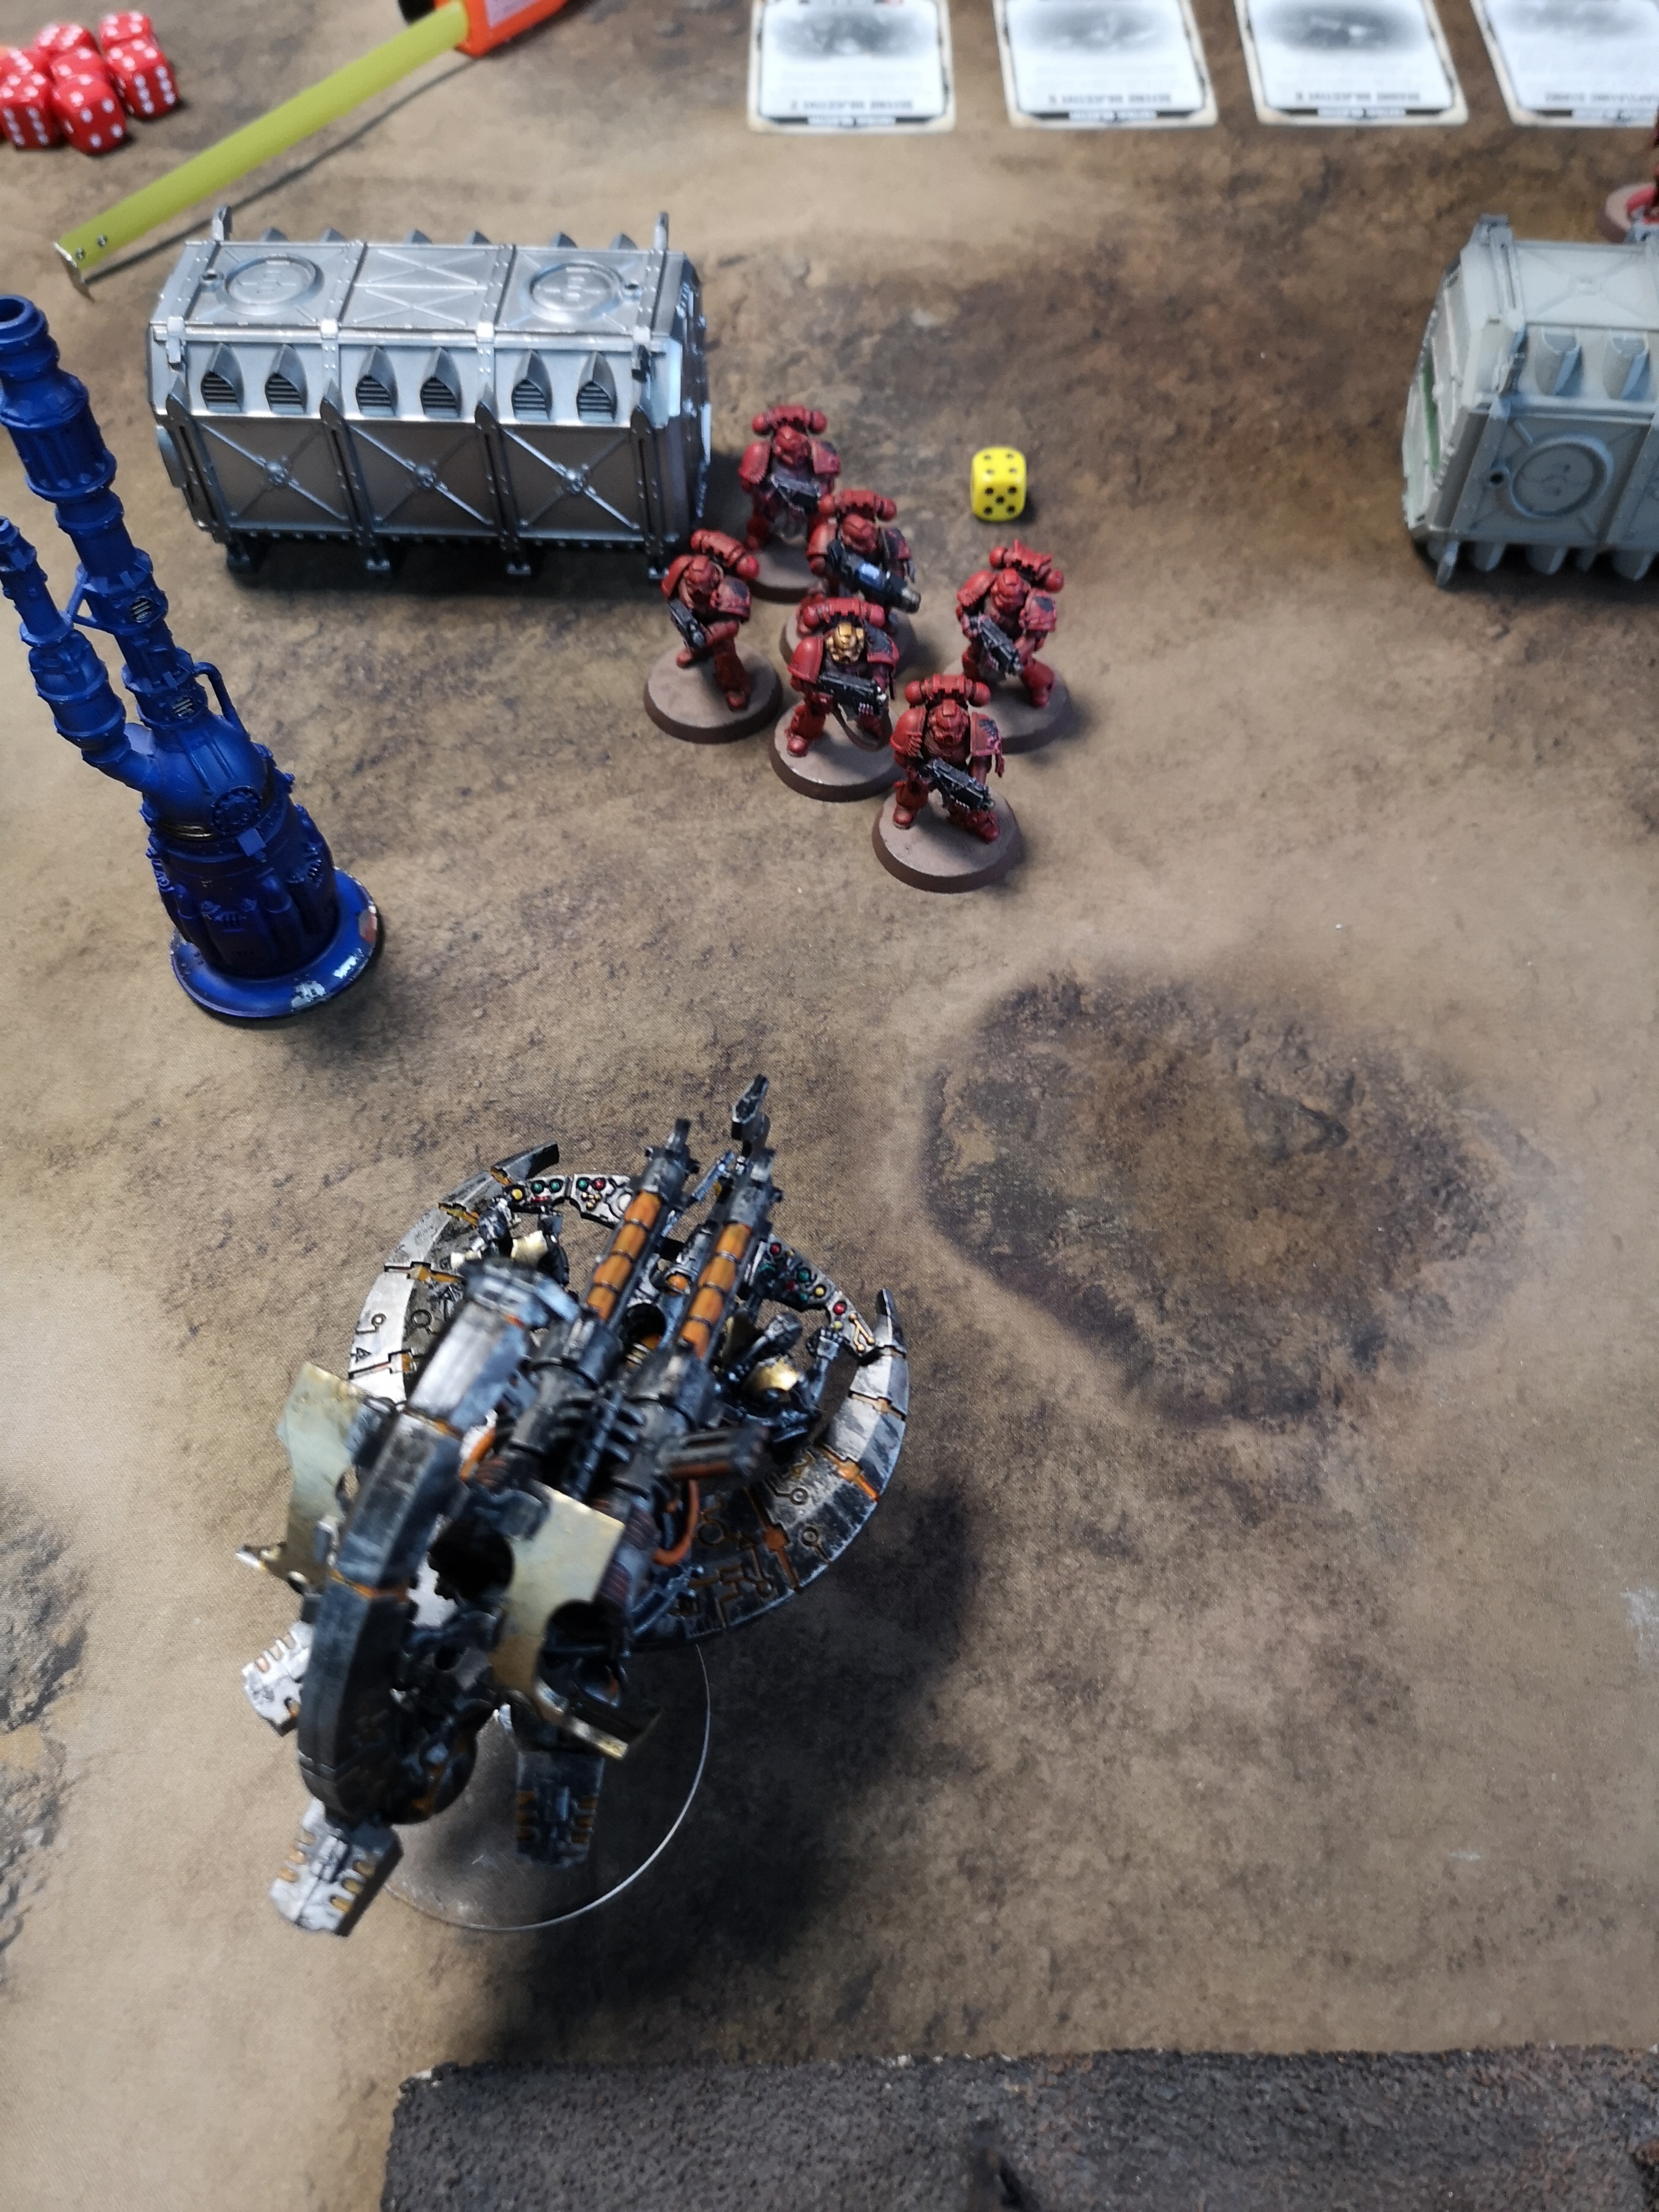
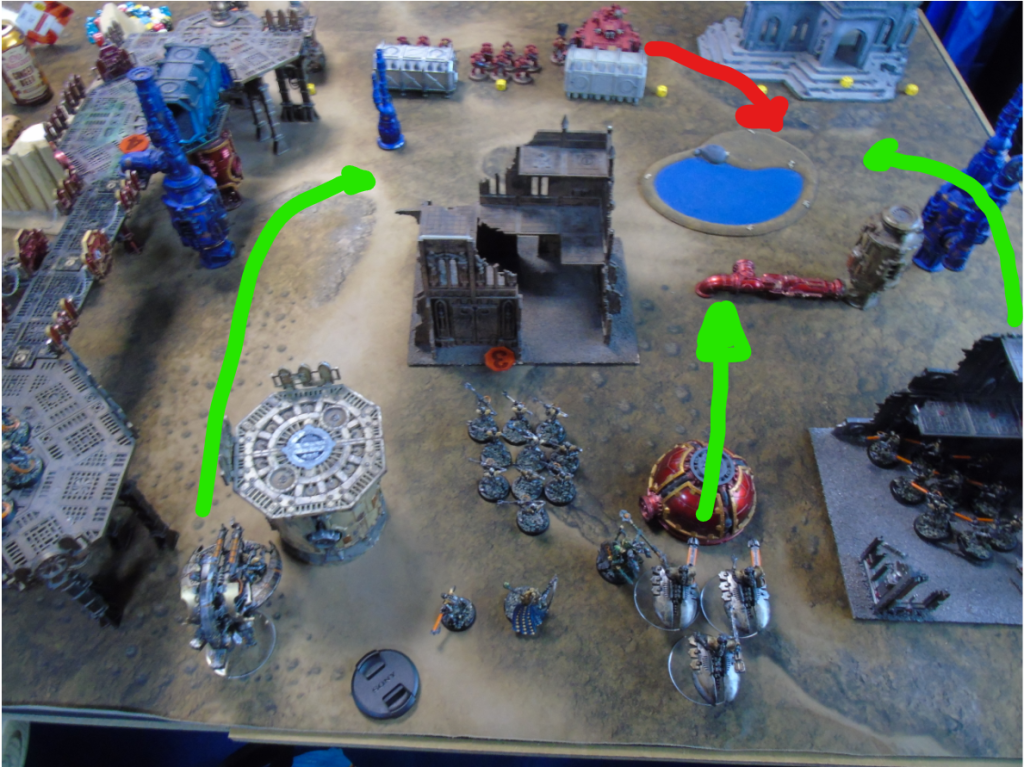
Jon had a tactical objective which meant he was more limited in what he could move in the first turn if he wanted to get the victory point. As a result he moved the Baal to just above the lake (impassable unless you had fly) and advanced his Captain and Lieutenant to keep pace with it. Neither of us had psykers so it was straight into shooting. As the captain had and Lieutenant had advanced they could not shoot. The tactical marines on the top of objective five managed to inflict a wound on a tomb blade with a heavy bolter but did nothing more. The Baal unleashed the fury of its assault cannons and heavy bolters to knock down five warriors but some good save rolls allowed the rest of the squad to survive.
The necron first turn saw me keep the tactics cards for secure objective two (which I was already on), slaughter the living and honourable combat. I discarded two others which were even less useful than honourable combat!! The resurrection protocol roll saw one fallen warrior restored. My movement phase saw me advance the destroyers and the tomb blades up the board from the middle and right. The annihilation barge moved up on the left flank and all three units had line of sight on the Baal. From past experience I know this can be a pig to take down and it can do a lot of damage so I wanted it gone! The destroyers went first and with merciless destruction hit with all nine shots and a nice wound roll saw seven wound rolls of five plus. Jon failed five of the needed six plus armour saves and the damage rolls removed the Baal from the board! First blood to the Necrons. The initial explode roll was a six but Jon re-rolled to avoid immolating his own HQ. The annihilation barge lit up its tesla cannon and destructor but only managed to inflict a single wound on the captain. Finally the tomb blades took the shot with the particle beamers on the lieutenant and managed to take him off the board as well.
A brilliant first turn for the Solar Legion saw them claim three VP (first blood, objective 2 and slaughter the living). Jon had one victory point on the board.
Turn 2
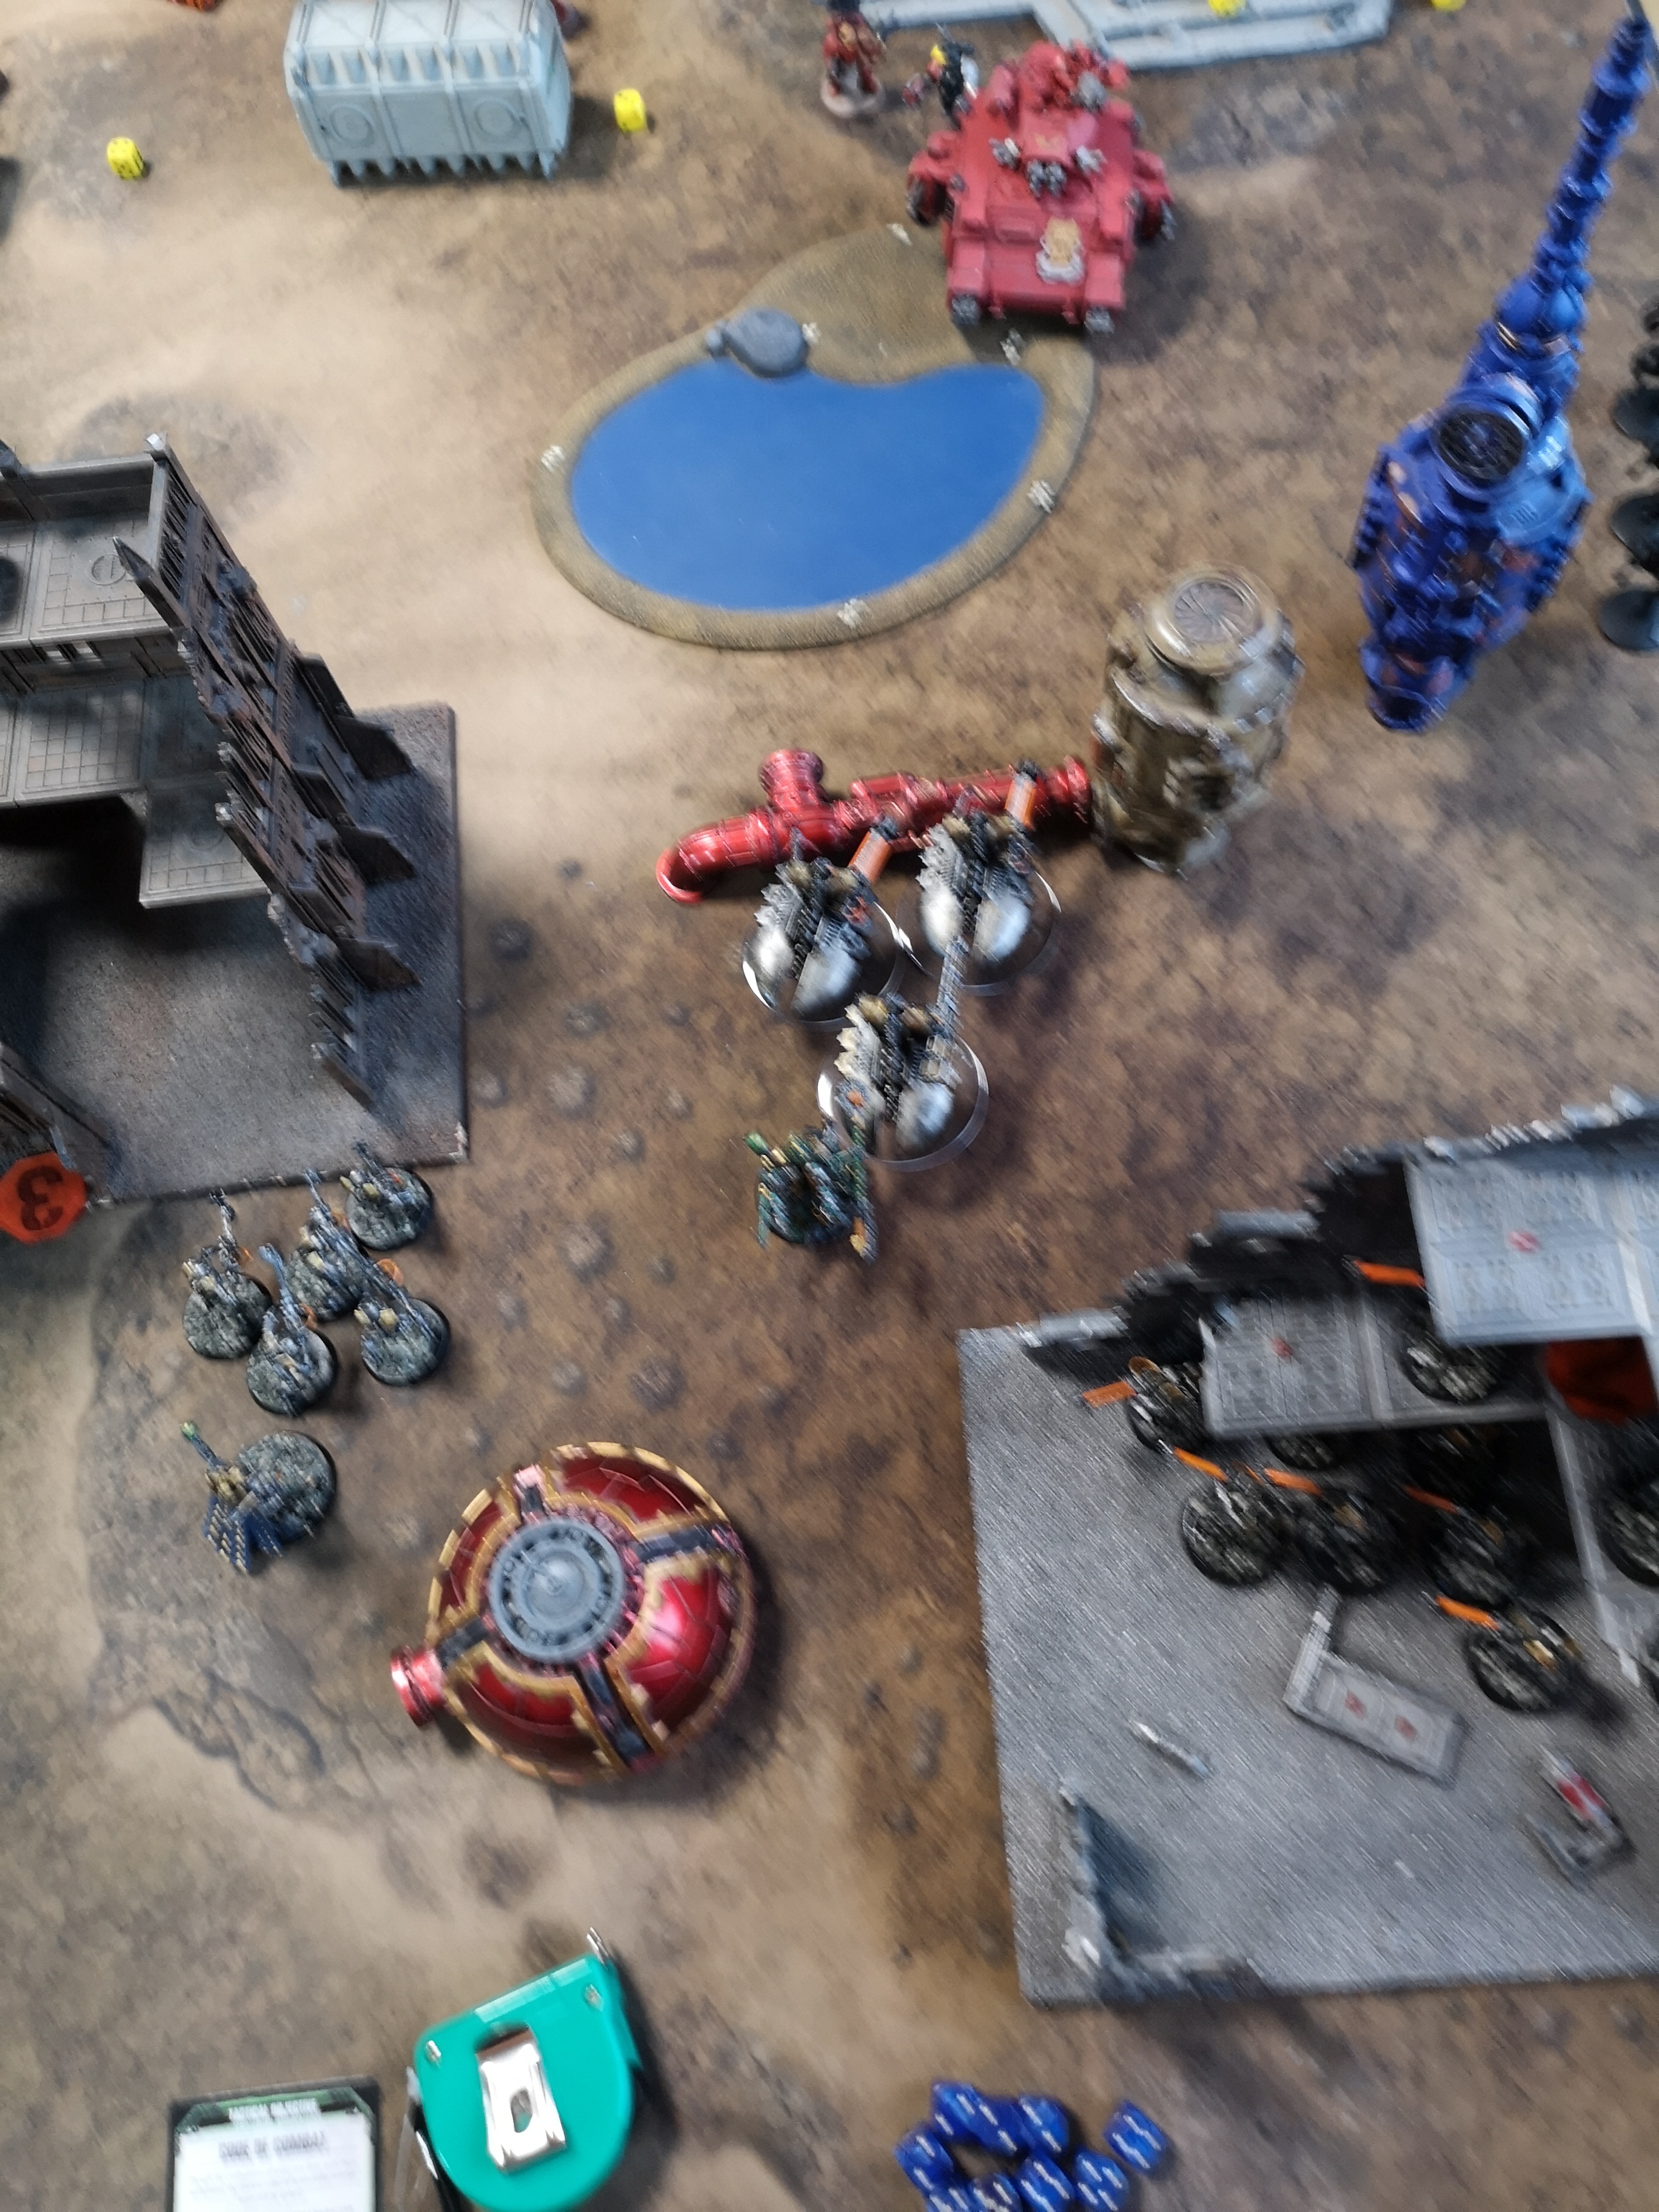
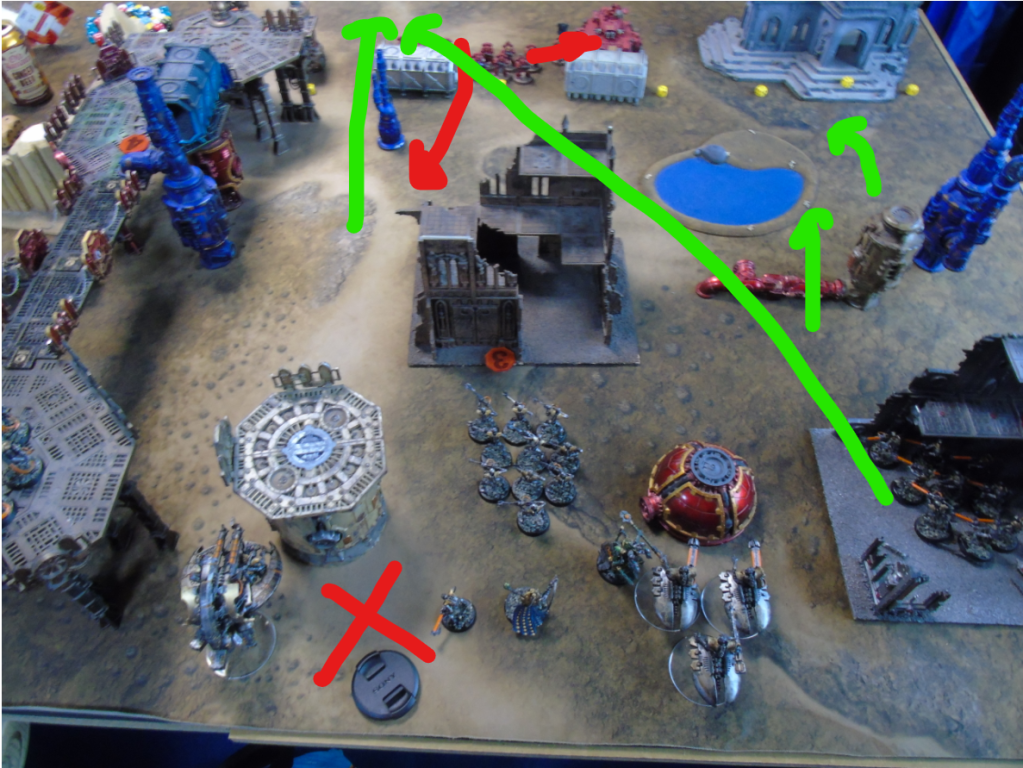
Jon had the cards for defending objective five which would take two turns and was now able to move his forces. The captain beat a hasty retreat to escape the cross fire of the barge, destroyers and tomb blades and put other units closer to the necrons. One tactical squad moved to support and another moved to challenge the annihilation barge. The sanguinary guard dropped into the space behind the necron lines and prepared to assault. The shooting phase went better for the Blood Angels this time. The tactical squad on the roof took down two tomb blades and the sanguinary guard took down the warrior squad to two members before charging. One sanguinary guard took a wound from overwatch but the lord and the two man squad were now locked in combat. The annihilation barge did take out one marine on overwatch but was likewise now in combat. The guard swiftly took down the remaining warriors to remove the unit from the board but could not slay the overlord though he was taken down to two wounds (some very very lucky invulnerable save rolls on my part).
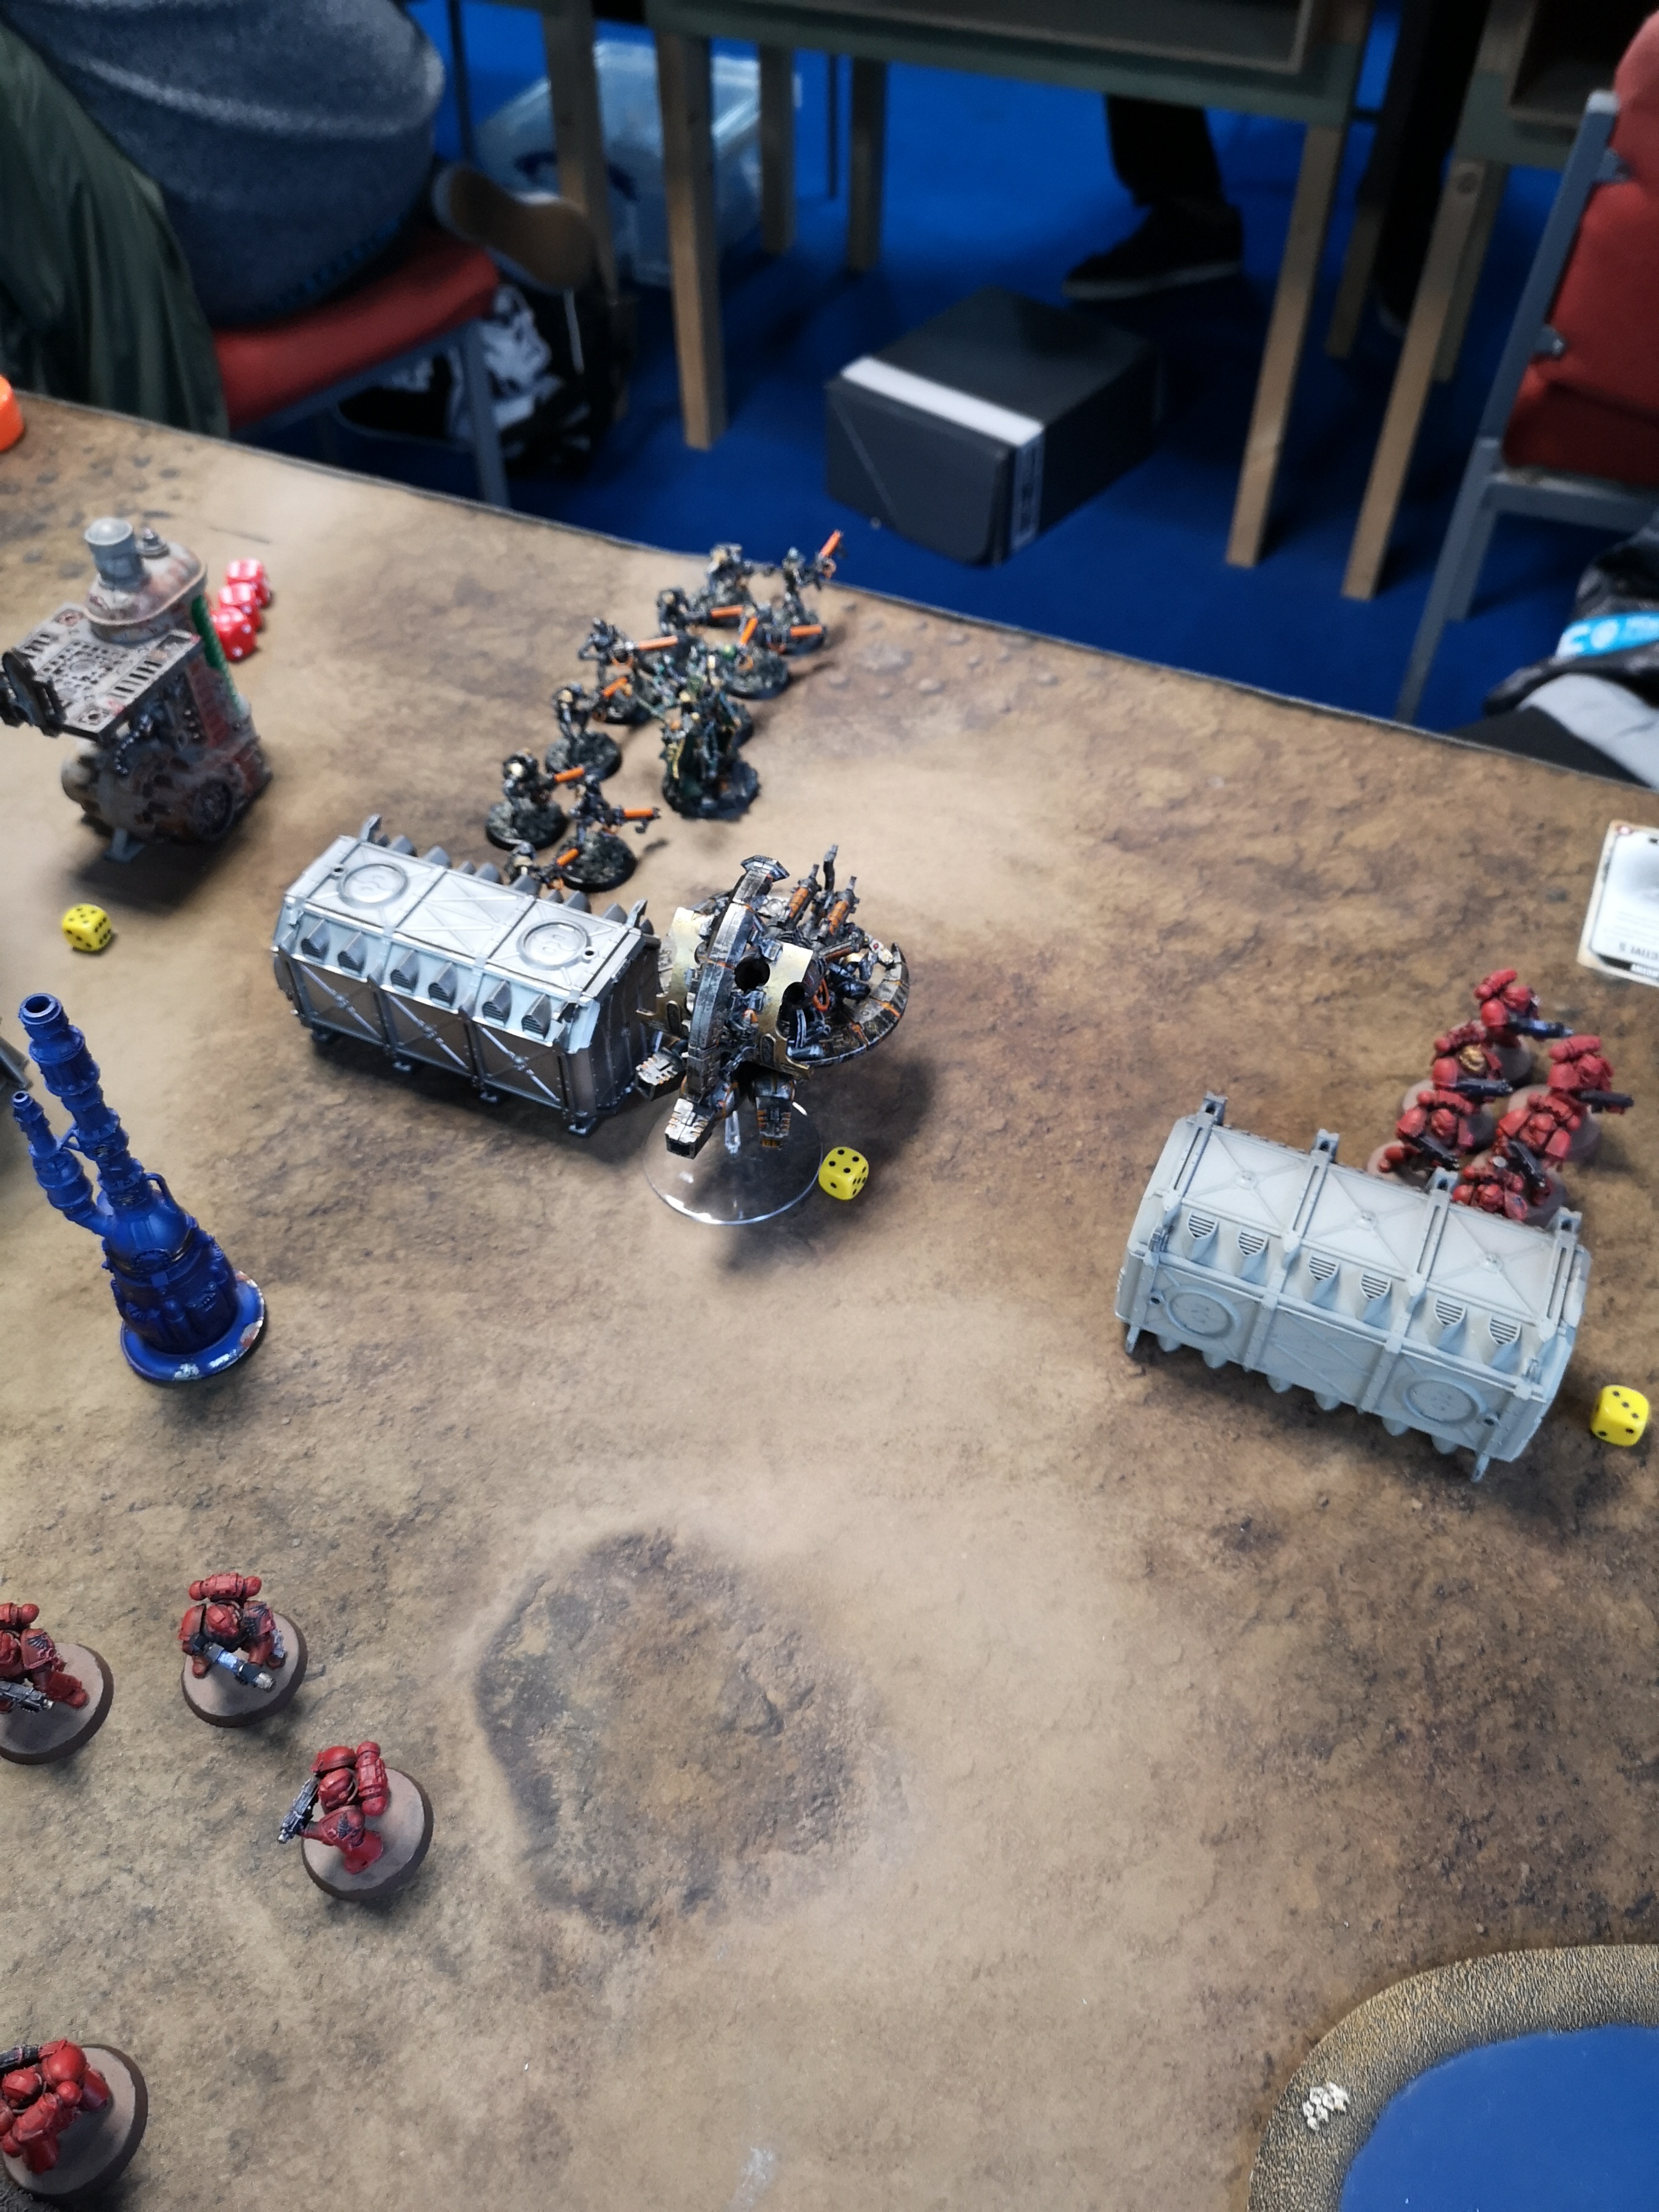
Taking in the fact that I had survived the guard’s deepstrike (which has hammered me many times in the past) I drew my objectives. I had advance, behind enemy lines (which Jon under the specific rules assigned two VP to) and defend objective six. My immortals held objective six and they had no threats on the board near them so left them be. Given the current state of play I went on the offensive. The annihilation barge made use of its fly ability to fall back and moved into Jon’s deployment zone. My lord had moved close to the full warrior squad and used his own relic – the veil of darkness to also jump into Jon’s deployment zone. The destroyers shifted position to also see the squad hiding behind cover as did the remaining tomb blade whose resurrections had failed. Another turn of shooting saw the squad behind the barge exterminated in a hail of rapid fire gauss blasts from the warriors. They shooting was made easy by the barge felling one marine and the methodical extermination stratagem boosting the warriors hit rolls. The tactical squad on the roof was reduced to one marine with a heavy bolter. The immortals made a small contribution and felled three of the marines who had been previously assaulting the barge. The overlord stayed in combat with one wound back from his living metal (along with the barge) and his hyperphase sword did remove on sanguinary guard from the board (the one with one wound already!).
Two victory points to zero to the necrons on this turn.
Turn 3
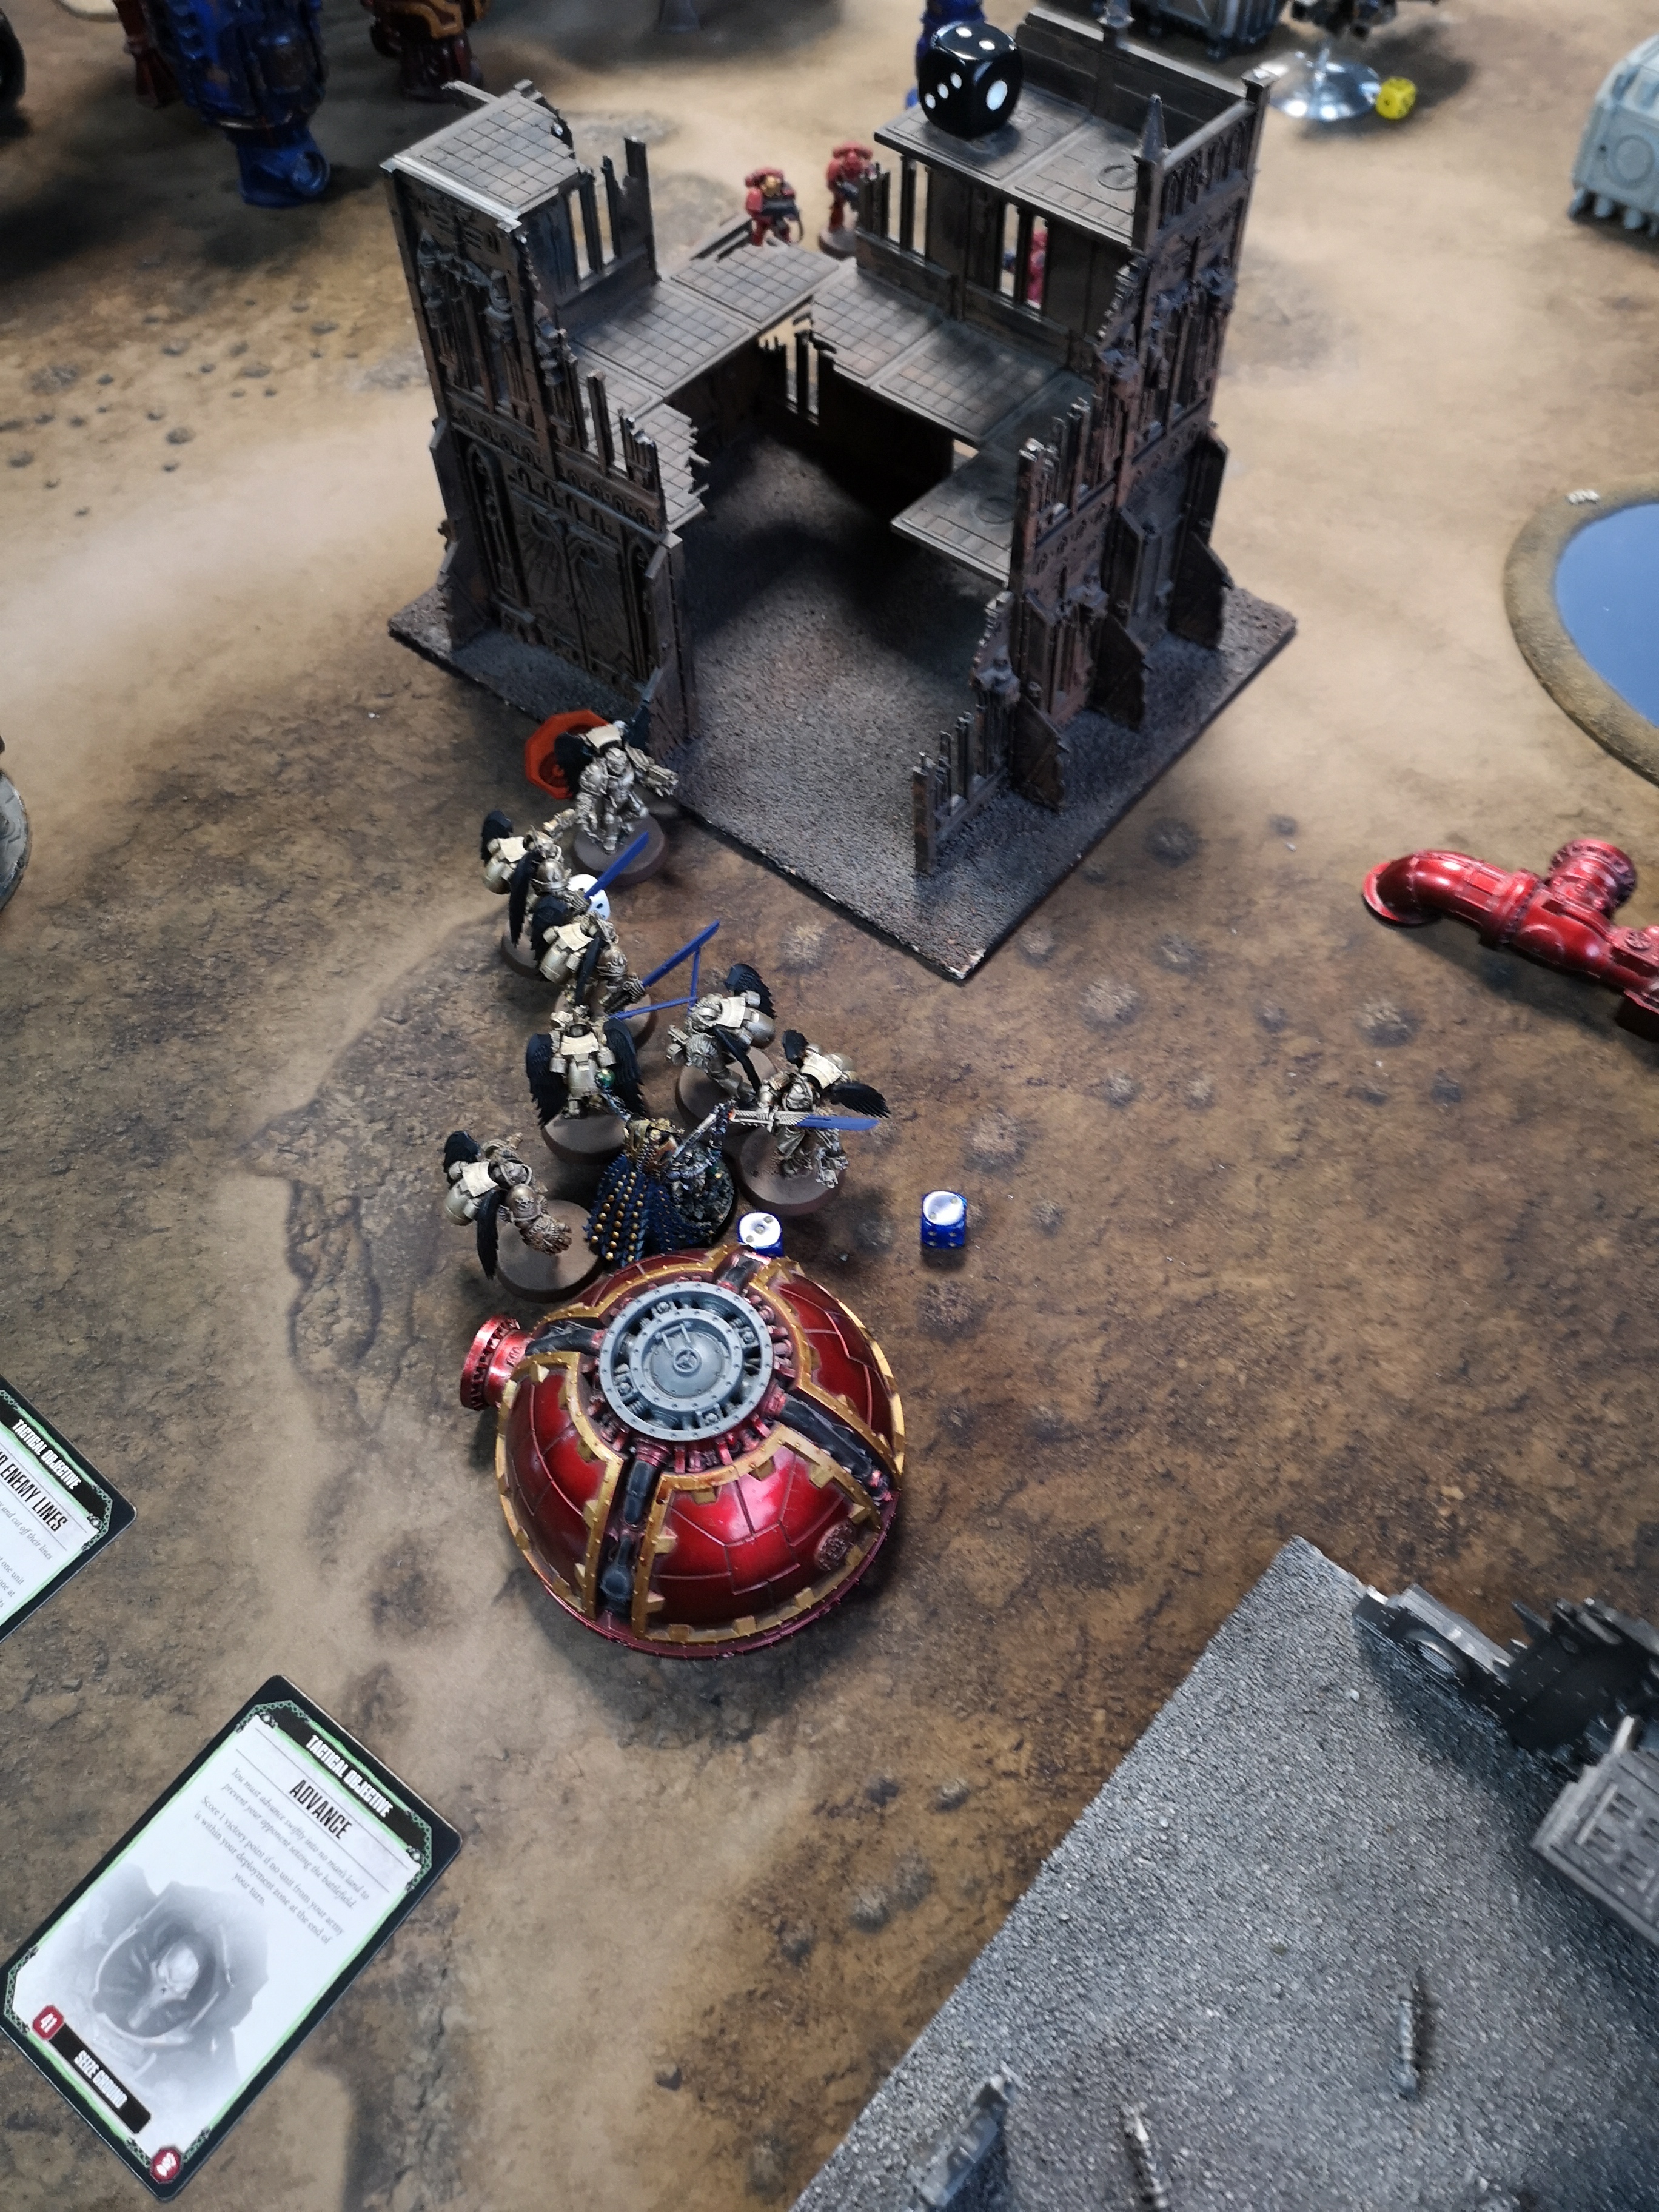
Things had by now become quite fragmented. Both sides had forces all over the board but the necrons retained a large concentration in Jon’s deployment zone. Jon had the objective cards of capture objective six, defend objective five and assassinate. I allowed slay the assassinate to count as two on the basis that he was going to get objective five anyway. The captain scooted away into cover and in a surprise move the sanguinary guard fell back from combat into the cover of the building in the centre of the map. The shooting phase saw a destroyer loose a wound to the tactical marine’s heavy bolter whilst the overlord lost another wound to the guard’s bolters.
For my turn I still had the advance card, defend objective six and dust and ashes (keep one character alive for the rest of the battle). Jon nominated this for two VP and my plucky little lord was nominated. A fortunate resurrection protocol roll saw both tomb blades returned to the battle; a handy boon indeed! I moved to consolidate my forces by advancing the tomb blades to join up with the barge and the warriors at the back of the board. The lord was moved toward objective three to keep him out of harms way! The shooting phase saw the tactical marines in the open destroyed along with their pesky plasma gun which had stubbornly refused to overload and blow up (Quite a common occurrence for Jon). The captain managed to withstand the combined firepower of the barge and tomb blades before finally falling in a flurry of rapid fire gauss shots.
One VP for me this turn.
Turn 4
Jon had little left to play with but did move the sanguinary guard so that they were between the overlord and the destroyers. His tactical marine tried to snipe the overlord with the heavy bolter but failed though the guard did finally bring him down with their bolters giving Jon the assassinate VP.
For the necrons I moved the destroyers, warriors and tomb blades and the resultant round of shooting removed another two guard. At this point Jon conceded the game.
Final score:
Blood Angels 3 victory points
Necrons 6 victory points before concession
Lessons learned
This was a tactically well fought battle which swung on the loss of the baal in the first turn. Jon’s use of the blood angels aggression has stood him in good stead in the past but today it backfired. The consolidation of the necron firepower and the use of the merciless destruction/methodical destruction stratagems was devastating against single wound marines and lower point characters.
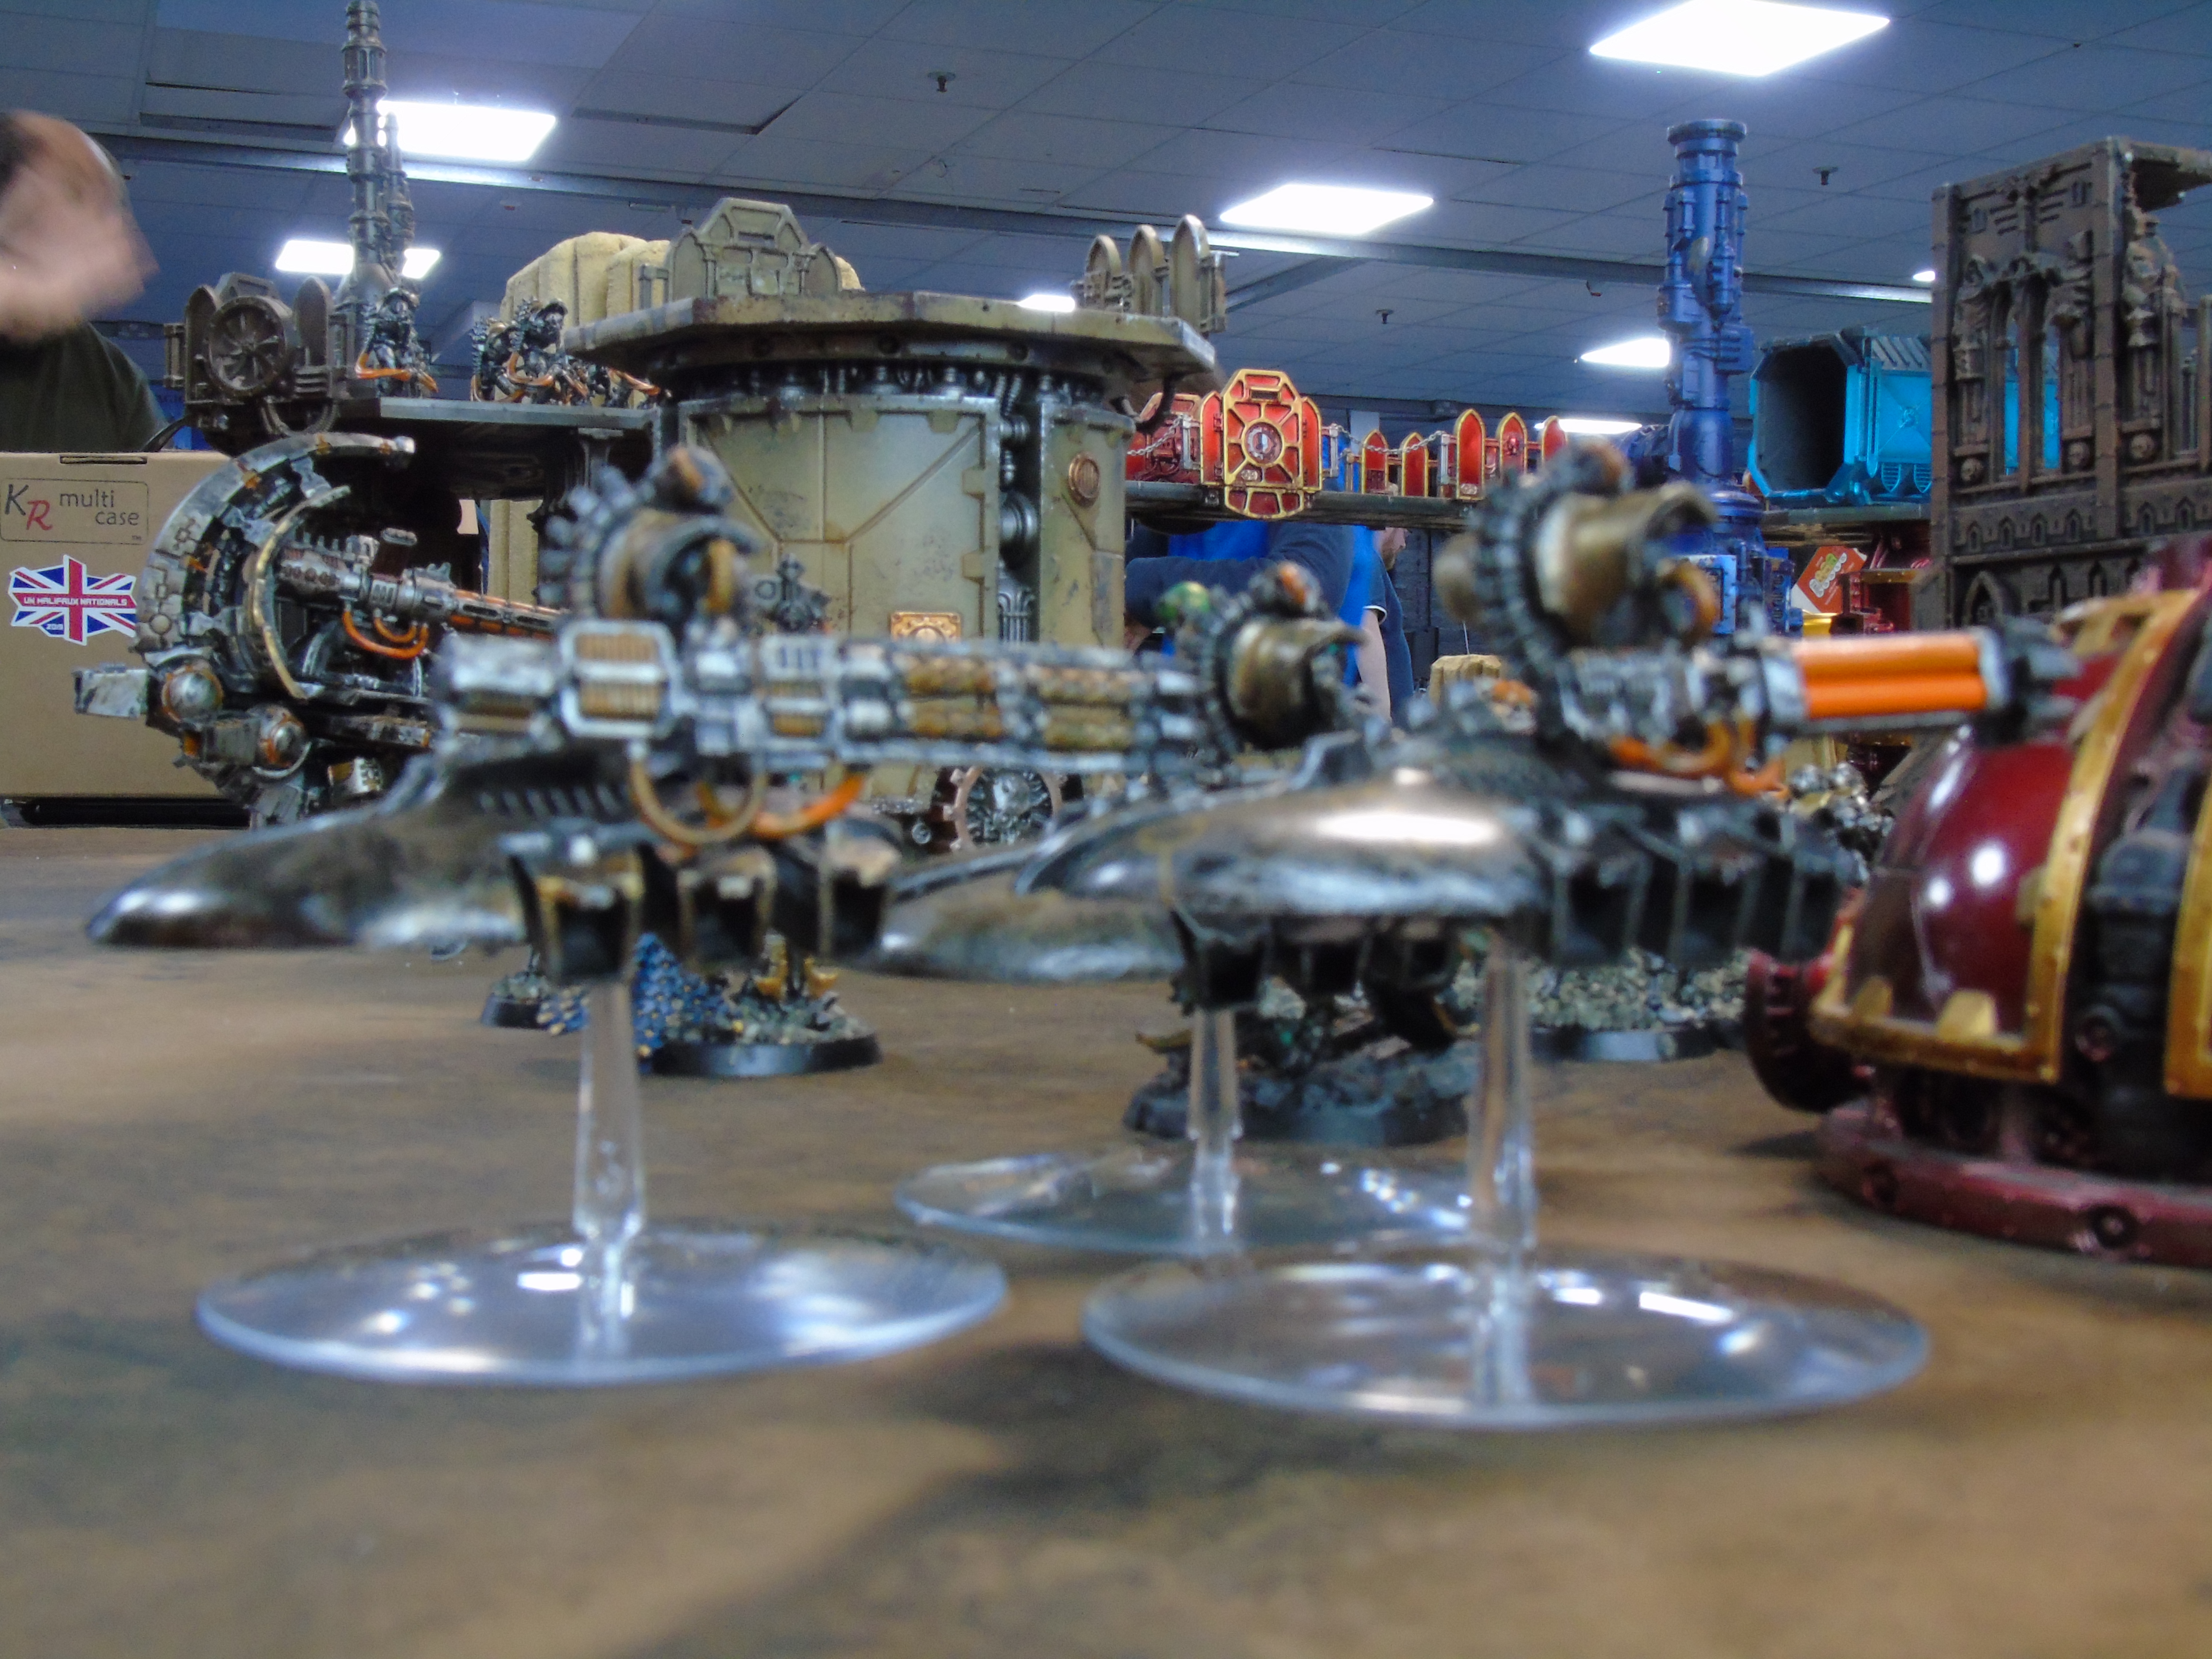
The destroyers were the necron star of the show; followed closely by the tomb blades in their first outing. That being said the lack of AP was a problem and in a larger point game I would certainly look at equipping the barge and blades with gauss weaponry to force the armour saves up.
Would this battle have gone differently against primaris marines? Potentially but the early loss of the baal and the lieutenant skewed things a bit. Certainly it was a longer and more entertaining battle but for me I remain unconvinced by the necron warriors. They either need a buff or a points cut to avoid being consigned to the storage tray.